Dusty Rose Puff Stitch Envelope Bag Free Crochet Pattern
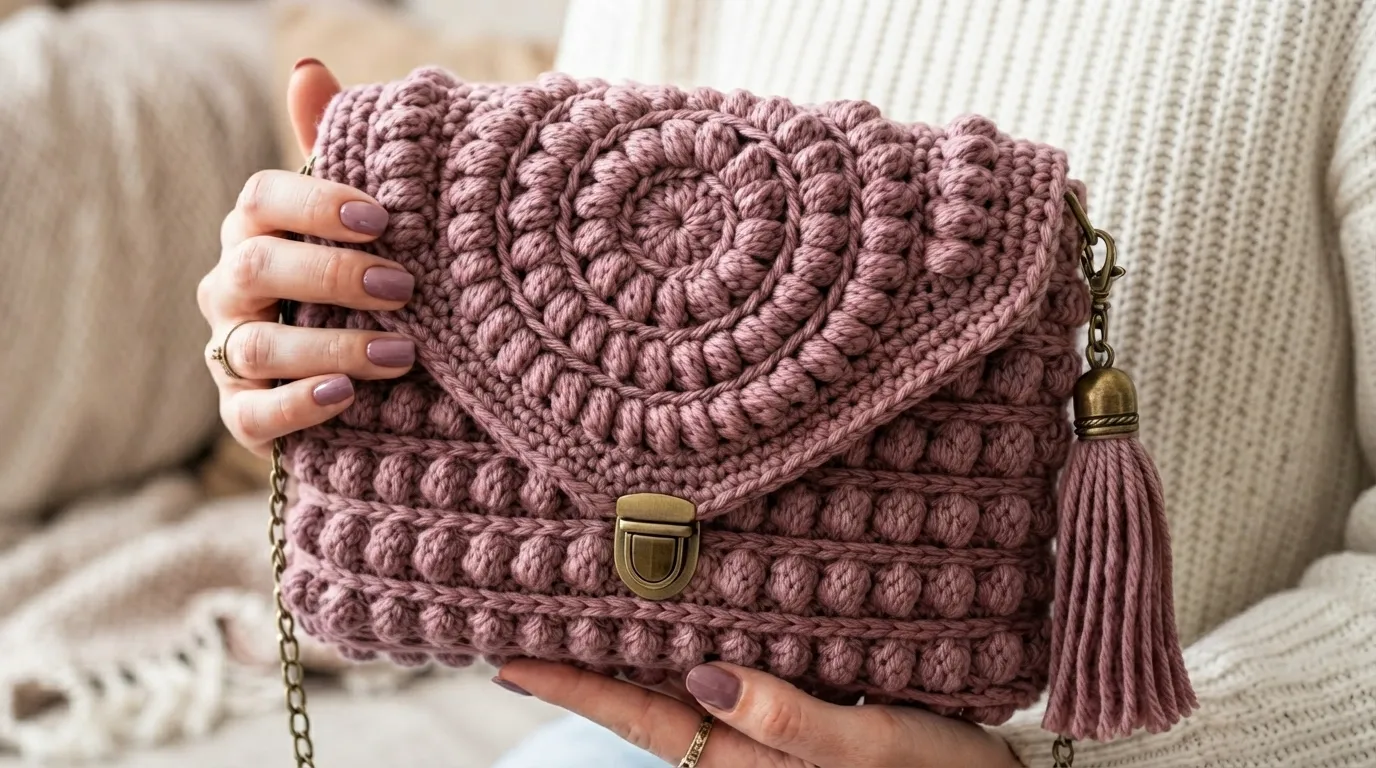
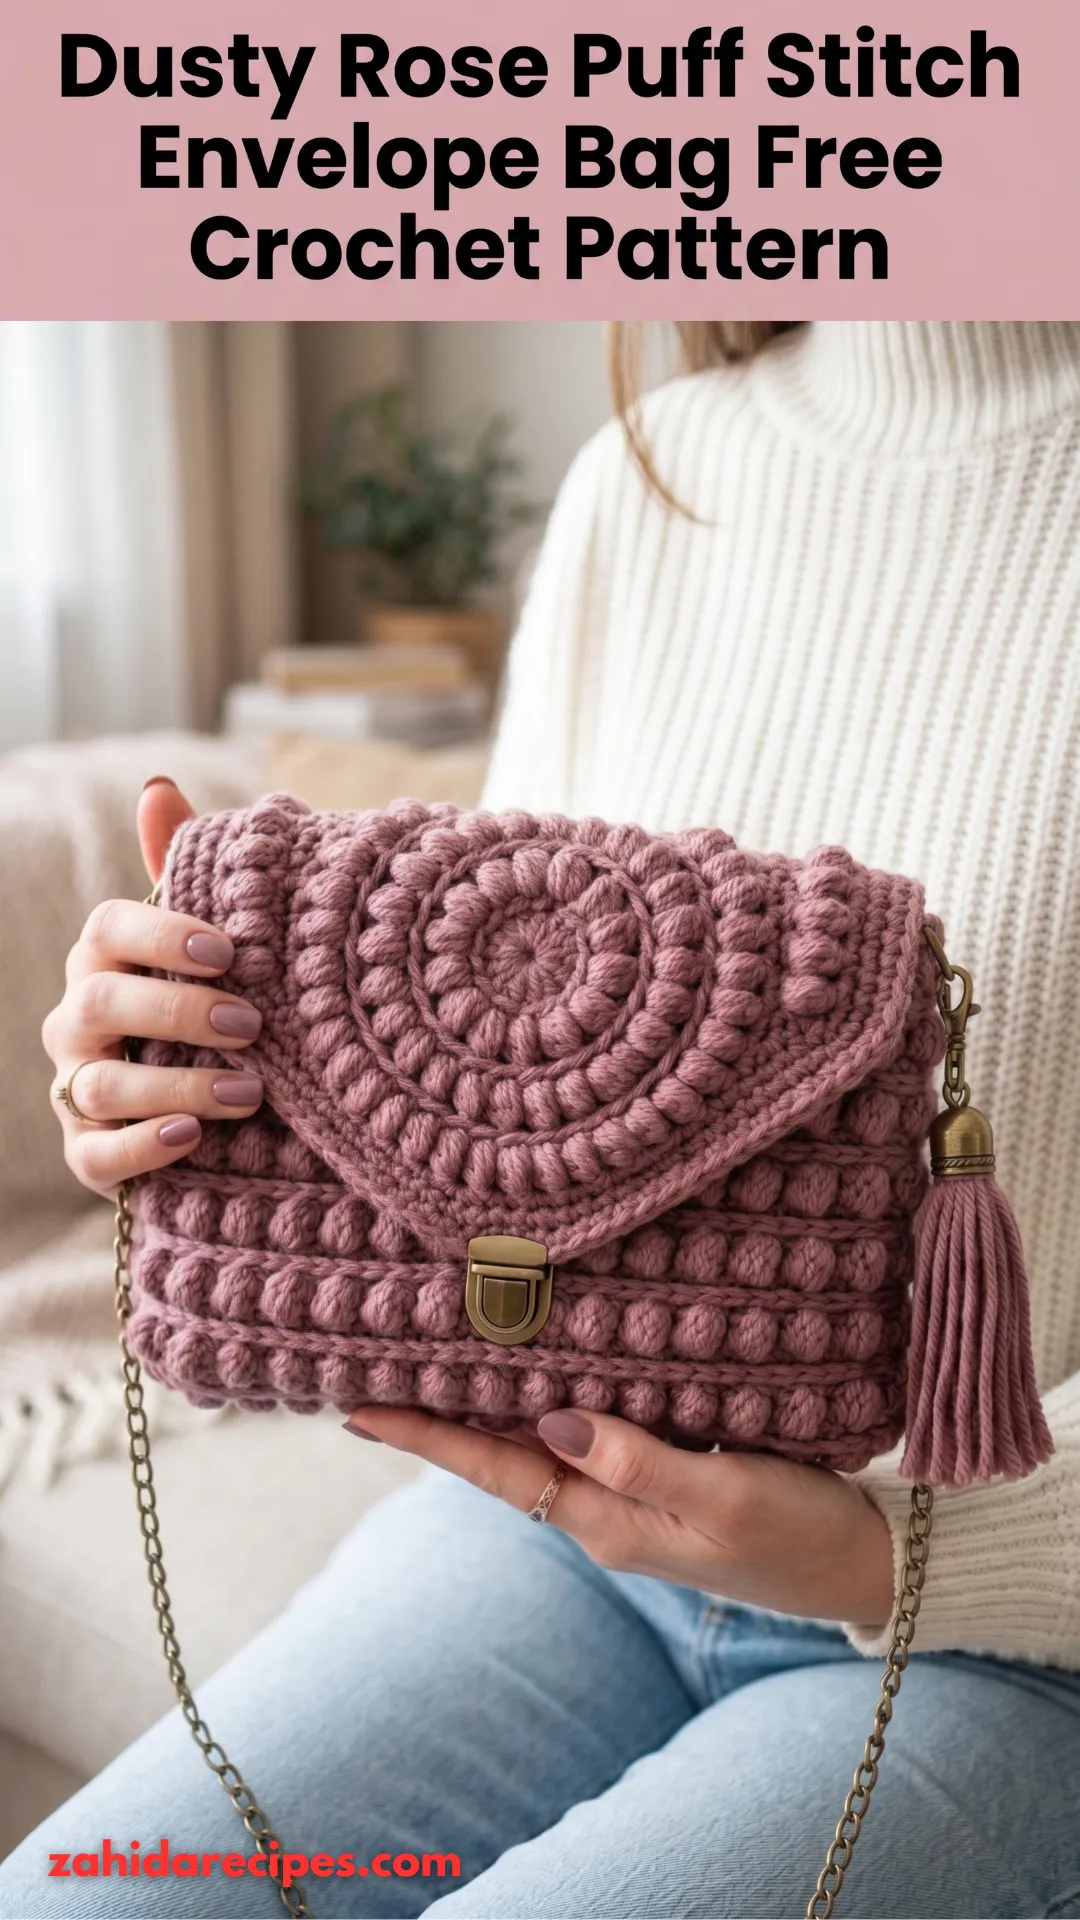
Want to make a bag that looks fancy but is actually a breeze to crochet? This dusty rose puff stitch envelope bag might just be your new favorite project. It mixes soft, romantic colors with a fun textured stitch that feels like little clouds under your fingers. Best of all, the pattern is free, and I’m about to walk you through every step in plain, simple English.
So grab your hook, pick out your prettiest pink yarn, and let’s make something adorable together.
Why This Envelope Bag Is Worth Your Time
Envelope bags are having a moment right now. They look chic, they’re practical, and they fold over with a flap just like an old-school letter. But here’s the twist: this one uses the puff stitch, which gives it that bumpy, squishy texture people can’t stop touching.
It’s the kind of bag that gets compliments everywhere you go. The dusty rose shade keeps it elegant, while the puff stitches add a playful touch. IMO, it’s the perfect balance between classy and cute.
Plus, it works up faster than you’d think. The puff stitch sounds intimidating, but once you get the rhythm, you’ll fly through it.
What You’ll Need Before You Start
Let’s talk supplies. Nothing here is hard to find, and you probably already own some of it.
- Yarn: Medium worsted weight yarn in dusty rose. Cotton or cotton-blend works best because it holds its shape.
- Hook: 4.5 mm (or whatever matches your yarn label).
- Scissors and yarn needle for weaving in ends.
- One button for the flap closure. A wooden or pearl button looks lovely here.
- Stitch markers to keep your place.
A quick tip: make a small swatch first. Puff stitch eats up more yarn than you’d expect, so check your gauge before diving in.
Understanding the Puff Stitch (Don’t Panic)
The puff stitch is basically a bunch of loops pulled together into one stitch. Sounds weird, right? But it’s actually super simple.
Here’s the basic idea:
- Yarn over and insert your hook into the stitch.
- Pull up a loop, but don’t finish it. Just leave it tall.
- Repeat that 3 to 4 more times in the same stitch.
- Now you have a bunch of loops on your hook.
- Yarn over and pull through all of them at once.
- Chain one to lock it in place.
That’s it. Once you do it five times, your hands will remember it forever. FYI, keep your loops loose and even. Tight loops make the puff look lumpy instead of fluffy.
A Small Trick for Neat Puffs
Pull each loop up to the same height before moving on. This keeps your puffs looking uniform instead of all over the place. Trust me, it makes a huge difference in the final look.
Starting the Bag Body
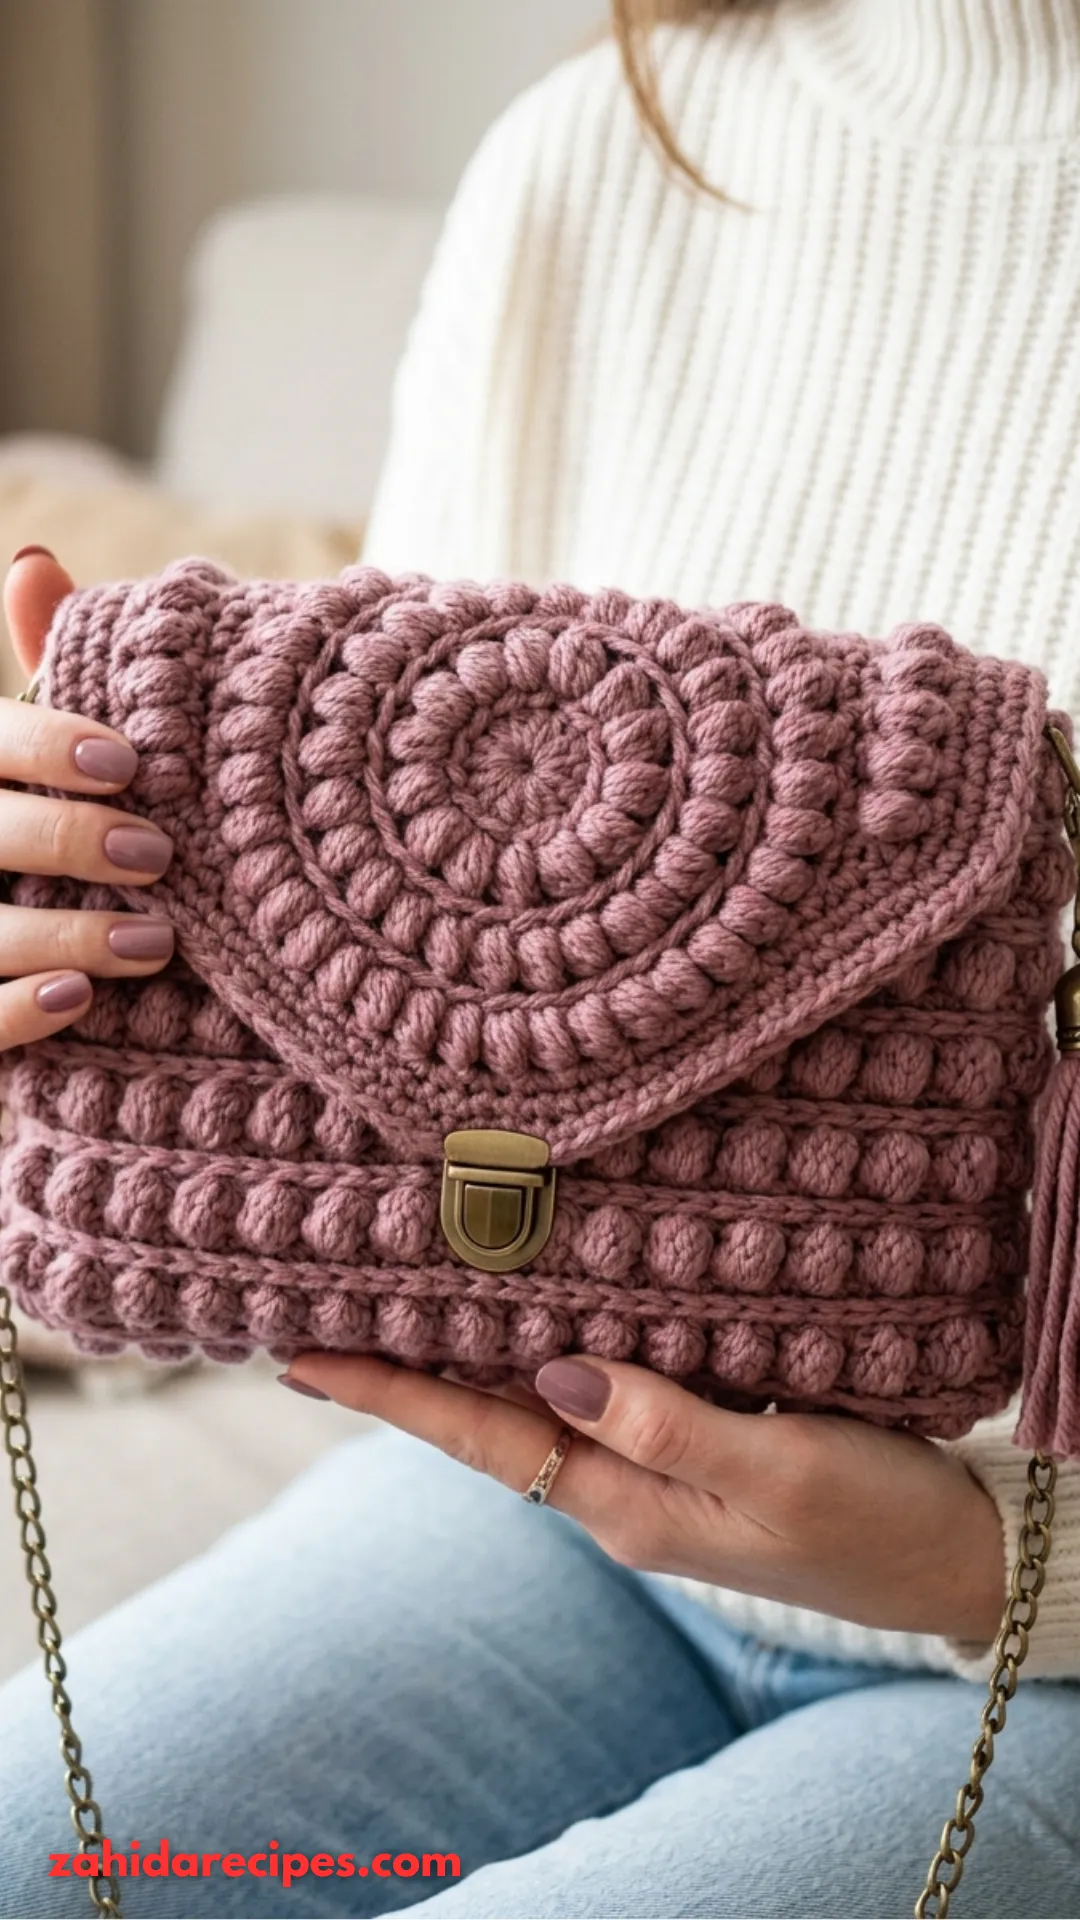
You’ll begin at the bottom of the bag and work your way up. The base is a simple chain, then you build rows of puff stitches on top.
Chain a foundation of about 30 stitches (adjust for the size you want). Then work your first row of single crochet across to create a sturdy base. After that, the puff stitch rows begin.
Alternate your puff stitches with single crochet stitches. This gives the bag structure while letting the puffs pop. If you only use puffs, the bag gets floppy and loses its shape. Nobody wants a sad, saggy bag.
Keep going until your bag reaches the height you like. Most people stop around 8 to 9 inches for a cute, compact size.
Keeping Your Sides Straight
Count your stitches at the end of every row. It sounds boring, but it saves you from a lopsided bag later. Use stitch markers at the start and end of each row so you never lose your place.
Shaping the Envelope Flap
Here’s where the “envelope” part comes in. Once the body is done, you’ll work a triangular flap that folds over the front.
Start by working fewer stitches each row on one side. This creates that classic pointed flap shape. Decrease by one or two stitches on each row until you reach a point.
Then add a small buttonhole near the tip. Chain a few stitches and skip the same number of stitches below to create the hole. Make sure your button fits through it before you finish.
Try the fold before you sew anything. Lay the flap over the front and see how it sits. Adjust the length if needed. Better to fix it now than rip it out later.
Adding the Finishing Touches
Now comes the fun part. You get to make it yours.
- Sew on your button right where the flap tip lands.
- Add a lining if you want extra sturdiness. A simple fabric lining keeps small items from slipping through the puff gaps.
- Attach a strap. You can crochet a long chain strap, use a leather strap, or even make a wristlet loop.
- Weave in all ends neatly so nothing pokes out.
Want a shoulder bag? Make the strap longer. Prefer a clutch? Skip the strap completely. This pattern bends to whatever style you love.
Styling and Care Tips
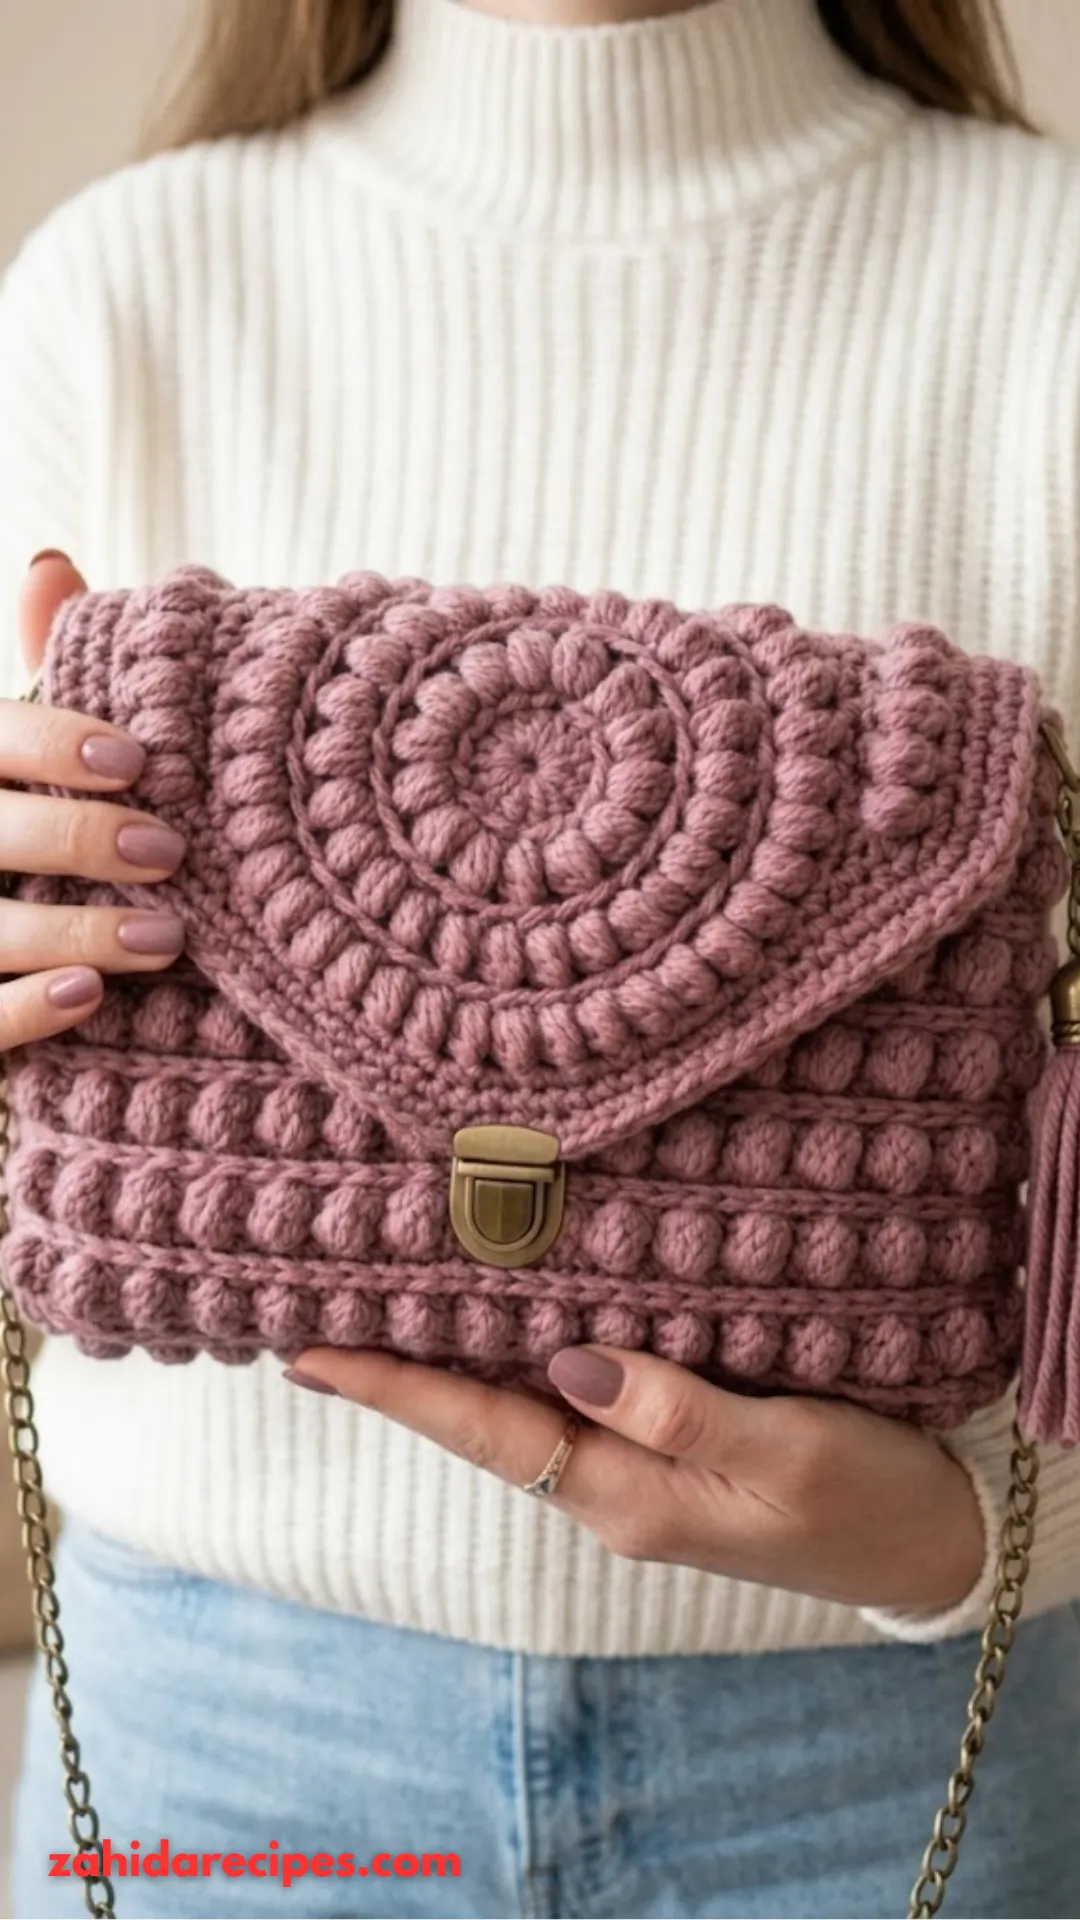
This bag pairs beautifully with flowy dresses, jeans, or literally anything. The dusty rose color goes with almost every outfit, which is a win in my book.
For care, hand wash gently with mild soap and lay it flat to dry. Cotton yarn can stretch if you hang it wet, so keep it flat. Store it stuffed with a little tissue paper to hold its shape between uses.
Making It in Other Colors
Don’t feel locked into dusty rose. This pattern looks amazing in sage green, mustard yellow, or even classic black. Switch up the button to match, and you’ve got a whole new vibe.
You Might Also Like :
- Warm Mustard Yellow Drawstring Bucket Bag Free Pattern
- Natural Raffia Summer Tote with Coral Fabric Tassels Pattern
- Winter White Snowflake Lace Bucket Bag Free Crochet Pattern
Final Thoughts
This dusty rose puff stitch envelope bag is one of those projects that looks way harder than it actually is. With simple stitches, a bit of patience, and your favorite pink yarn, you’ll have a bag that’s equal parts cute and useful.
So what are you waiting for? Grab your hook and get started. And when someone asks where you got that gorgeous bag, you get to say those magic words: “I made it myself.”
Happy crocheting!