

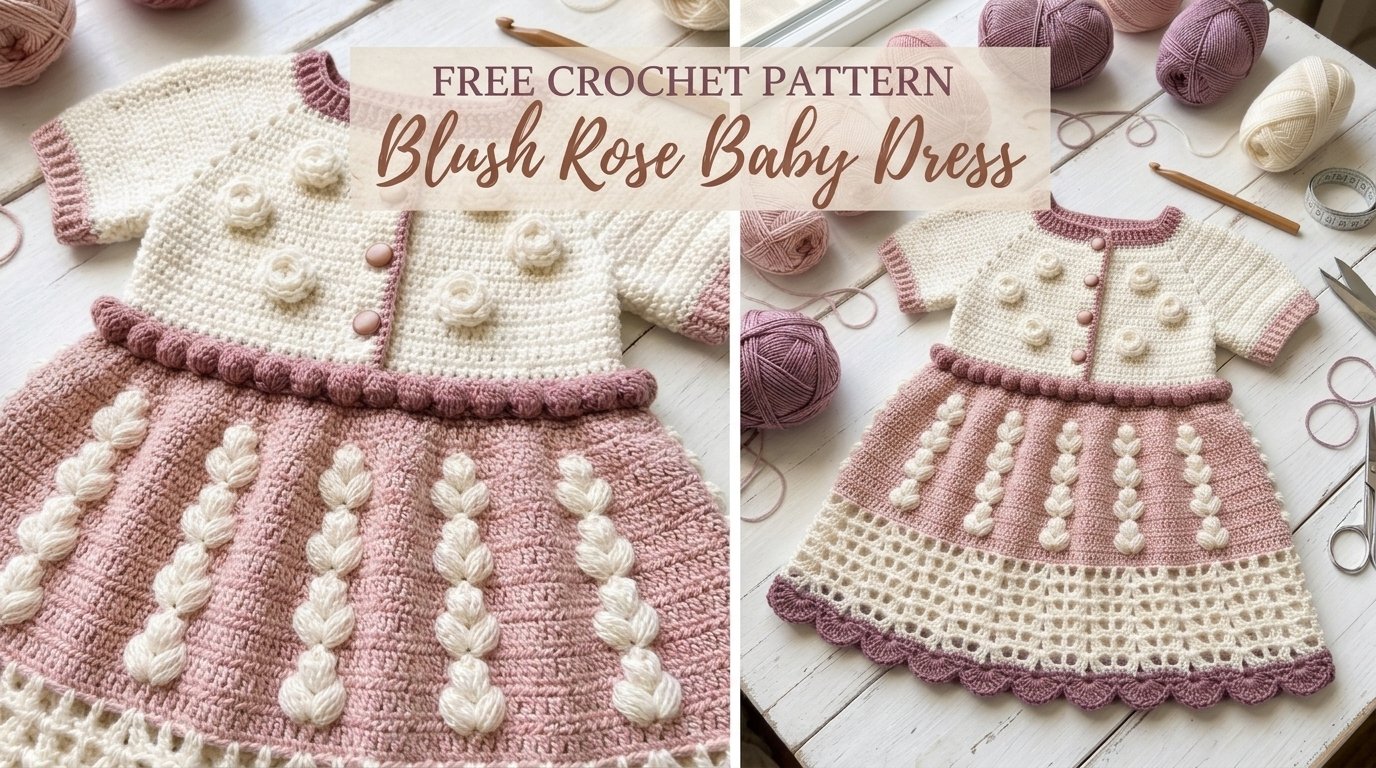
I still remember the exact afternoon the idea for this little dress arrived. I was sitting by the window with a cup of tea gone cold, sorting through leftover soft pinks from a previous project, when a single skein of blush rose yarn caught the light just right. It looked like the inside of a seashell or the petals of a just-opened garden rose after a light rain. I thought of my niece’s upcoming first birthday and how something soft, romantic, and wearable every day would feel more special than another stiff formal outfit.
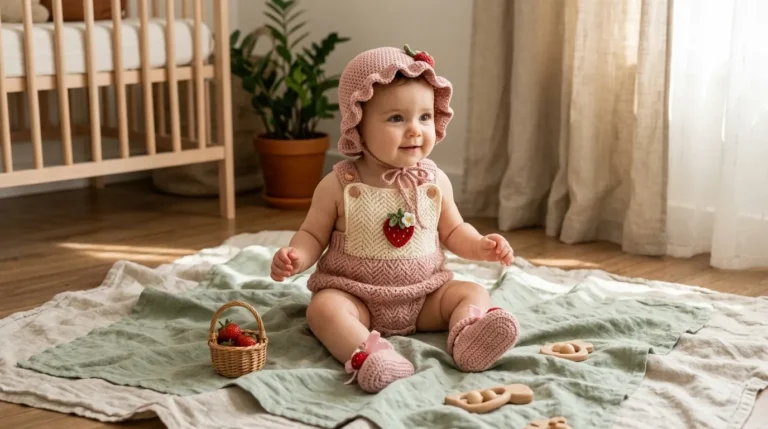
That evening I started sketching. I wanted a dress that felt like a gentle hug—light enough for warm days, sweet enough for photos, and sturdy enough to survive a few tumbles on the play mat. The result is the Blush Rose Baby Dress. It features a simple fitted bodice that buttons at the back, a softly gathered skirt worked in overlapping petal-like shells, and three delicate raised rose motifs that sit just below the waistline. The whole piece has that quiet, heirloom quality without being fussy.
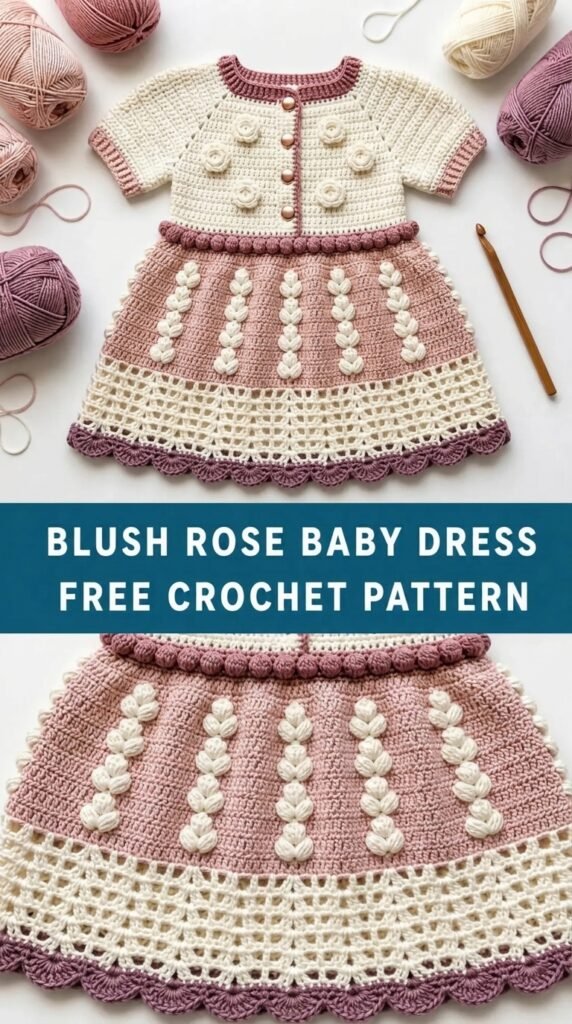
If you’ve been looking for a free crochet pattern that feels both pretty and practical, this is the one I hope you’ll fall in love with.
About This Pattern
This is an intermediate-level pattern written for sizes 0–3 months, 3–6 months, 6–9 months, and 9–12 months. The bodice is worked flat from the bottom up in one piece, then seamed at the shoulders. The skirt is joined and worked in the round so there is only one seam to sew. Three small rose motifs are crocheted separately and sewn on after blocking.
The finished dress has a gentle A-line silhouette with about 1–2 inches of positive ease at the chest. The skirt length hits mid-thigh on most babies, making it perfect for layering over leggings or wearing on its own in warmer weather. The fabric has nice drape thanks to the shell stitch and the DK-weight yarn; it will not feel stiff or heavy.
You should be comfortable with basic stitches, working in the round, simple shaping, and sewing on appliqués. If you can make a granny square and follow a written pattern, you can make this dress.
Materials You’ll Need
Yarn
- Color A (Main – Blush Rose): DK weight (Category 3), approximately 380 (420, 480, 550) yards / 350 (385, 440, 500) meters. I used a soft merino-acrylic blend that washes beautifully.
- Color B (Accent – Soft Cream): DK weight, approximately 60 (70, 80, 90) yards / 55 (65, 75, 80) meters for the rose motifs and optional trim.
Allow 15 % extra for gauge variation and swatching.
Hooks
- 3.5 mm (E/4) for the bodice and rose motifs
- 4.0 mm (G/6) for the skirt (creates a softer, more open fabric)
Notions
- Tapestry needle
- 4–5 stitch markers
- 3 small buttons (10–12 mm)
- Scissors
- Blocking mats and pins (or a clean towel and rust-proof pins)
Abbreviations and Terminology (US Terms)
- ch – chain
- sc – single crochet (insert hook, yarn over, pull up loop, yarn over, pull through both loops)
- hdc – half double crochet (yarn over, insert hook, yarn over, pull up loop, yarn over, pull through all three loops)
- dc – double crochet (yarn over, insert hook, yarn over, pull up loop, yarn over, pull through two, yarn over, pull through remaining two)
- tr – treble crochet (yarn over twice, insert hook, yarn over, pull up loop, [yarn over, pull through two] three times)
- sl st – slip stitch
- sp – space
- st(s) – stitch(es)
- rep – repeat
- sk – skip
- RS – right side
- WS – wrong side
Turning chains do not count as a stitch unless a step explicitly says they do. The pattern uses “petal shell” which is (2 dc, ch 1, 2 dc) worked into the same stitch or space.
Gauge
With 3.5 mm hook and Color A, work a swatch in sc:
16 sc and 18 rows = 4 inches / 10 cm.
With 4.0 mm hook and Color A, work a swatch in the petal-shell stitch:
3 petal shells and 6 rows = 4 inches / 10 cm across the width of the shells.
If your gauge is tighter, go up a hook size. If looser, go down. The bodice needs to be fairly firm so the dress keeps its shape; the skirt can be a little more relaxed.
Main Pattern Instructions
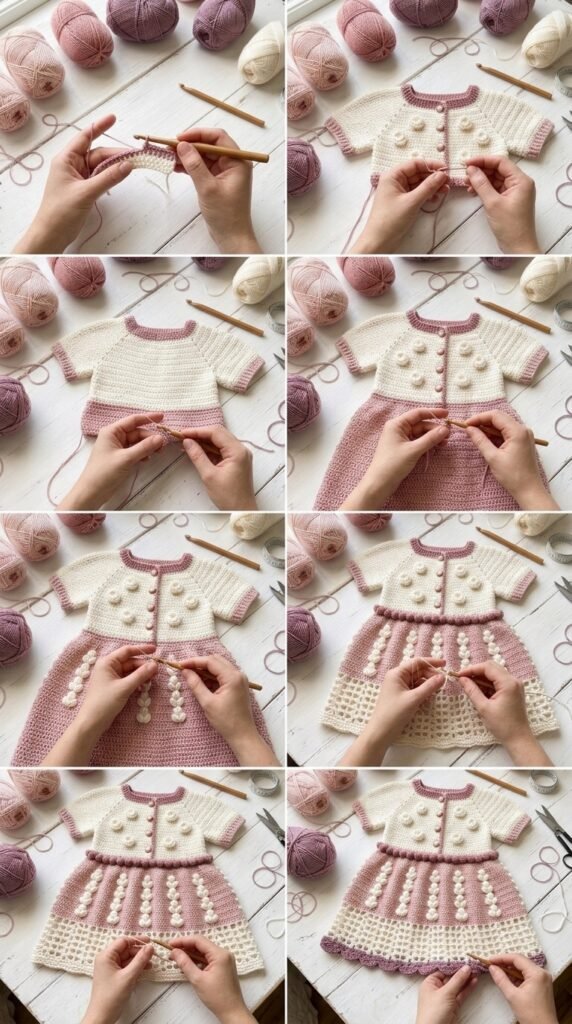
Notes before you begin
- The pattern is written for four sizes: 0–3 mo (3–6 mo, 6–9 mo, 9–12 mo). Instructions are given with the smallest size first; larger sizes appear in parentheses.
- When only one number is given, it applies to all sizes.
- Place a marker in the first stitch of every row or round when working the bodice so you never lose track of the edge.
Bodice (worked flat)
With 3.5 mm hook and Color A, ch 49 (53, 57, 61).
Row 1 (RS): Sc in 2nd ch from hook and in each ch across. Turn. — 48 (52, 56, 60) sc.
Row 2: Ch 1, sc in each st across. Turn.
Rows 3–8 (3–10, 3–12, 3–14): Repeat Row 2. These rows form the lower band of the bodice.
Armhole shaping begins
Row 9 (11, 13, 15): Ch 1, sc in first 10 (11, 12, 13) sts, ch 2, sk next 4 sts (underarm), sc in next 20 (22, 24, 26) sts, ch 2, sk next 4 sts, sc in remaining 10 (11, 12, 13) sts. Turn.
Row 10 (12, 14, 16): Ch 1, sc in each sc and work 2 sc into each ch-2 space. Turn. — 44 (48, 52, 56) sc.
Rows 11–16 (13–20, 15–24, 17–28): Ch 1, sc in each st across. Turn.
Neck and shoulder shaping
Next Row: Ch 1, sc in first 10 (11, 12, 13) sts, leave remaining stitches unworked. Turn. Work 4 (5, 6, 7) more rows of sc on these stitches only. Fasten off, leaving a long tail for seaming.
Skip the center 24 (26, 28, 30) sts for the neck. Join yarn to the next st and work the second shoulder to match the first. Fasten off.
Skirt (joined and worked in the round)
With RS of bodice facing, join Color A with a slip stitch at the center of the lower edge (the original foundation chain side). Switch to 4.0 mm hook.
Round 1: Ch 1, work 48 (52, 56, 60) sc evenly around the lower edge of the bodice, placing markers every 12 (13, 14, 15) stitches if it helps you keep count. Join with sl st to first sc. Do not turn.
Round 2 (increase round): Ch 3 (counts as dc), dc in same st, *sk 1 sc, (2 dc, ch 1, 2 dc) in next sc (petal shell made), sk 1 sc, 2 dc in next sc; rep from * around, ending with a petal shell. Join with sl st to top of beginning ch-3. — 12 (13, 14, 15) petal shells and 12 (13, 14, 15) pairs of dc.
Round 3: Sl st into the space between the first 2-dc group, ch 3, dc in same space, *petal shell in next ch-1 space, 2 dc in the space between the next 2-dc group; rep from * around. Join.
Rounds 4–18 (4–20, 4–22, 4–24): Repeat Round 3. The skirt will grow gently longer with each round. You may add or subtract 1–2 rounds to adjust length if desired.
Final edging round: Ch 1, *sc in next 2 dc, (sc, ch 3, sc) in next ch-1 space of petal shell, sc in next 2 dc; rep from * around. Join and fasten off.
Rose Motifs (make 3)
With 3.5 mm hook and Color B, make a magic ring.
Round 1: Ch 1, 6 sc into ring. Join. Pull tail tight.
Round 2: Ch 1, 2 sc in each st. Join. — 12 sc.
Round 3 (petals): *Ch 3, 3 dc in next st, ch 3, sl st in same st, sl st in next st; rep from * around. You will have 6 small petals. Fasten off, leaving a long tail for sewing.
Assembly and Finishing
Sew the shoulder seams with mattress stitch using the long tails left earlier. Weave in all ends on the bodice and skirt.
Position the three rose motifs evenly spaced just above the first row of petal shells on the front of the skirt. Pin them in place and sew securely with the yarn tails, catching only the back loops of the motif so the stitches remain invisible from the front.
Sew three small buttons along the left back edge of the bodice (or right, depending on preference). On the opposite edge, create three simple chain-loop buttonholes: join yarn, ch 6 (or enough to fit comfortably around your button), and secure with a slip stitch a short distance below. Weave in ends.
Blocking and Care
Wet-block the finished dress for the best results. Soak in lukewarm water with a mild wool wash for 15–20 minutes. Gently squeeze out excess water (never wring). Lay flat on blocking mats, pin the bodice to the correct chest measurement, and gently stretch the skirt into a soft A-line shape, evening out the petal shells. Allow to dry completely.
Care instructions: Hand wash in cool water, roll in a towel to remove moisture, and dry flat. Never hang the wet dress—it will stretch. The yarn I used holds its shape beautifully after blocking and softens with each gentle wash.
Fit and Troubleshooting Tips
If the bodice feels tight across the chest, go up one hook size for the entire bodice or add 2–4 extra stitches to the starting chain (keeping the stitch counts even).
If the skirt looks sparse or the shells are too open, drop back to the 3.5 mm hook for the first few skirt rounds, then switch to 4.0 mm.
Should the neckline sit too high, simply work 1–2 fewer rows before the shoulder shaping.
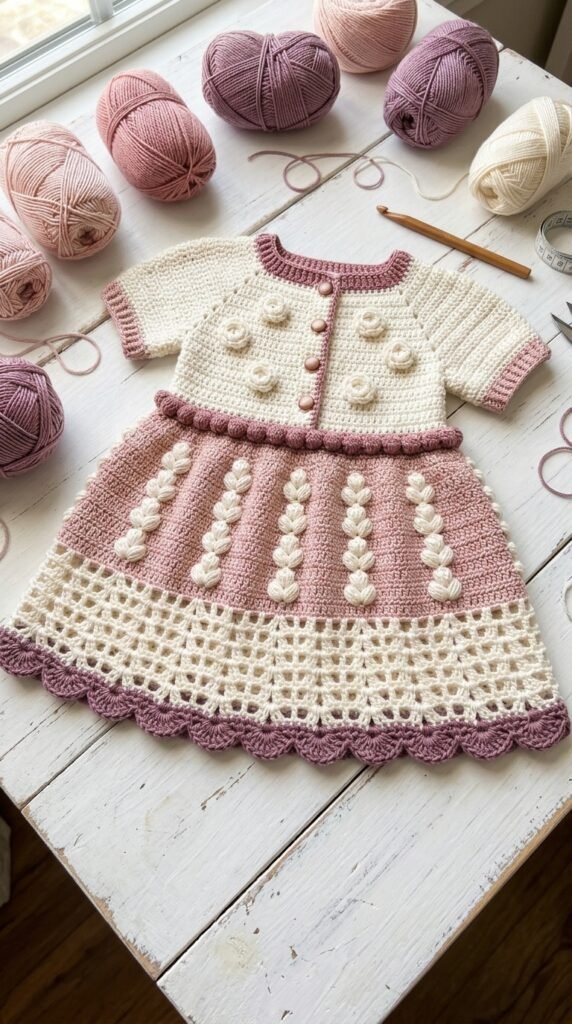
Cupping at the armholes is usually caused by working the underarm stitches too tightly—keep those two sc in the chain spaces nice and relaxed.
FAQ’s
Can a confident beginner make this dress?
Yes, if you are comfortable with single crochet, double crochet, working flat and in the round, and simple seaming. The rose motifs and petal shells are the only slightly more advanced elements, and both are clearly written out. Take your time on the first few shell rounds and you will be fine.
What yarn can I substitute?
Any soft DK (Category 3) yarn with similar yardage will work. Look for good drape and a smooth texture so the petal shells show clearly. Avoid very fuzzy or highly textured yarns that will hide the stitch definition. Always swatch.
Can I make the dress longer or shorter?
Absolutely. For a longer skirt, simply continue the petal-shell rounds until you reach the length you want before working the final edging. For a shorter version, stop 2–4 rounds earlier. The bodice height can also be adjusted by adding or removing plain sc rows before the armhole shaping.
Is this dress machine washable?
It depends on the yarn you choose. The merino-acrylic blend I used is fine with a gentle machine cycle in a mesh bag, but I still prefer hand washing and drying flat to keep the shape perfect. Check your yarn label and always err on the side of gentleness with baby items.
How long does it take to make?
Most makers finish one size in 8–14 hours of focused crochet time, depending on how quickly they work and whether they make the motifs while watching a show. The bodice is the fastest part; the skirt and roses take a bit longer.
Can I add sleeves?
Yes. After joining the shoulders, pick up stitches around the armhole and work a few rounds of sc or a simple shell pattern to the desired sleeve length. Keep the same stitch density as the bodice so the fabric doesn’t flare oddly.
Do the rose motifs have to be cream?
Not at all. You can make them in a slightly deeper rose, soft white, or even a pale gold for a different look. Just keep the contrast gentle so they remain delicate rather than bold.
What if my stitch counts don’t match?
Count carefully at the end of every bodice row and after Round 2 of the skirt. The most common places to lose or gain a stitch are at the armhole chain spaces and when joining the skirt. Use stitch markers liberally—they are your best friend on this project.
Final Thoughts
There is something deeply satisfying about watching a soft blush-colored dress take shape under your hands. When you fasten off the last stitch and the three little roses sit perfectly in place, you will have created more than a garment—you will have made a small, wearable piece of love.
I hope this Blush Rose Baby Dress becomes a favorite in your project bag and a treasured piece in someone’s tiny wardrobe. If you make it, I would love to see your version. Leave a comment, share a photo, or pin it so other makers can find the pattern too.
Happy crocheting, and may every stitch feel as gentle as the rose that inspired it.


Leave a Reply
You must be logged in to post a comment.