

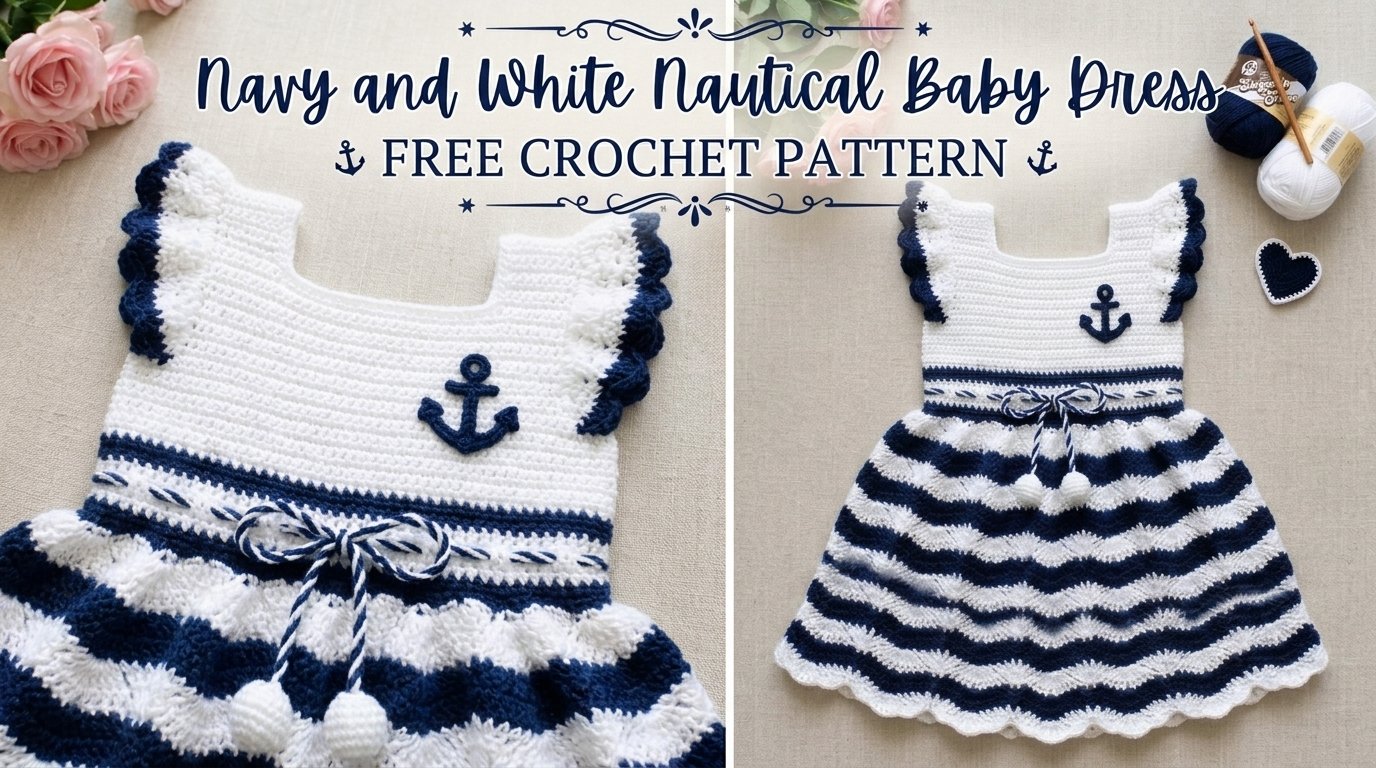
I still remember the exact afternoon this dress took shape in my mind. It was late spring, windows open, a soft breeze carrying the smell of salt even though we lived nowhere near the coast. My niece’s first birthday was only a few weeks away, and her parents had mentioned they wanted something “a little special but still practical.” I kept picturing those classic little sailor dresses you see in old photographs—crisp white against deep navy, a neat collar that frames the face, and just enough stripe to feel playful without looking busy.
I pulled out my cotton yarns that evening and started sketching. I wanted the dress to feel light enough for warm days yet structured enough to hold its shape through toddling and tumbling. The sailor collar became the heart of the design. Once I had the collar sitting just right, the rest of the dress followed almost naturally: a fitted bodice, gentle short sleeves, and a softly flared skirt worked in clean navy-and-white stripes.
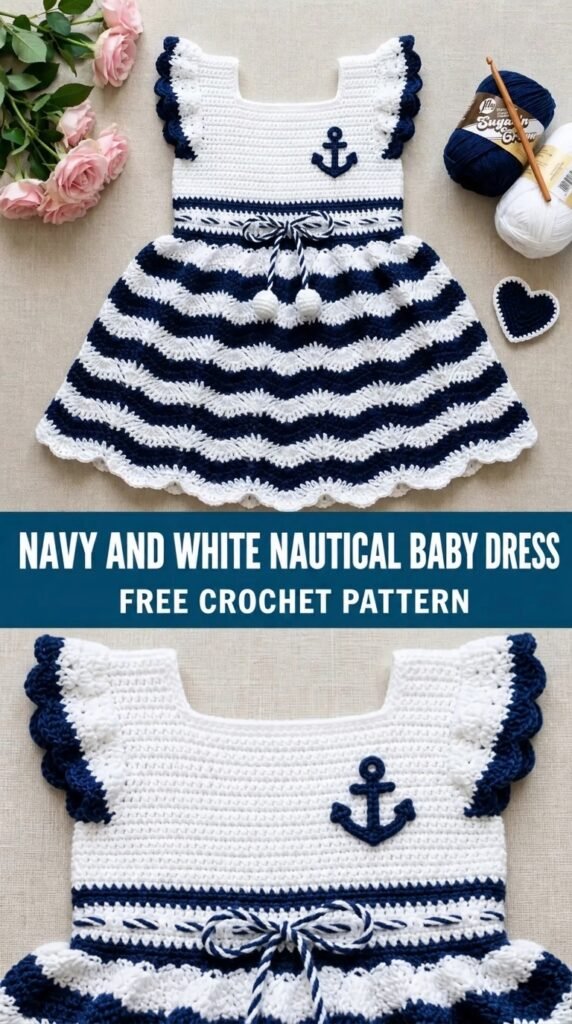
The finished Navy and White Nautical Baby Dress is the result of that afternoon of sketching and several rounds of refining. It is a free crochet pattern written for intermediate makers who are comfortable with color changes, basic shaping, and a few simple seaming techniques. The dress works up with a lovely drape and a polished, classic look that photographs beautifully and wears even better.
About This Pattern
This dress is worked primarily from the top down in one piece. You begin with the sailor collar, then join and work the yoke and bodice in the round (or flat, depending on the size and preferred closure). Short sleeves are shaped as you go. After the bodice, you continue straight into the skirt, changing colors every few rounds to create the signature navy-and-white stripes. The skirt is gently A-line so it flares just enough for easy movement and diaper changes.
The design is sized for newborn through 12 months. Finished chest measurements range from approximately 16 inches (newborn) to 20 inches (12 months). Length from shoulder to hem is adjustable; the pattern gives suggested lengths, but you can easily add or remove rounds in the skirt.
Skill level is intermediate. You should be comfortable with single crochet, half double crochet, double crochet, increasing and decreasing, simple color changes, and working in the round. The sailor collar uses a few short-row techniques and careful seaming, so take your time there. The rest of the dress is straightforward once the collar is complete.
The finished fabric has a soft, breathable drape thanks to the cotton yarn. It holds its shape nicely after blocking and is practical enough for everyday wear while still looking special enough for photos or family gatherings.
Materials You’ll Need
Yarn
Soft, machine-washable cotton or cotton-blend DK weight (Category 3).
- Color A (Navy): approximately 220 (250, 280, 320) yards / 200 (230, 255, 290) meters
- Color B (White): approximately 180 (210, 240, 270) yards / 165 (190, 220, 245) meters
Allow 15% extra for gauge variation and swatching.
I used a smooth mercerized cotton that gives clean stitch definition and a slight sheen—perfect for the nautical look. Any soft DK cotton or cotton blend will work as long as you match gauge.
Hooks
- 3.5 mm (E) hook for the collar and bodice (or size needed to obtain gauge)
- 4.0 mm (G) hook for the skirt (optional; some makers prefer the same hook throughout for consistency)
Notions
- Tapestry needle
- Stitch markers (at least 6)
- 4–6 small buttons (½ inch / 12–15 mm), preferably navy or white
- Blocking mats and pins
- Optional: small anchor or boat-shaped buttons for extra nautical flair
Abbreviations and Terminology
All instructions use US crochet terminology.
- ch – chain
- sc – single crochet (insert hook, yarn over, pull up loop, yarn over, pull through both loops)
- hdc – half double crochet (yarn over, insert hook, yarn over, pull up loop, yarn over, pull through all three loops)
- dc – double crochet (yarn over, insert hook, yarn over, pull up loop, yarn over, pull through two loops, yarn over, pull through remaining two loops)
- sl st – slip stitch
- st(s) – stitch(es)
- sp – space
- inc – increase (work 2 stitches in the same stitch)
- dec – decrease (work two stitches together)
- sc2tog – single crochet two together
- hdc2tog – half double crochet two together
- RS – right side
- WS – wrong side
- pm – place marker
- rep – repeat
- rem – remaining
Turning chains do not count as a stitch unless a step explicitly says they do. When changing colors, work the last yarn-over of the previous stitch with the new color for cleaner joins.
Gauge
Work a gauge swatch in the main stitch pattern used for the bodice (hdc in the round or flat, depending on your preferred method).
With 3.5 mm hook and Color A:
16 hdc and 12 rows = 4 inches (10 cm)
If your swatch is too small, try a larger hook. If it is too large, try a smaller hook. Matching gauge is important for the chest fit, especially in the smaller sizes. The skirt is more forgiving; a slight difference there will mainly affect the length and flare.
Main Pattern Instructions
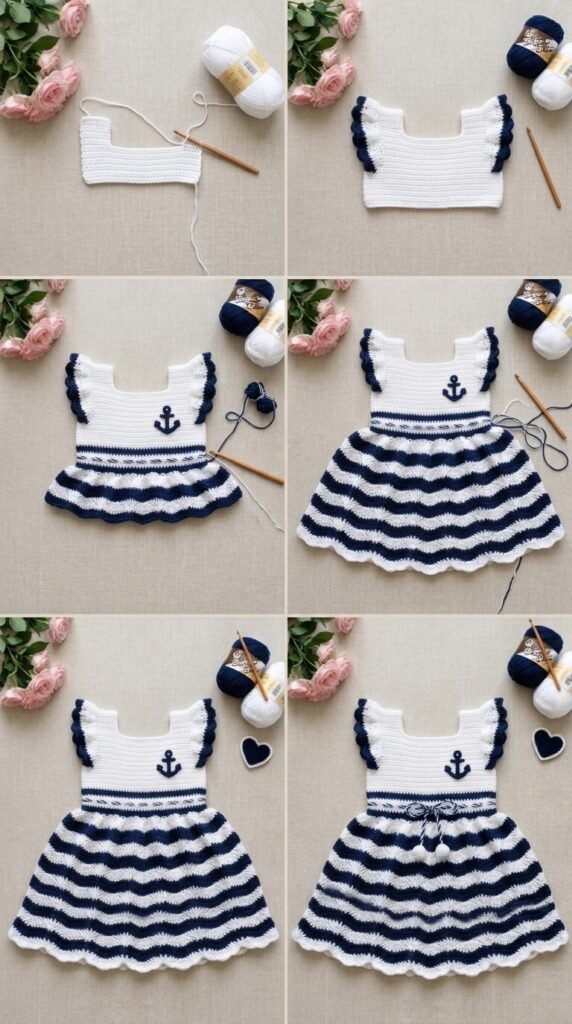
Sizes
Newborn (3 months, 6 months, 12 months)
Instructions are written for the smallest size with larger sizes in parentheses.
Sailor Collar
The collar is worked flat in rows and later joined to the neckline.
With Color B and 3.5 mm hook, ch 47 (51, 55, 59).
Row 1 (RS): hdc in 3rd ch from hook and in each ch across. Turn. — 45 (49, 53, 57) hdc
Row 2: ch 2, hdc in each st across. Turn.
Rows 3–6: Repeat Row 2.
Shape collar points (short rows):
Row 7: ch 2, hdc in next 18 (20, 22, 24) sts, turn.
Row 8: ch 2, hdc in next 16 (18, 20, 22) sts, turn.
Row 9: ch 2, hdc in next 14 (16, 18, 20) sts, turn.
Row 10: ch 2, hdc in next 12 (14, 16, 18) sts, turn.
Row 11: ch 2, hdc across all remaining stitches of the previous full row, working into the short-row “steps” as you go to close the shaping. You should end with 45 (49, 53, 57) hdc.
Fasten off Color B. Weave in ends.
Make a second identical collar piece if you prefer a double-layer collar for extra structure (optional but recommended for a crisp sailor look).
Yoke and Bodice
The dress is worked from the neckline down. You will join the collar and begin the yoke.
With Color A and 3.5 mm hook, leave a long tail for seaming later.
Join yarn at the center back neck edge of the collar. Work evenly around the neckline edge of the collar, placing approximately 36 (40, 44, 48) sc evenly spaced. Do not join; work in continuous rounds or join with sl st and turn, whichever you prefer. Place a marker at the beginning of the round.
Round 1: hdc in each sc around. — 36 (40, 44, 48) hdc
Round 2 (increase round): *hdc in next 5 (5, 6, 6) sts, 2 hdc in next st; rep from * around. Adjust the last few stitches as needed so the total increases by 6 (7, 6, 7) stitches. — approximately 42 (47, 50, 55) hdc
Continue increasing every other round, spacing the increases evenly, until the piece measures approximately 3 (3.5, 4, 4.5) inches from the neckline and the stitch count reaches roughly 60 (68, 76, 84) stitches (or the number that comfortably fits the desired chest measurement when slightly stretched).
Divide for armholes:
Mark the center front and back. From the beginning of the round (center back), work across the back stitches, then chain 4 (5, 6, 6) for the underarm, skip the underarm stitches, work across the front, chain the same number for the second underarm, and join. You will now have the body and two armhole openings.
Continue working in the round on the body stitches only for 1.5 (2, 2.5, 3) inches, or until the bodice reaches the desired length under the arm.
Short Sleeves
Return to one armhole opening. With Color A, join yarn at the underarm and work evenly around the armhole edge, placing approximately 24 (28, 32, 36) hdc. Work 4–6 rounds of hdc, decreasing 2 stitches evenly every other round if you want a slightly tapered sleeve. Fasten off.
Repeat for the second sleeve.
Skirt
At the bottom edge of the bodice, switch to the 4.0 mm hook if desired for a softer drape.
Round 1 (setup): With Color A, hdc in each st around, increasing evenly by 8–12 stitches to begin the gentle A-line flare. Place markers every 8–10 stitches to help keep increases evenly spaced in later rounds.
Rounds 2–4: hdc in each st around.
Change to Color B.
Rounds 5–8: hdc in each st around.
Continue alternating 4 rounds of Color A and 4 rounds of Color B for the desired skirt length. Suggested finished lengths from underarm to hem:
- Newborn: 7–8 inches
- 3 months: 8–9 inches
- 6 months: 9–10 inches
- 12 months: 10–11 inches
On the final round of the last stripe, you may optionally work a simple picot or crab-stitch edging for a finished look, or leave the edge plain for a clean hem.
Fasten off and weave in all ends securely.
Special Techniques / Additional Elements
Button Placket (optional but recommended)
If you prefer a button-front or button-back closure rather than a fully closed dress, leave a 1.5–2 inch opening at the center back (or front) when working the yoke. Work two extra rows of sc along each side of the opening to form neat plackets. Space buttonholes evenly on one side by working (ch 2, skip 2 sts) at regular intervals. Sew buttons to the opposite placket after blocking.
Collar Finishing
Sew the short ends of the sailor collar together at the center front if desired, or leave them free so the points sit naturally. You may also add a small decorative button or embroidered anchor at the center front of the collar for extra nautical detail.
Assembly and Finishing
Weave in all ends carefully, especially at color changes.
Sew any remaining underarm seams if you worked the body flat at any point.
Attach buttons to the placket.
If you made a double-layer collar, stitch the two layers together along the outer edges with small, invisible stitches, leaving the neckline edge free so it can be joined cleanly to the yoke.
Blocking and Care
Wet-block the finished dress for the best shape and drape. Soak in lukewarm water with a mild wool wash or baby-safe detergent for 15–20 minutes. Gently squeeze out excess water (do not wring). Lay flat on blocking mats, pin the collar points and hem into a gentle A-line shape, and allow to dry completely.
Steam blocking works well if you prefer not to wet the piece fully; hover the iron and use plenty of steam, shaping as you go.
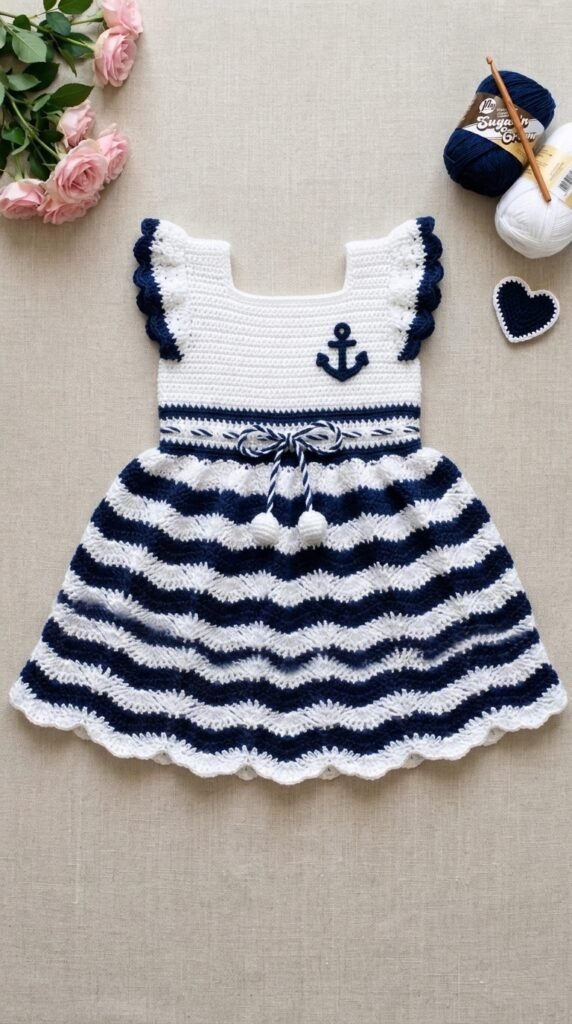
Care: Hand wash or machine wash on gentle cycle in a mesh bag. Lay flat to dry. Never hang the wet dress, as the cotton can stretch. The fabric softens beautifully with washing and becomes even more comfortable for little ones.
Fit and Troubleshooting Tips
- If the chest feels tight, go up a hook size for the yoke or add an extra increase round.
- If the skirt flares too much or too little, adjust the number of increase rounds at the beginning of the skirt.
- Cupping at the neckline is usually fixed by blocking or by ensuring the collar is not too tight when joined.
- Color changes that look messy can be improved by carrying the unused yarn loosely up the inside for a few rounds instead of cutting every time.
- For a longer dress, simply add more stripe repeats before the final edge.
- If the sleeves feel wide, work one or two decrease rounds near the cuff.
FAQ’s
Can a confident beginner make this dress?
The pattern is listed as intermediate mainly because of the short-row shaping on the sailor collar and the color changes. If you are comfortable with half double crochet, basic increases, and changing colors cleanly, you can successfully make this dress. Take the collar slowly and use stitch markers generously. Many advanced beginners have finished it without trouble.
What yarn can I substitute?
Any soft DK-weight cotton or cotton-blend yarn that matches gauge will work. Avoid pure acrylic if you want the same cool, breathable feel, though a high-quality cotton-acrylic blend is fine. Sport-weight yarn can be used if you go up a hook size and check your measurements carefully. I do not recommend chunky or worsted weight—the dress would become too heavy and stiff for a baby.
How do I make the dress longer or shorter?
Simply add or remove full stripe repeats (4 rounds of navy + 4 rounds of white) in the skirt. Each full stripe pair adds roughly 1.25–1.5 inches, depending on your gauge. You can also work a few extra rounds in the final color before the hem if you need just a little more length.
Are the buttons safe for babies?
Use securely sewn buttons and check them regularly. For very young babies or if you prefer zero risk, omit the button placket entirely and work the dress fully in the round, or replace buttons with soft snaps. Never leave a baby unsupervised with any buttoned garment.
Can I make this dress without the sailor collar?
Yes. Simply skip the collar section and begin the yoke by chaining the neckline stitches directly. You will lose the classic nautical look, but the rest of the dress will still work perfectly as a simple striped baby dress.
How much yarn do I really need if I’m between sizes?
The yardage given already includes a small buffer. If you are making the 6-month size but tend to crochet tightly or want a longer skirt, buy the 12-month amounts to be safe. It is always better to have a little leftover navy and white for future baby projects than to run short mid-skirt.
Can I sell the finished dresses?
Yes. You may sell finished items made from this pattern. Please credit the design (a simple “Pattern by [your name or site]” is appreciated). Do not sell or distribute the pattern itself.
Final Thoughts
There is something deeply satisfying about watching a little one in a dress you made with your own hands—especially one that carries that classic navy-and-white sailor charm. I hope this Navy and White Nautical Baby Dress becomes a favorite in your project queue and, more importantly, a favorite on the little person who wears it.
I would love to see your version. Share a photo in the comments, tag me on social media, or pin it so other makers can find the pattern easily. Happy crocheting, and may every stitch bring you a little bit of that salty-breeze feeling that started this whole design.


Leave a Reply
You must be logged in to post a comment.