

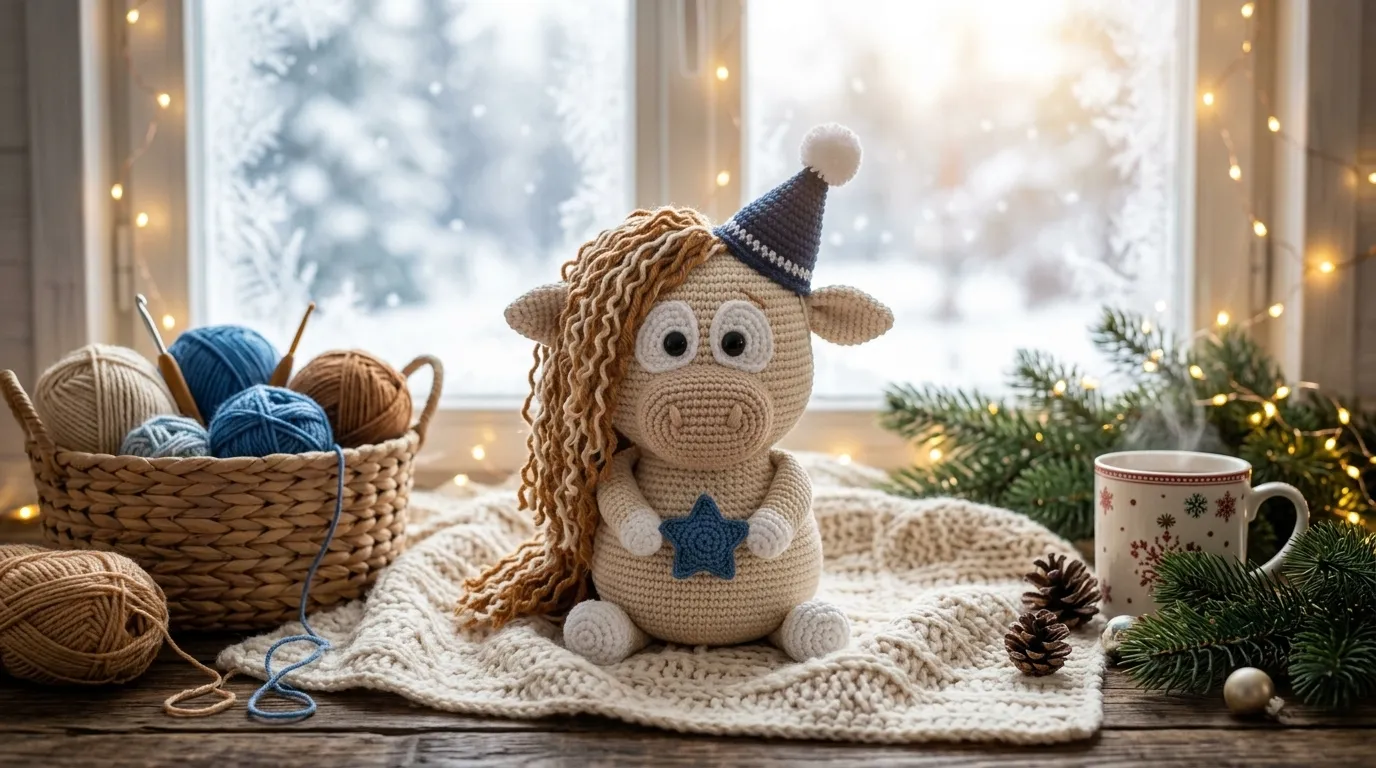
Highland cows already look like they walked straight out of a fairy tale. They’re fluffy, they have dramatic horns, and their hair legit covers their eyes like an early 2000s emo phase. This amigurumi version captures all of that charm in a sitting position that’s perfect for shelves, desks, or aggressively cute gifting.
The cream color scheme keeps things classic and neutral. You can display her anywhere without worrying about clashing with your decor. And if cream isn’t your vibe? Swap yarn colors and make her brown, black, or even lavender if you’re feeling spicy.
Skill Level and Time Commitment

This pattern sits at the intermediate level. You’ll need to know how to work in continuous rounds, make increases and decreases, and assemble multiple pieces.
Here’s the breakdown:
- Finished size: About 12 to 13 inches tall when seated
- Time needed: Roughly 8 to 10 hours depending on your speed
- Best for: People who’ve made at least one or two amigurumi projects before
Not quite there yet? No worries. Practice your magic ring and single crochet until they feel automatic. This cow isn’t going anywhere.
Materials You’ll Need
Gather these before you start so you’re not scrambling mid-project:
<strong>Yarn (worsted weight):</strong>
- Caramel or light brown for the head, body, arms, legs, ears, and fringe
- Cocoa brown for hooves
- Soft pink for the snout and inner ears
- Cream for the horns
<strong>Tools:</strong>
- 3.5 mm crochet hook
- 12 mm safety eyes
- Polyester fiberfill
- Tapestry needle
- Stitch marker
- Scissors
A quick note on yarn choice. Acrylic works great for easy washing. Cotton gives excellent stitch definition. Chenille yarn makes things extra plush but can be tricky to see your stitches. Pick what feels right for your skill level.
Let’s Talk Abbreviations
The pattern uses standard US crochet terms:
- MR: Magic Ring
- sc: Single Crochet
- inc: Increase (2 sc in the same stitch)
- dec: Invisible Decrease
- sl st: Slip Stitch
- ch: Chain
- FO: Fasten Off
The invisible decrease is your best friend for amigurumi. It keeps your fabric smooth instead of bumpy. Here’s how: insert your hook through the front loops of the next two stitches, yarn over, pull through both loops, yarn over again, and pull through. Done.
Starting with the Head
The head is where this cow gets her personality. You’ll begin with a magic ring and work in continuous spirals, increasing until you reach <strong>54 stitches around</strong>.
Rounds 1 through 9 build the shape. Then you’ll work a long section without increases to create that slightly taller-than-wide profile. This extra height gives you room for the snout, eyes, and all that glorious fringe.
Don’t close the head yet. You need to insert the eyes and attach the snout first.
Eye Placement Matters More Than You Think
Place your 12 mm safety eyes <strong>between rounds 11 and 12</strong>, spaced about 14 to 16 stitches apart.
Here’s the thing: if you put the eyes too high, your cow looks surprised. Too low, and she looks grumpy. Right in that sweet spot? She looks calm, friendly, and ready to be your new desk buddy.
Making That Adorable Snout

The snout uses soft pink yarn and works up as an oval shape. You’ll increase to 48 stitches, work several rounds even, then decrease back down.
Two important tips:
<strong>Stuff it firmly.</strong> You want the snout to bulge forward like a real Highland cow’s muzzle. Floppy snouts just look sad.
When sewing the snout to the head, position the top edge so it rises slightly into the lower eye line. This creates soft, rounded cheeks that make the face look fuller and more realistic.
Add two small embroidered nostrils using dark brown yarn. Keep them wide and slightly flat. That’s the Highland cow signature.
The Fringe: Where the Magic Happens
This is the part that separates a regular cow from a Highland cow. You’ll cut 60 to 70 strands of yarn, each about 7 to 8 centimeters long.
Attach them in 5 to 6 dense rows using lark’s head knots:
- First row: Just behind the horns
- Final row: Just above the eyes
- Leave the sides slightly longer than the center
Once all the fringe is attached, trim it carefully. You want a natural, shaggy look. Don’t aim for perfect. Uneven texture is the goal here. The messier it looks, the more authentic your Highland cow becomes.
Some makers prefer attaching individual strands. Others make a separate fringe panel and sew it on. Both approaches work. IMO, the lark’s head method gives you more control over the final shape.
Horns, Ears, and Other Details
The Horns
Cream yarn, small tubes, slight curve. The horns on this pattern are short and thick, not long and dramatic. They sit just behind the fringe line and angle outward.
Work them as narrow tubes, stuff lightly, and sew them securely. If they flop around, you’ve either under-stuffed them or need more anchoring stitches.
The Ears
Ears are simple oval shapes worked in caramel yarn. Position them on the sides of the head, slightly behind the horns. Angle them downward for that relaxed, dopey Highland cow expression.
The Body
The body is a basic oval shape, wider at the bottom so your cow can sit without tipping over. Stuff the base firmly, then use slightly less stuffing near the neck so the head can nestle in naturally.
Assembly Tips That Actually Help

Sewing amigurumi pieces together is where projects either shine or fall apart. Literally.
<strong>Pin everything first.</strong> Use sewing pins to position the head, arms, and legs before you commit to any stitches. Look at your cow from multiple angles. Adjust until the proportions feel right.
<strong>Use the right needle.</strong> A tapestry needle with a blunt tip works best. Sharp needles split your yarn and create holes.
<strong>Anchor securely.</strong> When attaching the head to the body, sew through both pieces multiple times. This cow will get squeezed, and you don’t want her head popping off.
Hide your knots. Start and end your sewing on the inside of the pieces. Weave the tail through a few stitches before trimming.
Customization Ideas
Once you’ve made one classic cream Highland cow, you’ll probably want to make more. Here are some ways to switch things up:
- Color variants: Brown, black, gray, or even pastel for a whimsical twist
- Accessories: A tiny flower crown, a scarf, or a little bell around the neck
- Seasonal versions: Add a witch hat for Halloween or a Santa hat for Christmas
- Size adjustments: Use bulky yarn and a larger hook for a giant cuddle-sized cow, or fingering weight for a tiny desk companion
The pattern itself stays the same. Just swap colors and add-ons to match your mood or the season.
Common Mistakes to Avoid
Under-stuffing. Amigurumi needs firm stuffing to hold its shape. If your cow feels squishy, add more fiberfill. Pay extra attention to the snout and head.
Eyes too high. This makes your cow look like a deer or goat. Keep them low and wide.
Fringe too neat. Stop trimming when it looks “good enough.” Perfection kills the shaggy charm.
Rushing the assembly. Take your time pinning and sewing. The finishing touches make the difference between “cute handmade project” and “professional-looking plush.”
You Might also Like:
- Mint Seafoam Mermaid Amigurumi Free Crochet Pattern
- Ocean Ombre Dragonfly Top Crochet Pattern
- Cosmic Galaxy Avocado Amigurumi Free Crochet Pattern
Wrapping It Up
This classic cream Highland cow is one of those projects that looks way harder than it actually is. If you can crochet a ball, you can make this cow. The magic is in the details: the fringe, the eye placement, the slightly squished snout.
Make one for yourself. Make one for a friend who loves farmhouse decor. Make a whole herd in different colors. This pattern is free, so the only limit is how much yarn you have in your stash.
Happy crocheting, and may your fringe always land in that perfect, slightly chaotic swoop.


Leave a Reply
You must be logged in to post a comment.