

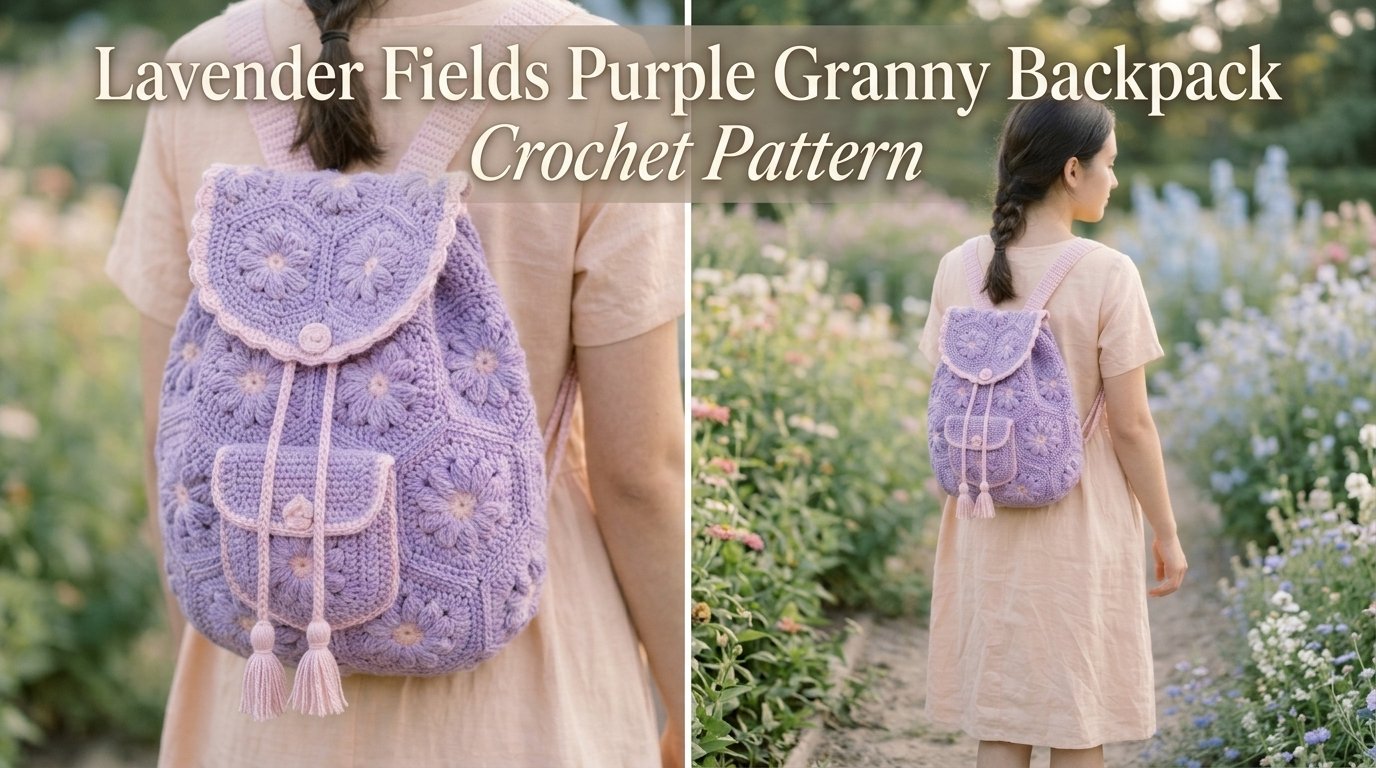
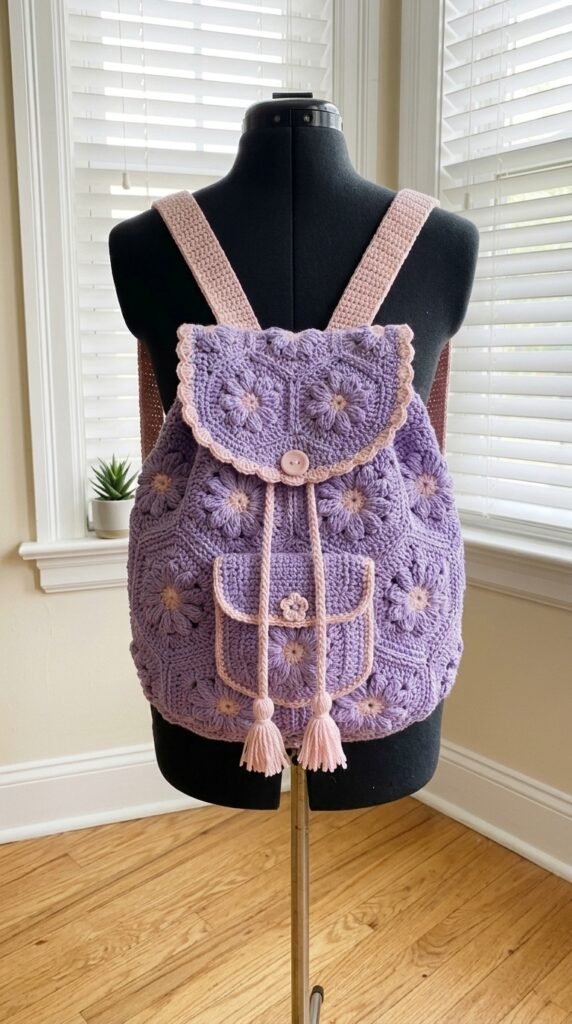
Hook your yarn and get ready, because this lavender fields purple granny backpack is the project that finally makes your granny squares feel useful instead of just pretty. I’ve been hauling around half-finished bags for years, and this one actually holds my wallet, phone, water bottle, and a skein for emergency crochet sessions without looking like a craft-store explosion. The puff-flower squares give it that soft, dimensional texture while the structure keeps everything from collapsing into a sad heap. Let’s make something you’ll actually wear instead of just photograph.
Why You’ll Love This Crochet Backpack Pattern
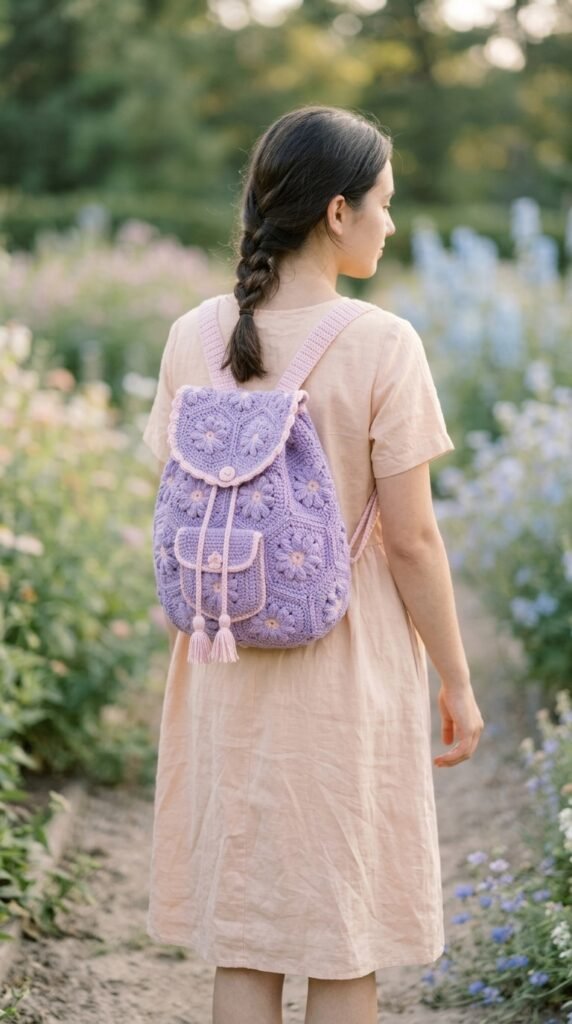
This bag hits that sweet spot between “looks complicated” and “wait, I already know these stitches.” The raised flower centers create real dimension without requiring advanced techniques, and the finished size gives you just enough room for daily essentials without turning into a hiking pack.
You’ll end up with a backpack roughly 14 inches tall, 12 inches wide, and about 5 inches deep. Perfect for market runs or weekend getaways. The pink contrast edging keeps the lavender from feeling too monochromatic, and the adjustable straps mean it fits most shoulders without constant readjusting.
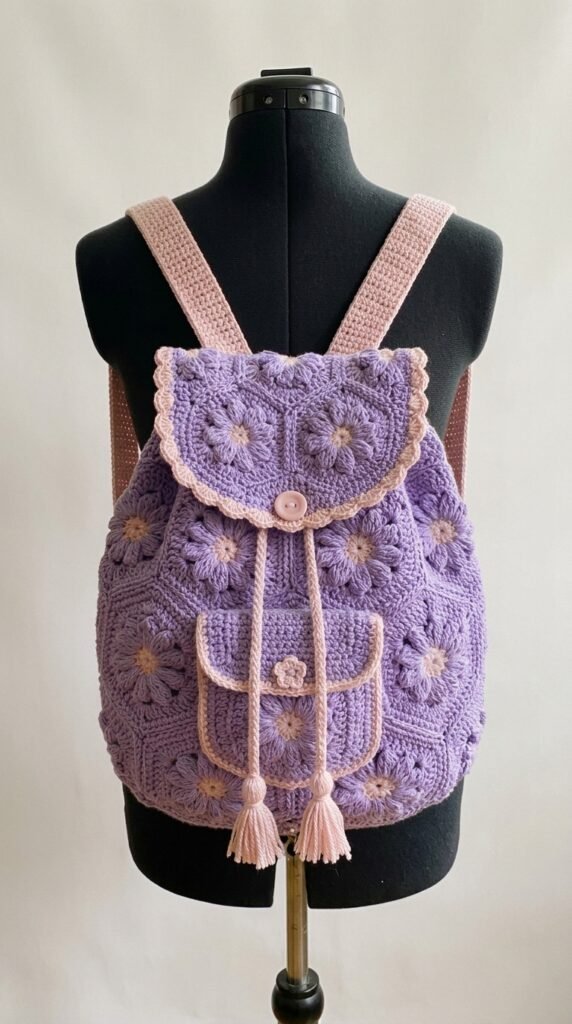
IMO, the best part is how the squares work up fast once you get the rhythm. Make a few while watching something mindless and suddenly you’ve got half the body done.
Materials You’ll Need
Grab these before you start so you’re not mid-square when you realize you’re short on pink.
- Main Color (MC): 400 grams worsted weight yarn in lavender purple
- Contrast Color (CC): 150 grams worsted weight yarn in soft pale pink
- Hook: 5.0 mm (H/8)
- Yarn needle
- Stitch markers
- One 1-inch button in a coordinating shade
- Optional fabric for lining
- Scissors
A medium-weight acrylic or cotton blend gives the bag enough structure without turning it into a brick. Pure cotton looks gorgeous but adds noticeable weight once the squares pile up.
Gauge
One finished puff flower square should measure about 4 inches by 4 inches after a light block. If yours runs bigger, drop a hook size. Smaller? Go up. Gauge here directly controls how the panels fit together, so don’t skip the check.
Skill Level
Intermediate. You should already feel comfortable working in the round, joining squares, and basic increases and decreases. New to puff stitches? No stress. Practice a couple on scrap yarn first and you’ll get the hang of the tension quickly.
Abbreviations and Stitch Definitions
- ch – chain
- sl st – slip stitch
- sc – single crochet
- dc – double crochet
- hdc – half double crochet
- puff st – (yarn over, insert hook, yarn over, pull up a loop) three times in the same stitch (7 loops on hook), yarn over and pull through all seven loops
- sp – space
- st(s) – stitch(es)
The puff stitch is just a chunky cluster. Keep those loops relaxed so the flower actually puffs instead of flattening.
Puff Flower Granny Square Pattern
You need 30 squares total for the body, flap, and pocket. Work them all in lavender, then add the pink details later.
Round 1: Magic ring, ch 1, 8 sc into the ring. Sl st to join. Pull closed. (8 sts)
Round 2: Ch 1, (sc in next st, ch 2) around. Sl st to join. (8 sc + 8 ch-2 spaces)
Round 3: Sl st into first ch-2 sp. Ch 1, (puff st, ch 2, puff st) in same space. *Ch 1, skip next ch-2 sp, (puff st, ch 2, puff st) in next ch-2 sp.* Repeat around. Sl st to first puff. (4 petals)
Round 4: Ch 3 (counts as dc). Working behind the petals into the skipped spaces from Round 2, dc in first skipped sp. *Ch 2, 2 dc in next skipped sp.* Repeat around. Ch 2, sl st to top of beginning ch-3.
Round 5: Ch 3, dc in next dc. *(2 dc, ch 2, 2 dc) in corner ch-2 sp, dc in next 2 dc.* Repeat around. Sl st to join.
Round 6: Ch 3, dc in each dc across each side, working (2 dc, ch 2, 2 dc) in every corner space. Sl st to join. Fasten off.
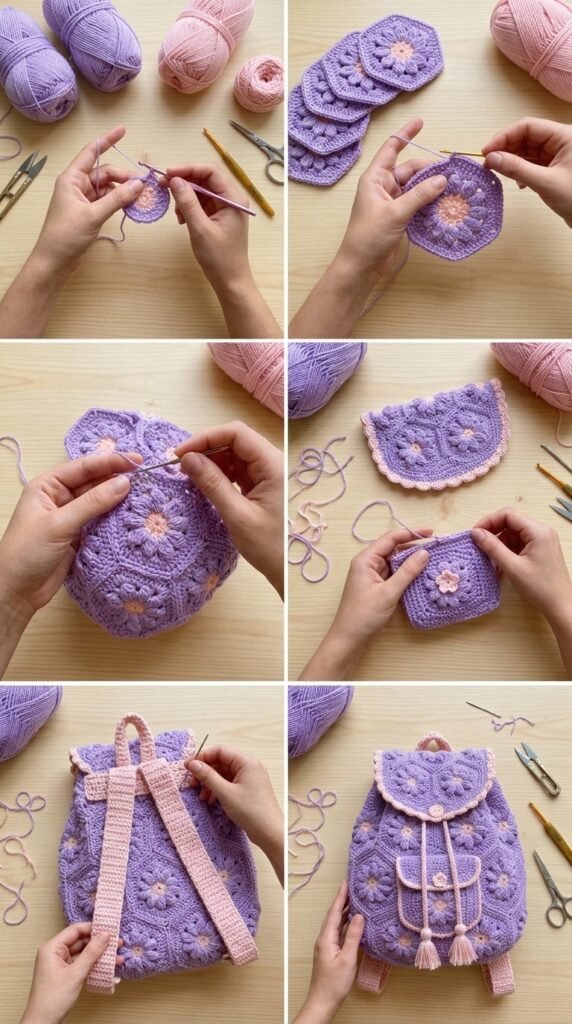
Make 29 more. You’ll thank yourself later for getting them all done first.
Assembling the Backpack Body
Lay the squares out like this:
- Front panel: 3 squares wide by 4 tall (12 squares)
- Back panel: same 3 by 4 layout (12 squares)
- Bottom: one row of 3 squares
Joining Method
Use a flat slip-stitch join with the pink yarn for a clean, textured seam. Hold two squares wrong sides together. Insert hook through both corner spaces, pull up a loop with CC, ch 1, then slip stitch through both layers across the edge. Keep tension even so the seam doesn’t pucker.
Join the front panel completely, then the back. Attach the bottom row to the lower edge of the front, join the back to the bottom, and finally seam the sides closed.
Creating the Rounded Bottom
Give the base a gentle curve so the bag sits nicely. With pink yarn, join at any bottom corner and single crochet evenly around the entire bottom perimeter. Work sc2tog at each corner to ease the fabric inward. Complete one more round of plain sc, then fasten off.
Backpack Flap
Join four squares into a 2-by-2 square. Add a scalloped pink border along the three free edges (leave the top edge plain for attaching).
With CC: sc evenly across those three sides. On the next row, *skip 2 sts, 5 dc in next st, skip 2 sts, sc in next st.* Repeat for a pretty shell edge. Fasten off.
Front Pocket
Join two squares vertically. Edge the sides and bottom with pink single crochet, putting 3 sc in each lower corner for a clean turn. Leave the top open.
For the button tab: chain 8, sc across for four rows. Make a tiny three-round puff flower and sew it to the center of the tab. Attach the tab to the pocket and sew the button just below on the pocket body.
Backpack Straps
Make two. With pink: chain 9, sc in second chain and across (8 sc). Work 90 rows of sc for roughly 24-inch straps. Adjust row count if you want them longer or shorter. Leave long tails for sewing.
Drawstring Closure
Chain 150 with pink, sc across. Fasten off. Add two tassels: cut 20 strands of pink yarn about 8 inches long, fold in half, loop through each end of the drawstring, and secure with a wrap. Trim even.
Assembly Instructions
- Sew the flap to the top edge of the back panel, centering it.
- Thread the drawstring through the top row of squares so the tassels hang at the front center.
- Attach straps to the back panel about 2 inches in from each side. Sew tops to the upper corners and bottoms to the lower corners, adjusting for comfortable shoulder fit.
- Sew the pocket to the center of the front panel.
- Position and sew the button on the front panel so the flap closes neatly over it.
Optional Lining
If you want extra durability, cut fabric to match the interior dimensions plus half an inch seam allowance. Sew the lining pieces, press the seams, and hand-stitch it inside along the top edge. It keeps pens and keys from poking through the squares.
Finishing Touches
Weave in every last end. Lightly mist the finished bag and shape it over a towel-stuffed form so the squares settle evenly. Let it dry completely before you load it up.
Care Instructions
Hand wash in cool water with mild soap. Lay flat to dry. Spot-clean acrylic versions as needed. Avoid wringing so the flower centers stay puffy.
Tips for Success
- Knock out all 30 squares first. The repetition becomes almost meditative once the pattern clicks.
- Keep puff-stitch loops loose. Tight loops kill the dimension.
- Stitch markers are your friends—mark corners and joining points liberally.
- Practice one flower center on scrap yarn if puffs are new to you.
This project rewards patience with a bag that actually gets used. The texture looks intricate, the construction is solid, and the color combo feels fresh without being loud.
You Might Also Like
- Warm Mustard Yellow Crochet Backpack Free Pattern
- Cream Strawberry Cottagecore Backpack Free Crochet Pattern
- Navy Blue Anchor Nautical Backpack Free Crochet Pattern
- Cream Lace Wedding Bow Purse Free Crochet Pattern
FAQ’s
Can I use a different yarn weight?
Stick with worsted for the intended size and structure. A lighter weight will give you a smaller, floppier bag. Heavier yarn makes it bulky and heavy.
How long does this project take?
Most people finish the squares in a weekend of focused work, then another day or two for assembly. It’s not a one-sitting project, but the modular nature makes progress feel steady.
Do I really need the lining?
Not strictly, but it adds a lot of strength and keeps small items from working their way through the fabric. Worth the extra half hour.
Can I change the colors?
Absolutely. Just keep enough contrast between the main body and the joining/edging color so the seams and details still show.
What if my squares aren’t exactly 4 inches?
As long as they’re consistent with each other, the panels will still fit. Slight size differences just mean a slightly different finished bag.
Final Thoughts
You now have everything you need to turn a pile of lavender squares into a functional, pretty backpack. Grab your hook, start those flowers, and enjoy the process. When you finish, wear it out and watch people ask where you bought it. That’s the best part.


Leave a Reply
You must be logged in to post a comment.