

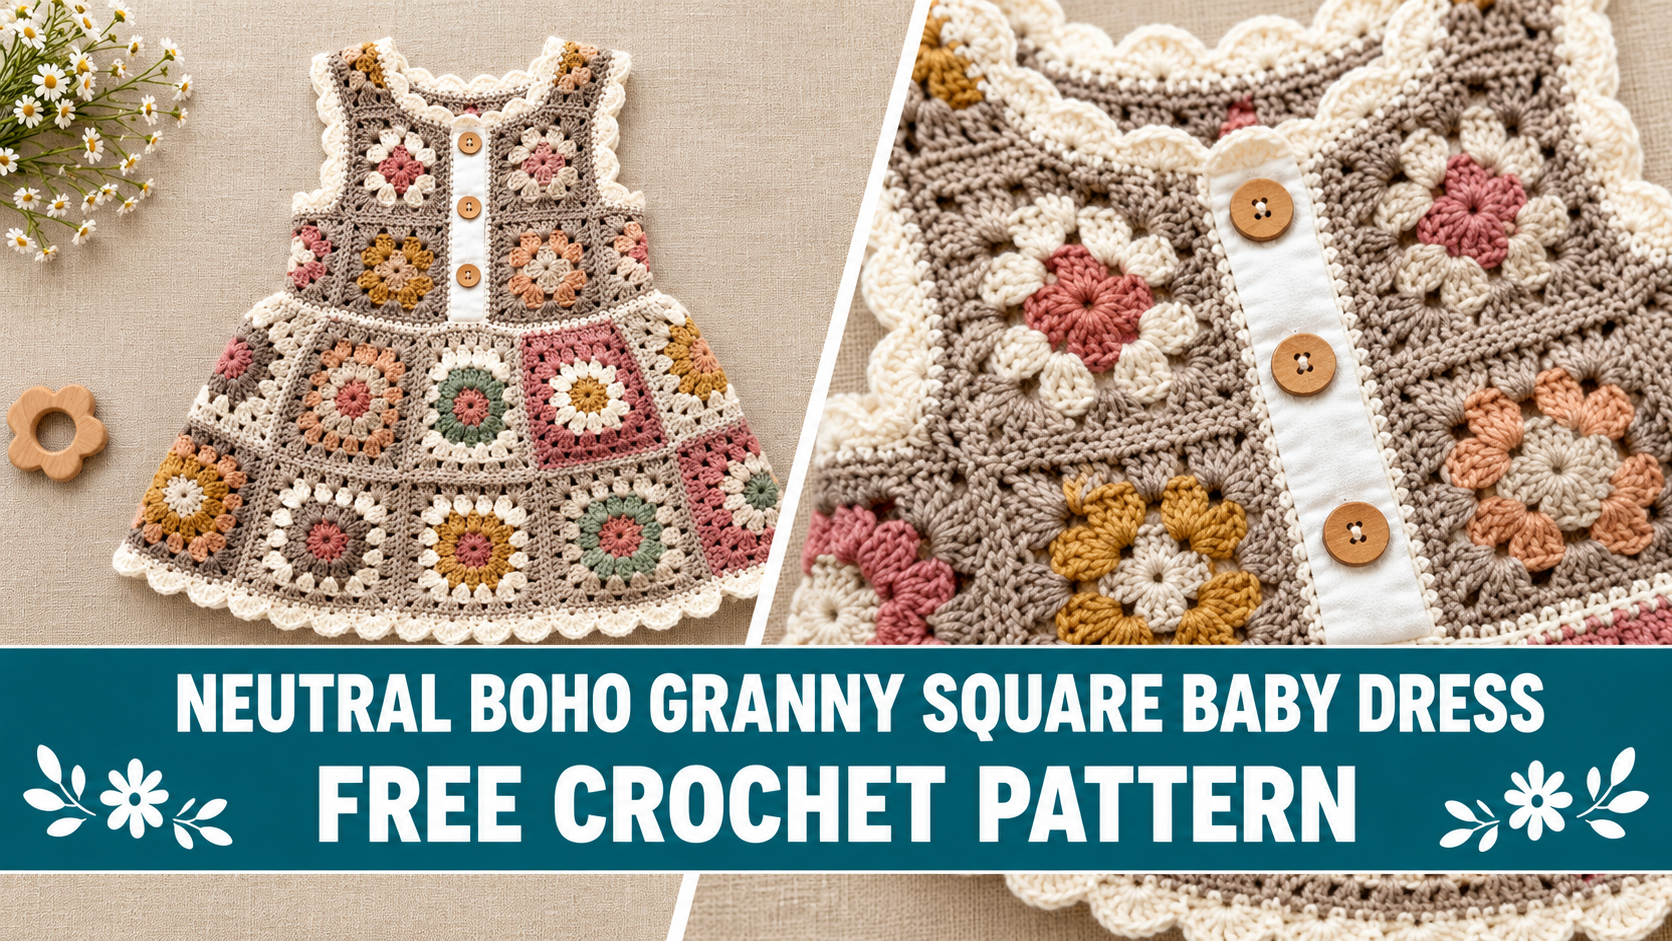
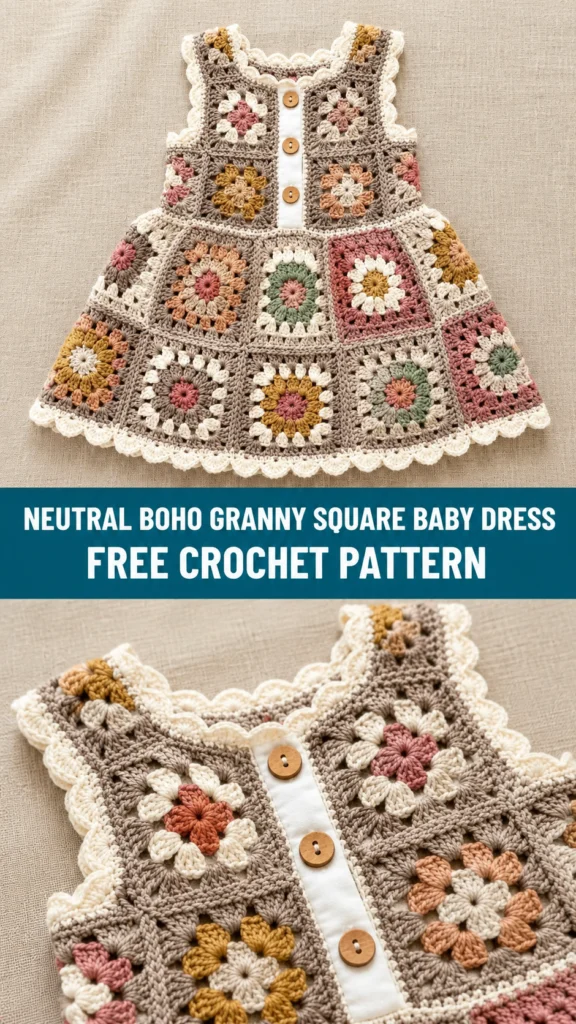
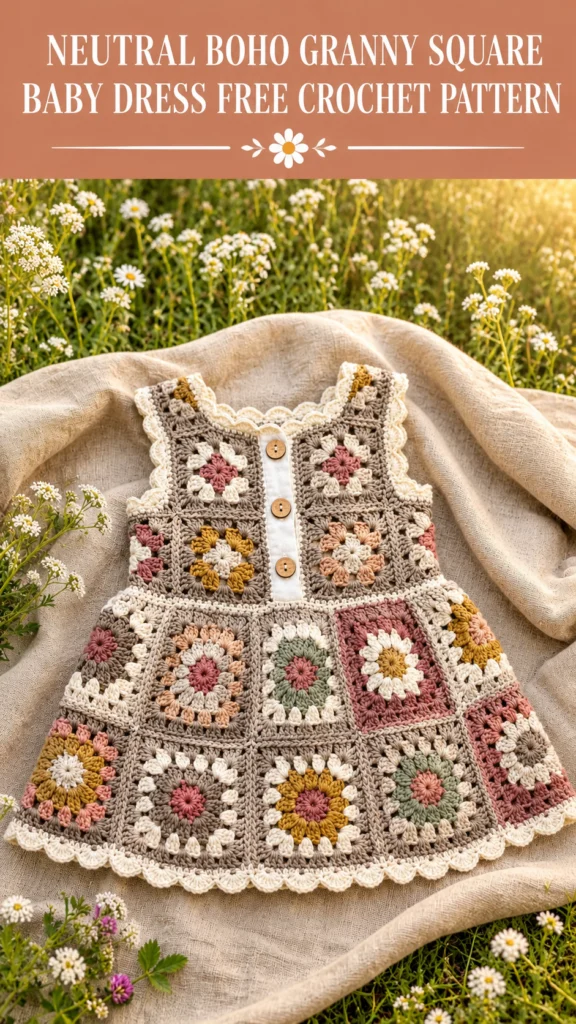
Tiny handmade baby clothes hit different. There’s a softness and personality in every stitch that store-bought pieces just cannot match. This neutral boho granny square baby dress has lived in my head for ages—earthy tones, classic squares, sweet wooden buttons down the front. It looks like an heirloom already, yet you can start it tonight with nothing more complicated than making a bunch of pretty squares.
Why This Granny Square Baby Dress Works So Well
The real genius sits in the modular construction. You build the whole dress from individual granny squares instead of wrestling with complicated shaping or endless decreases. Make a few while you binge a show. Tuck a couple in your bag for appointments. No marathon sessions required.
The muted palette keeps everything looking intentional. Warm taupe acts as the background that ties dusty rose, sage green, antique gold, and creamy off-white centers together. The finished dress feels cohesive rather than random.
And that scalloped edging? It turns a simple patchwork of squares into something that looks way more polished than the sum of its parts. Neckline, armholes, and hem all get the same delicate treatment. Instant upgrade.
Skill Level and Time Commitment
I’m calling this intermediate. The individual squares themselves are beginner-friendly. If you can chain, double crochet, and work in the round, you already know the hard part.
The joining method, bodice shaping, and structured edgings need careful reading and a bit of tracking. That’s where the intermediate label comes in.
Time estimate runs 18 to 25 hours for the 6-12 month size. Most of that time goes into making and weaving in the 44 squares. Once those pieces sit ready, assembly and finishing move surprisingly fast.
Materials You’ll Need
Reach for worsted weight yarn, roughly 400 to 450 yards total. Break it down like this:
- Main Color (MC): Warm taupe, about 220 yards
- Color A: Dusty rose, about 50 yards
- Color B: Antique gold or mustard, about 40 yards
- Color C: Sage green, about 30 yards
- Color D: Off-white or cream, about 60 yards
You’ll also need a US G-6 / 4.0 mm hook, three wooden shank buttons around 5/8 inch, a yarn needle, stitch markers, scissors, a blocking mat and pins, and optionally a small piece of white cotton fabric for the button placket backing.
Yarn Suggestions That Work Beautifully
Lion Brand Pound of Love gives soft, machine-washable fabric with just enough sheen to make the clusters pop. One skein per color is more than enough.
Paintbox Yarns Simply DK held double works if you want a wider color range. Two strands bring it up to worsted weight nicely.
WeCrochet Mighty Stitch adds a bit of wool content for structure so the squares keep their shape after washing.
Stick with smooth yarns. Fuzzy ones hide those pretty clusters, and babies deserve definition.
Gauge (Please Don’t Skip This)
One finished granny square after Round 4 should measure 3.5 inches by 3.5 inches blocked.
In single crochet with the main color, aim for 10 stitches and 12 rows equaling 4 inches square.
Gauge matters because every piece joins to every other piece. Squares that run large or small throw off the entire fit. Spend ten minutes on a test square, block it, and adjust your hook if needed. Future you will high-five present you.
Finished Sizes
The pattern covers four sizes:
- 0-3 months: Chest 14 inches, length 13 inches
- 6-12 months: Chest 16 inches, length 15 inches
- 12-18 months: Chest 18 inches, length 17 inches
- 2T: Chest 20 inches, length 19 inches
Instructions focus on the 6-12 month size with clear notes for the others. Going up one hook size roughly sizes the whole dress up one level if you want a quick adjustment.
How Many Squares Do You Need?
For the 6-12 month size you make 24 small squares for the bodice and 20 large squares for the skirt. Total: 44 squares.
Small squares stop after Round 3 and measure about 2.75 inches blocked. Large squares continue through Round 4 and hit 3.5 inches.
The special stitches stay simple. The 3-dc cluster forms the classic granny look. A picot adds tiny decorative bumps if you want them. Scallop edging uses five double crochets in one stitch to create those soft waves. Join-as-you-go lets you attach squares as you finish them so you skip a separate seaming marathon.
Color distribution stays flexible. Scatter the accent centers however you like. The taupe background pulls everything together no matter the arrangement.
Assembling the Bodice and Skirt
Each bodice panel uses a grid of four squares wide by three tall. Arrange the colors first so you like the flow, then join the squares with slip-stitch seams through the chain spaces. Make a matching back panel.
Join the panels at the shoulders by connecting only the outer squares on each side. Leave the center open for the neckline. Join the side seams along the bottom two squares only so the top row forms the armholes.
For the skirt, join eight large squares into a ring for the upper tier and attach it to the bottom of the bodice. The lower tier uses twelve large squares. Attach it by joining three lower squares for every two upper ones at even intervals. That creates the gentle A-line flare that looks so sweet on a baby.
Split the center front of the bodice for the button placket. Work single crochet bands down each edge. Add three button loops on one side and sew the wooden buttons on the other. A small fabric backing on the wrong side adds stability if you want extra durability.
Finish with matching scalloped edging around the neckline, both armholes, and the hem. The same simple shell pattern ties every edge together.
Finishing Your Baby Dress
Weave in every last end on the wrong side. Give each tail a gentle tug so it settles securely.
Blocking is essential. Wet the whole dress, squeeze out excess water in a towel, and pin it flat to the finished measurements. Let it dry completely. This step turns a collection of squares into a polished little garment.
Sew the buttons on firmly and you’re done.
Size Customization and Care Instructions
Smaller sizes drop a row or two of squares and reduce the skirt tiers. Larger sizes add width and use more large squares. A bigger hook also bumps the overall size up without rewriting the whole pattern.
Machine wash cold on gentle inside a mesh bag and lay flat to dry. Skip the dryer. If you used any wool-blend yarn, switch to hand washing with wool wash.
IMO this dress rewards patience more than any other baby project I’ve made. Watching forty-four little squares become one wearable piece never gets old.
You Might Also Like
- Sunset Rainbow Starfish Wrap Free Crochet Pattern
- Snow White Elegant Bralette Free Crochet Pattern
- Cream and Gold Shimmer Crochet Sneakers Free Pattern
- Mint Green Bunny Jacket with Pompom Free Crochet Pattern
- Chocolate Caramel Cozy Crochet Robe Free Pattern
FAQ’s
Can a confident beginner finish this dress?
Yes, if you already feel solid with basic granny squares and can follow join-as-you-go instructions carefully. The squares themselves stay simple. Take your time with the assembly steps and you’ll be fine.
What if I want different colors?
Any soft neutrals work as long as one shade acts as the main background. Keep the centers varied and the taupe (or your chosen main color) consistent. The boho feel stays intact.
How do I keep the joins looking neat?
Work the slip-stitch joins with the right sides facing you so the seam stays flat on the wrong side. Match the chain spaces carefully and keep your tension even. Blocking hides almost any minor unevenness.
Is the button placket necessary?
Technically no, but it makes dressing a wriggly baby so much easier. The wooden buttons also give the dress that sweet heirloom touch. I wouldn’t skip them.
Can I make the dress longer?
Absolutely. Add another tier of large squares or work an extra round on the large squares themselves. Just adjust the yarn amounts accordingly.
Conclusion
There you have it—a neutral boho granny square baby dress that looks like it came from a vintage trunk yet starts with simple, meditative squares. Grab those earthy colors, settle in, and start cranking out the first few. When the finished dress finally sits blocked and buttoned, you’ll understand why this one stays rent-free in so many heads. Tag your photos when you finish. I want to see every last square.


Leave a Reply
You must be logged in to post a comment.