

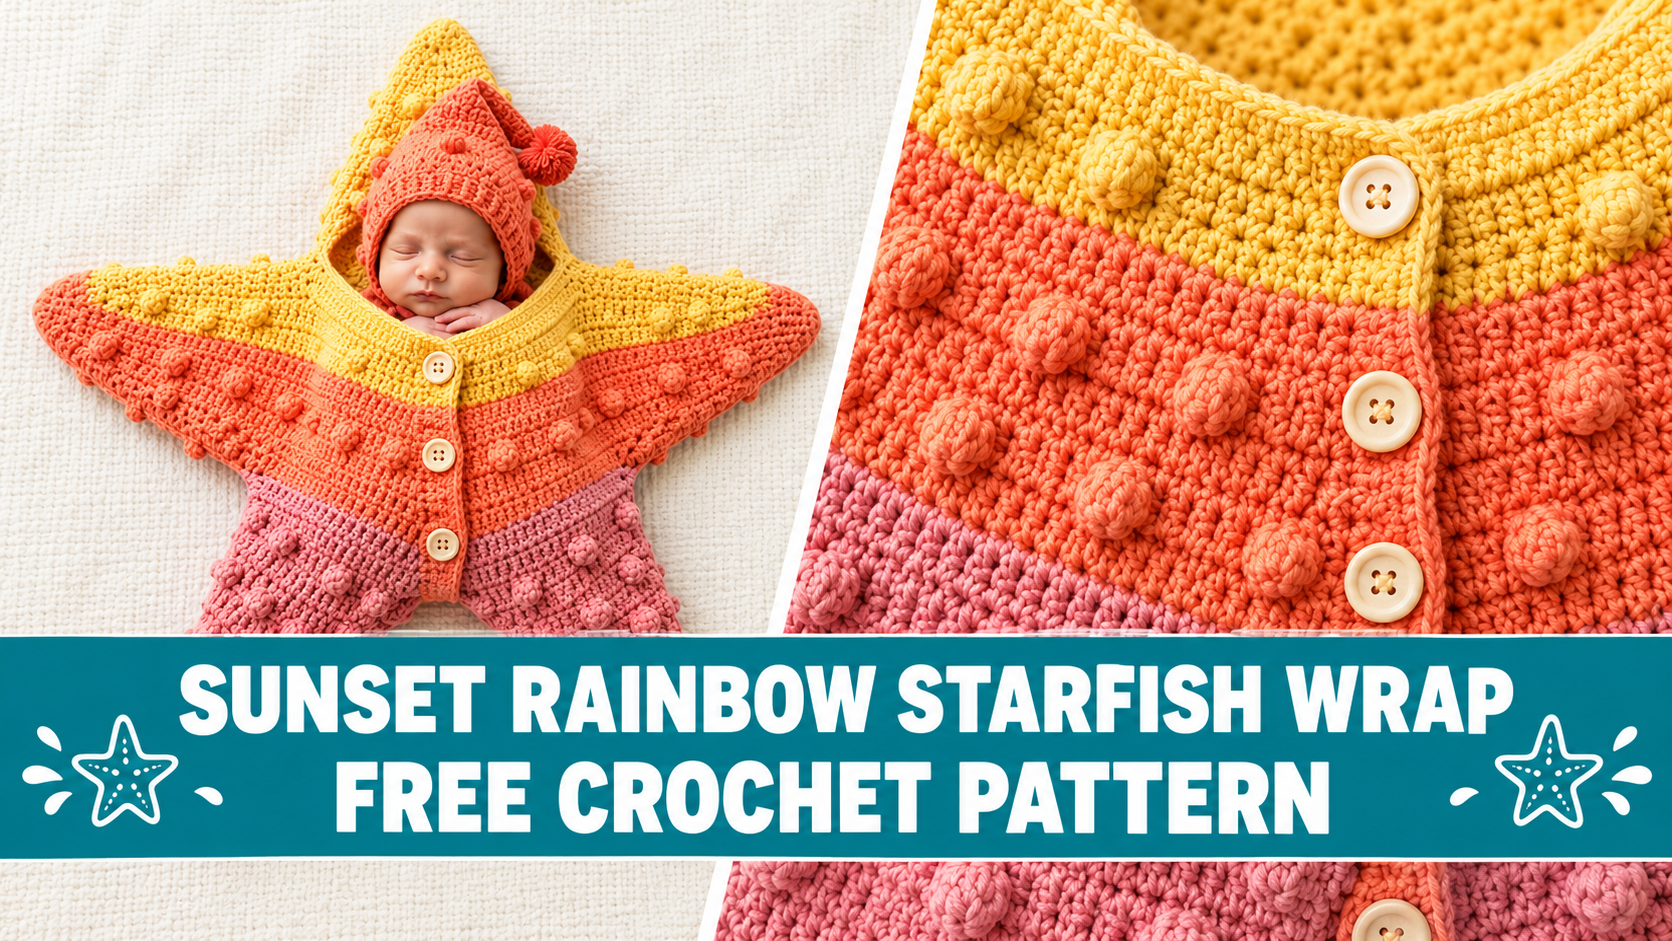
Ever sketched a design in a coffee shop notebook, then forgotten about it for years? That’s exactly how this sunset rainbow starfish wrap started. One day it was just a scribble for a newborn photo prop. The next, it became the project you cannot stop staring at. Five points, warm gradient colors, and those little bumpy bobbles that look like real starfish skin. Ready to make one that makes parents actually gasp?
What Makes This Starfish Baby Wrap Special
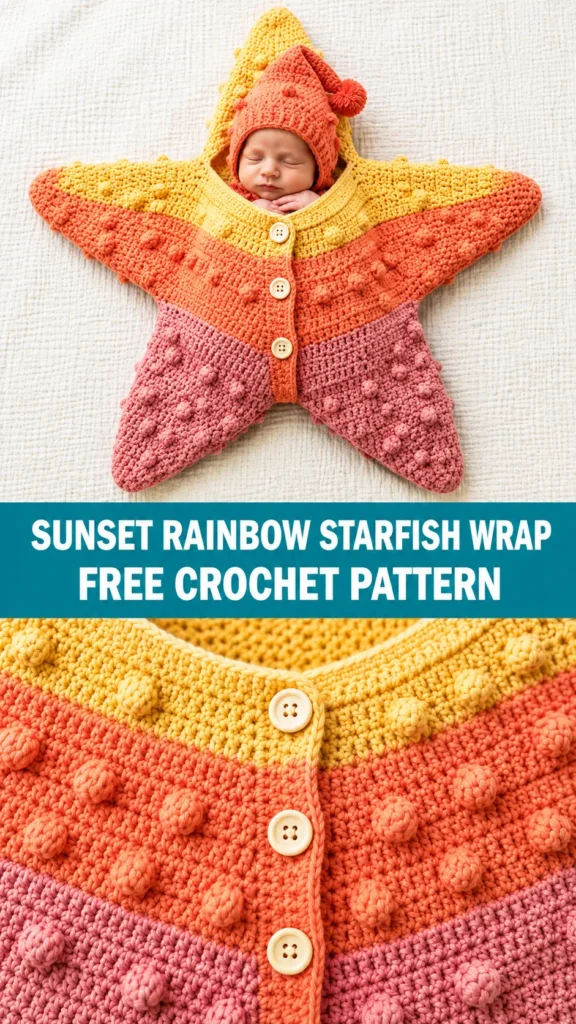
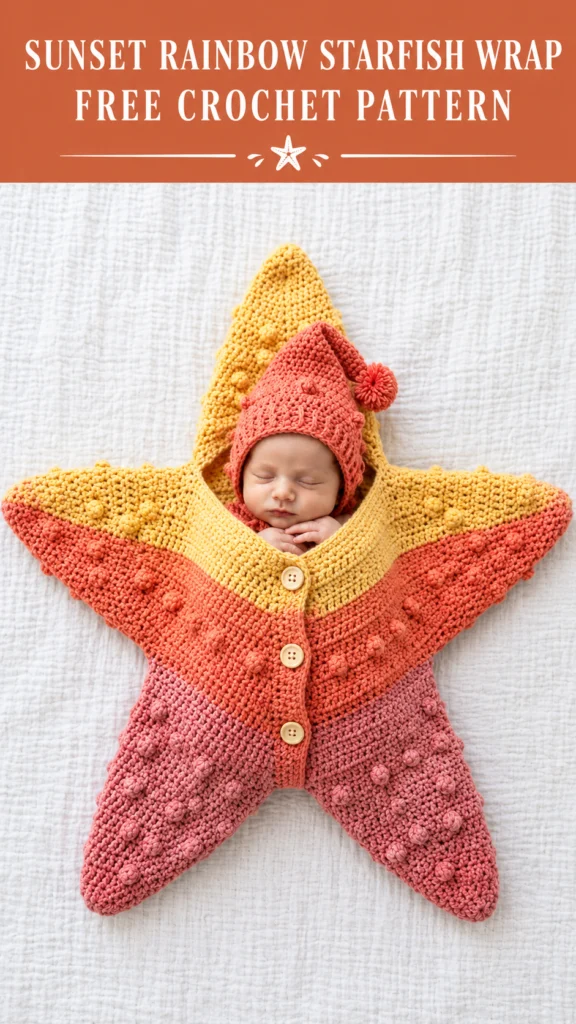
This is not your average baby cocoon. You get a flat five-pointed star that wraps around a newborn and buttons closed across the front. The center opening lets the baby nestle right in while the arms and points flare out for those perfect photography angles.
The real magic sits in the color fade. You start with buttery yellow at the top point, slide through coral and salmon in the middle, and finish with dusty rose at the lower tips. No complicated tapestry work. Just timed color changes that create a smooth sunset gradient.
Those raised dots everywhere? Bobble stitches. They mimic the little tubercles you see on actual starfish. They catch the light, add texture, and keep the whole piece from looking flat. Pair it with the matching pointed hat and pom-pom and suddenly you have a complete ocean set that photographs like a dream.
Pattern Details at a Glance
Skill level sits at intermediate. You need solid half-double crochet skills plus the ability to work bobbles and simple decreases.
Finished wrap measures about 22 inches point to point both ways. The central baby pocket runs roughly 9 inches wide by 8 inches tall. The hat fits a 12.5-inch circumference, perfect for newborn to about three months.
Expect 10 to 14 hours for the wrap itself and another 2 to 3 hours for the hat. Total project time lands somewhere between 12 and 17 hours depending on how fast you crochet and how many coffee breaks you take.
Materials You Will Need
Grab worsted weight yarn, roughly 600 yards total. Split it like this: about 150 yards yellow, 200 yards coral or salmon, and 250 yards dusty rose or mauve.
You will also need a US J-10 / 6.0 mm hook (or whatever size gets you gauge), a yarn needle, three wooden buttons around ¾ inch across, a sewing needle and thread, at least six stitch markers, a small pom-pom maker or cardboard circles, scissors, and rust-proof pins for blocking.
Yarn Suggestions
Lion Brand Pound of Love works beautifully. Look for Buttercup, Tangerine, and Rose Blush. Soft, machine-washable, and the big skeins mean fewer ends.
Paintbox Yarns Simply DK held double gives you the same thickness with a huge color range. Try Daffodil Yellow, Coral Blush, and Dusty Rose.
Bernat Softee Baby is another solid option you can find almost anywhere. Soft Yellow, Peach, and Soft Rose line up perfectly with the sunset vibe.
Stick with smooth yarns. Fuzzy ones hide the bobbles, and nobody wants that.
Gauge
Work half double crochet with that J-10 hook. You want 14 stitches and 10 rows to equal 4 inches.
Chain 20, work 15 rows of hdc, block lightly, then measure the center. Adjust your hook if needed. Gauge actually matters here. A wrap that ends up too small will not close properly around a newborn. One that grows too large looks sloppy in photos. Swatch first. Your future self will thank you.
Special Stitches Explained
The pattern leans on a few key moves. Half double crochet is the workhorse. You also need half-double decreases (hdc2tog) and increases (two hdc in one stitch).
The star of the show is the bobble. You work it on wrong-side rows so it pops to the front. Yarn over, insert into the stitch, pull up a loop, yarn over and pull through two. Repeat that three more times in the same stitch until you have five loops on the hook. Yarn over and pull through all five, then chain one to lock it. That chain does not count as a stitch. Move straight to the next half double.
Keep the bobbles spaced every five stitches or so, offset on alternating rows. The irregular pattern looks more organic, just like a real starfish.
Important Pattern Notes Before You Begin
You work the entire star as one flat piece. No separate panels to sew together later.
Construction order goes: star body first, then button band, then hat, then seams and buttons.
Turning chains are chain 2 and they never count as a stitch. Always work the first half double into the very first stitch of the row.
Change colors at the end of the last stitch of the indicated row. Finish the stitch with the new color, cut the old one, and weave the end later.
Color placement runs yellow at the top point and early rows, coral through the middle body and arms, dusty rose for the lower points. Bobbles appear mainly on wrong-side rows in that offset pattern.
Step-by-Step Crochet Pattern Instructions
Start at the bottom tip with the dusty rose. Build a small triangle with increases on both sides while sprinkling in the first bobbles. Once the lower point reaches the right width, expand the body outward.
Add the lower arm extensions by chaining out from each side, working across the full width, then tapering those arms back in with decreases. The piece starts looking like a star with the bottom three points finished.
Continue upward through the central waist section. Add the upper arm extensions the same way, then taper them. Finally shape the top center point by steadily decreasing until only one stitch remains. Fasten off.
For the front, either work the same shape and carefully open the center later, or work each side separately from the waist upward so the front opening appears naturally. Either method works. Just reinforce the edges right away.
The matching hat starts with a foundation chain that fits a 12.5-inch circumference. Join and work in continuous rounds of half double crochet, decreasing gradually toward the tip. Finish with a tiny pom-pom.
Finishing Your Starfish Wrap
Work a single crochet border along both front edges. Place three evenly spaced buttonholes on one side by chaining two and skipping two stitches. Sew the wooden buttons to the opposite edge with matching thread.
Block the whole star flat. Pin it out, mist or steam lightly, and let it dry completely. This step transforms the piece from “cute homemade” to “ready for a professional photo session.”
Attach the pom-pom to the hat tip and you are done.
Tips for Photography Success
Lay the wrap on a plain white or cream surface so the sunset colors really pop. Spread the five points outward so the full starfish shape shows. Tuck the baby’s hands under the chin for that classic newborn pose. The warm yellow-to-rose gradient photographs beautifully against neutral backgrounds and soft natural light.
Take a few shots from slightly above so you capture every bobble and every point. Parents will lose their minds over these photos. Trust me.
You Might Also Like
- Mint Green Bunny Jacket with Pompom Free Crochet Pattern
- Chocolate Caramel Cozy Crochet Robe Free Pattern
- Midnight Navy Blue Peplum Crochet Top Free Pattern
- Ivory Bridal Mesh Crochet Bell Sleeve Shrug Pattern
- Camel Neutral Everyday Lace Maxi Skirt Free Crochet Pattern
FAQ’s
Can a confident beginner handle this pattern?
If you already know half double crochet, increases, decreases, and can follow written instructions carefully, yes. The bobble is the only new stitch for most people, and it becomes second nature after a few rows. Just take your time with the first point.
What if I cannot find the exact yarn colors?
Any three shades that move from warm yellow through coral into dusty rose will work. The gradient matters more than the specific brand names. Just keep the yarn weight consistent so your gauge stays true.
How do I keep the bobbles looking neat?
Always work them on the wrong side so they pop to the right side. Pull the final yarn-over through all five loops firmly, then chain one to lock. Do not count that chain as a stitch. Consistency is everything.
Is the wrap safe for an actual newborn to sleep in?
This design works best as a photography prop and short supervised snuggle. Always follow safe sleep guidelines. Never leave a baby unattended in any wrap or cocoon.
Can I adjust the size for a larger baby?
You can add extra increase rows in the body section and lengthen the arms, but you will need more yarn and the proportions may shift. The pattern as written targets newborn to about three months.
Conclusion
There you have it. One coffee-shop sketch turned into a sunset rainbow starfish that looks like it swam straight out of a dream. The gradient, the bobbles, the five perfect points—they all come together into something special. Grab your hook, pick those warm colors, and start at the bottom tip. Your Little Sea Star is waiting. When you finish, take those photos and show them off. You earned every single stitch.


Leave a Reply
You must be logged in to post a comment.