


Picture this: a crossbody bag that looks like you wandered into a magical forest and plucked it straight from a mossy branch. Deep emerald greens, rich teal, hints of sapphire blue—all woven together in a stunning shell stitch that catches the light like dew on leaves. <strong>This forest jewel tone shell crossbody pattern</strong> gives you exactly that vibe, and the best part? It’s completely free.
I stumbled across this style of bag while scrolling through crochet inspiration (as one does at 2 AM), and I immediately knew I had to make one. The shell stitch creates this gorgeous textured surface that looks way more complicated than it actually is. Whether you’re a seasoned crocheter or someone who just figured out what a double crochet is last week, this pattern is doable. And yes, I promise it won’t take you six months to finish.
Let’s dive into everything you need to know to make your own little forest-inspired treasure.
What Makes This Bag So Dang Cute?
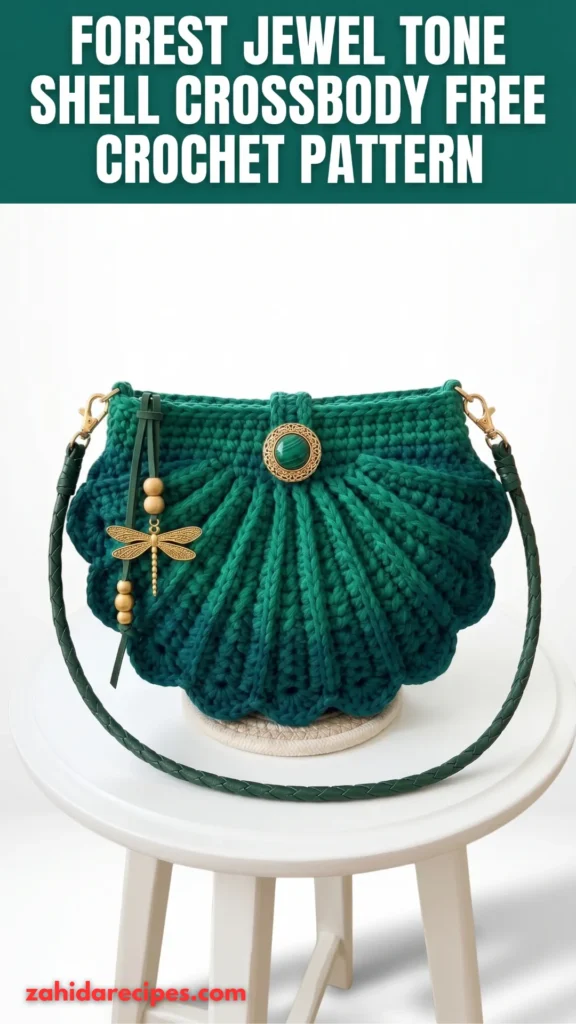
The shell stitch does all the heavy lifting here. It creates these fan-like clusters that look like little scales or petals, depending on how you squint at them. When you work it in jewel tones—forest greens, deep blues, rich purples—it transforms into something that looks almost enchanted.
IMO, the magic really happens when you use a few different colors. You could go full gradient with five or six shades, or keep it simple with two or three. The shell pattern naturally creates visual interest, so even a single color looks pretty great. But the jewel tones? That’s where it shines.
The crossbody style makes it practical, too. Your hands stay free for important things like holding coffee, petting dogs, or dramatically gesturing while telling a story.
Yarn and Hook: What You’ll Need
Before you start, let’s talk supplies. The yarn you choose makes a huge difference in how this bag turns out.
The Yarn Situation
For a sturdy bag that holds its shape, <strong>cotton yarn is your best friend</strong>. It doesn’t stretch the way acrylic does, and it gives the shell stitches beautiful definition. Worsted weight cotton works perfectly for this project.
If you want those jewel tones to really pop, look for cotton in:
- Deep emerald or forest green
- Rich teal or turquoise
- Sapphire or navy blue
- Amethyst or plum
- Maybe a hint of gold or mustard for contrast
You’ll need roughly 200-300 yards total, depending on how big you make it. A single skein of Lion Brand 24/7 Cotton in a few colors would work great. That stuff has amazing stitch definition and comes in gorgeous saturated colors.
Acrylic yarn works if that’s what you have on hand, but just know your bag might be a bit stretchier. If you go the acrylic route, consider sizing down your hook to keep things tight.
Hook Size and Other Tools
A 4mm (G) hook is the sweet spot for worsted weight cotton in this pattern. If you crochet loosely, drop to a 3.5mm. If you’re a tight crocheter, go up to 4.5mm. The goal is a firm fabric that doesn’t have big gaps between stitches.
You’ll also want:
- A yarn needle for weaving in ends
- Stitch markers (helpful for marking rounds)
- Scissors, obviously
- Optional: a magnetic snap or button for closure
- Optional: fabric for lining if you want extra structure
Breaking Down the Shell Stitch
Okay, let’s talk about the star of the show. The shell stitch sounds fancy, but it’s basically just a cluster of double crochets worked into the same stitch or space. Different patterns use different numbers of double crochets per shell—this one typically uses five.
Here’s the basic idea: you work a single crochet, skip a couple stitches, then work five double crochets into the next stitch. That creates a fan shape. Then you skip a couple more stitches and single crochet again. Repeat all the way around.
The next round, you work your single crochets into the middle of the previous shells, and your new shells into the previous single crochets. This staggered arrangement creates that beautiful overlapping texture.
A Quick Note on Gauge
Here’s the thing about bags: gauge isn’t quite as critical as it is for garments. You’re not trying to fit this on a human body. But you do want a fabric that’s dense enough to hold your stuff without stretching all to heck.
If your shell stitches look loose and gappy, go down a hook size. If they’re so tight you can barely get your hook in, go up. Your hands will thank you.
Step-by-Step Pattern Instructions
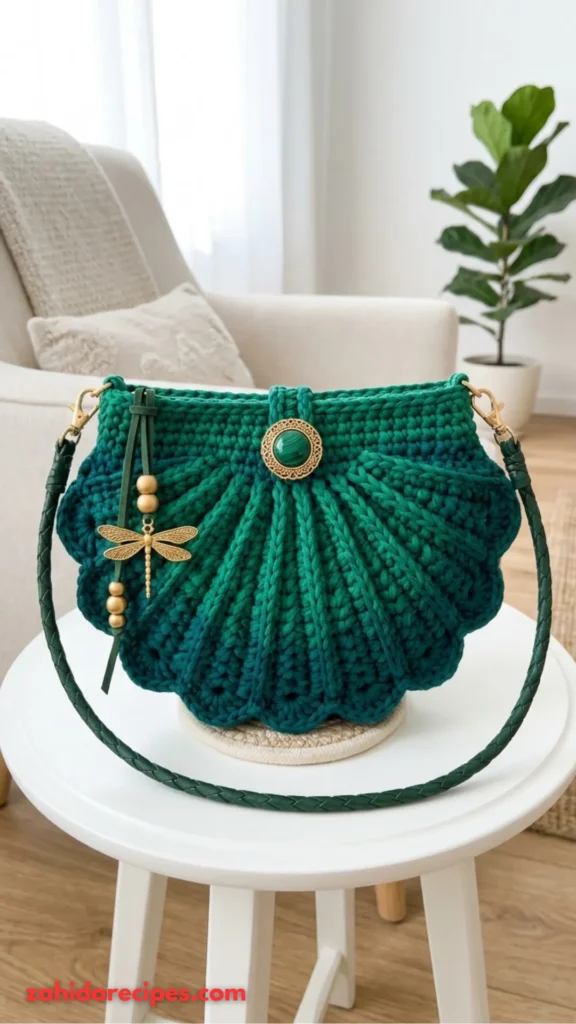
Alright, let’s get into the actual pattern. I’m writing this in US terms because that’s what most of us learned on, but if you’re used to UK terms, just remember that a US single crochet is a UK double crochet. Confusing, I know.
Abbreviations You’ll See
- ch = chain
- sc = single crochet
- dc = double crochet
- sl st = slip stitch
- st = stitch
- sp = space
- sk = skip
Part 1: The Base
Start by chaining your desired width. For a nice crossbody size, chain 30. This gives you a bag that’s roughly 7-8 inches wide.
Round 1: Work 3 sc in the second chain from hook. Then work 1 sc in each chain across until you reach the last chain. Work 5 sc in that last chain (this turns the corner). Now work back along the other side of your foundation chain, placing 1 sc in each chain. When you get back to where you started, work 2 more sc in that first chain (total of 5 sc at that end). Join with a sl st to the first sc.
You should now have an oval-shaped base. The total stitch count should be a multiple of 6 for the shell pattern to work out evenly.
Part 2: Building the Body
Now the fun part begins.
Round 1: Ch 1, work 1 sc in the same stitch. Then sk 2 sts, work 5 dc in the next st (this is your shell), sk 2 sts, work 1 sc in the next st. Repeat from * to * all the way around. Join with sl st to the first sc.
Round 2: Ch 3 (counts as first dc), work 2 more dc in the same st (this makes a half-shell). Work 1 sc in the middle dc of the next shell from the previous round. Work 5 dc in the next sc. Repeat around. When you get back to the beginning, work 2 dc in the same st as your starting chains, then join with sl st to the top of the ch 3.
Round 3: Ch 1, work 1 sc in the same st. Work 5 dc in the next sc (which is the middle of the previous shell). Work 1 sc in the middle dc of the next shell. Repeat around. Join with sl st.
Rounds 4 and Beyond: Just keep alternating Round 2 and Round 3 until your bag reaches your desired height. For a crossbody, somewhere around 7-8 inches tall works well. If you want to change colors, this is the time to do it—switch at the end of a round for a clean transition.
Part 3: The Strap
You’ve got options here. You can make a simple crochet strap, or you can get fancy with an I-cord.
For a basic strap: Chain 2. Work 1 sc in the second chain from hook. Now here’s the trick—insert your hook into the side loop of that sc, yarn over, pull up a loop, yarn over, pull through both loops. Turn your work slightly and repeat. Keep going until your strap is about 45-50 inches long (or whatever length works for you as a crossbody).
Sew the ends of the strap to the sides of your bag, right where the body meets the base. Weave in those ends securely. You don’t want your strap popping off mid-stride.
Tips for Making It Look Extra Polished
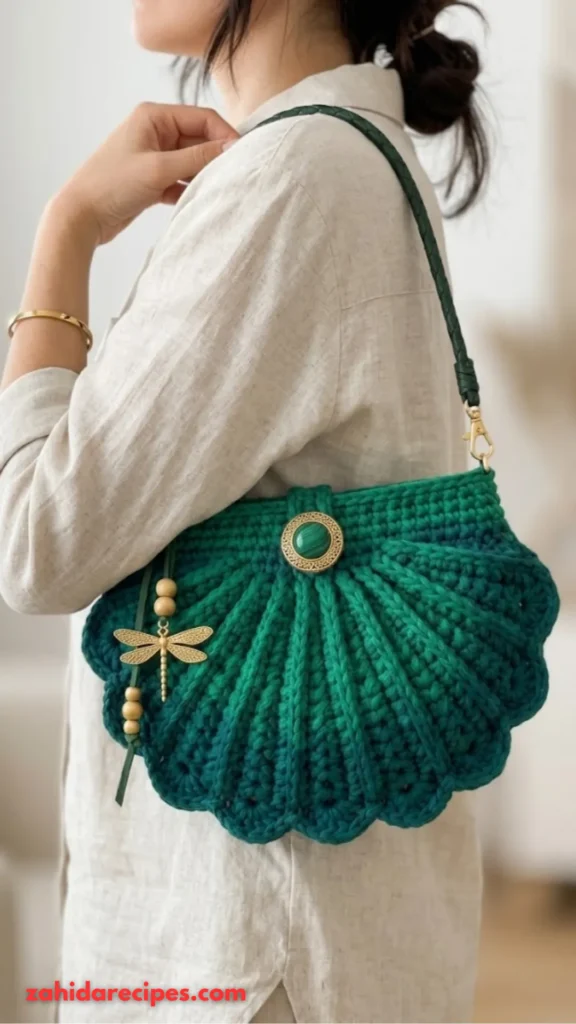
Want your bag to look like you’ve been crocheting for years? Here are a few tricks:
Block your bag when you’re done. Seriously. Get it damp, shape it, and let it dry. The shell stitches will relax into a beautiful even pattern. It makes a huge difference.
Line it if you want structure. A simple fabric lining keeps your bag from stretching and protects your stuff from poking through the stitches. You can hand-sew a basic rectangle of cotton fabric inside. It takes an extra hour but elevates the whole thing.
Add a closure. A magnetic snap or a simple button loop keeps everything secure. If you go the button route, crochet a small loop on one side and sew a pretty vintage button on the other.
Weave in ends like you mean it. Nothing ruins a beautiful bag faster than ends popping out after a week of use. Take your time, weave in multiple directions, and maybe add a tiny dot of fabric glue for extra security.
Common Questions (Because We All Have Them)
Can I make this bigger or smaller?
Absolutely. Just adjust your starting chain. Keep it a multiple of 6 for the shell pattern to work evenly.
How much yarn do I actually need?
For a standard crossbody size, about 250-300 yards of worsted weight cotton total. If you’re using multiple colors, you’ll need less of each.
I’m a beginner. Can I really make this?
Yes. The shell stitch looks impressive but it’s just double crochets and single crochets. If you can make those two stitches, you can make this bag. Just take it slow and count your stitches.
What if my bag looks wonky?
Blocking fixes a lot of sins. Also, make sure your stitch count stays consistent. If you’re losing or gaining stitches, your bag will warp. Count every few rounds.
You Might Also Like:
- Mint Seafoam Mermaid Amigurumi Free Crochet Pattern
- Cosmic Galaxy Avocado Amigurumi Free Crochet Pattern
- Ocean Ombre Dragonfly Top Crochet Pattern
Conclusion
There’s something special about making a bag that looks like it came from a fairy tale forest. The jewel tones, the shell texture, the satisfaction of carrying something you made with your own two hands—it’s all pretty magical.
This forest jewel tone shell crossbody is one of those projects that looks way harder than it actually is. The shell stitch does all the work, creating a gorgeous texture that impresses everyone who sees it. And you get to tell them, “Oh, I made this,” with that smug little smile we all know and love.
So grab some cotton yarn in your favorite forest colors, pour a cup of tea, and get crocheting. Your new favorite bag is just a few evenings away.
Happy crocheting, friend.



Leave a Reply
You must be logged in to post a comment.