

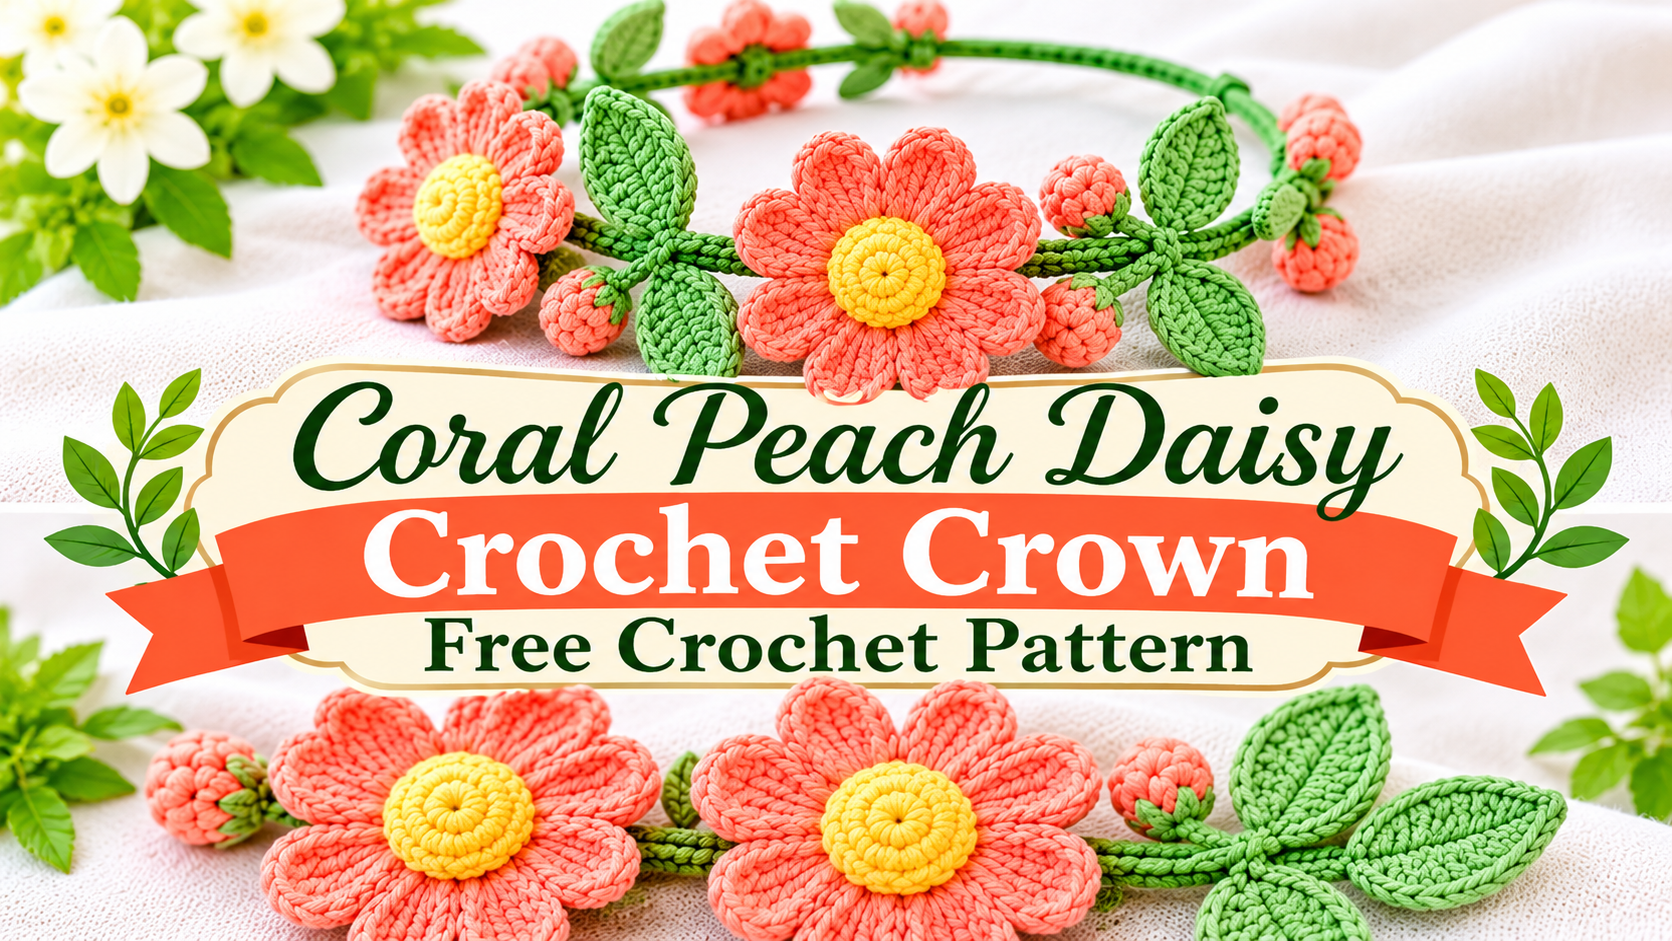
I found the inspiration for this crown on a late-summer evening when the light had gone soft and golden. A few peach-colored roses in a neighbor’s garden had begun to fade into coral at the edges, and a single daisy had pushed its way up through the mulch beside them. The combination stopped me. Soft, cheerful, a little unexpected.
I wanted something that felt like wearing that exact moment—warm, light, and a touch whimsical. Not a heavy formal piece, but a crown that could sit comfortably for an afternoon picnic, a garden party, or a quiet photoshoot among the late blooms. The Coral Peach Daisy Crochet Crown grew from that evening. It is a simple adjustable band covered in layered daisy motifs that catch the light and move just enough when you turn your head.
The finished crown sits lightly on the head and has a gentle, romantic look without feeling costume-like. The colors shift between soft coral and warm peach, with cream centers that keep the flowers bright.
About This Pattern
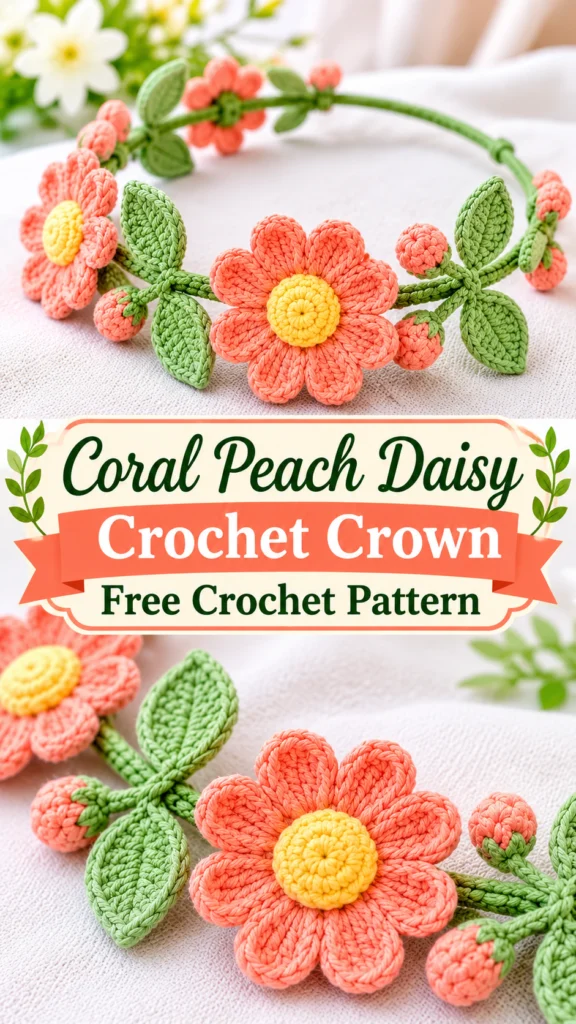
This crown is built on a comfortable single-crochet headband that is slightly stretchy and adjustable. Twelve daisy motifs are worked separately and then sewn or joined onto the band in a staggered arrangement so the petals overlap naturally. The finished circumference is approximately 20–22 inches and can be adjusted with the ties or by adding or removing a few stitches from the band.
Skill level is intermediate. You should be comfortable making small motifs, working in the round, and sewing pieces together neatly. The individual stitches are straightforward, but the assembly requires a bit of patience and attention to placement. I want to be upfront: this is not a quick beginner project, yet it is very approachable if you have made a few flower appliqués before.
The fabric is soft and flexible. Once blocked, the petals hold a gentle curve rather than lying completely flat, which gives the crown a lively, three-dimensional look.
Materials You’ll Need
Yarn (DK or light worsted weight / category 3)
- Color A (Soft Coral): 80 yards / 73 meters
- Color B (Warm Peach): 70 yards / 64 meters
- Color C (Cream): 40 yards / 37 meters
Allow 15% extra for gauge variation and for any additional flowers you may want to add. I used a soft cotton-blend yarn that holds shape well after blocking and feels comfortable against the skin.
Hooks
- 3.5 mm (E-4) for the daisy motifs
- 4.0 mm (G-6) for the headband (creates a slightly more flexible band)
Notions
- Tapestry needle
- Stitch markers
- Scissors
- Optional: small amount of floral wire or pipe cleaners for extra petal support
- Blocking pins and a foam board or towel
- Optional: thin satin ribbon (18–20 inches) for adjustable ties
Abbreviations and Terminology
All instructions use US crochet terms.
- ch – chain
- sc – single crochet: insert hook, yarn over, pull up a loop, yarn over, pull through both loops on the hook
- hdc – half double crochet: yarn over, insert hook, yarn over, pull up a loop, yarn over, pull through all three loops
- dc – double crochet: yarn over, insert hook, yarn over, pull up a loop, yarn over, pull through two loops, yarn over, pull through remaining two loops
- tr – treble crochet: yarn over twice, insert hook, yarn over, pull up a loop, (yarn over, pull through two loops) three times
- sl st – slip stitch: insert hook, yarn over, pull through the stitch and the loop on the hook
- sp – space
- st(s) – stitch(es)
- rnd – round
- rep – repeat
Turning chains do not count as a stitch unless a step explicitly says they do. When changing colors, complete the last yarn-over of the final stitch with the new color.
Gauge
Work one complete daisy motif.
Blocked motif should measure approximately 2.25 inches across from petal tip to petal tip.
If your motifs are larger, try a smaller hook. If smaller, move up a hook size. Even tension is more important than exact measurement—aim for petals that lie relatively flat without curling tightly or looking stretched.
Main Pattern Instructions
Headband Base
With Color A and 4.0 mm hook, ch 6.
Row 1: Sc in second ch from hook and in each ch across. Turn. (5 sc)
Row 2: Ch 1, sc in each st across. Turn. (5 sc)
Repeat Row 2 until the band measures 19 inches (or the length needed to fit comfortably around the head with a small overlap).
Final row: Ch 1, sc in each st across. Fasten off, leaving a 12-inch tail for sewing the ends together later if desired. Alternatively, leave the ends open and attach ribbon ties.
Daisy Motif (Make 12)
You will make six motifs with Color A petals and six with Color B petals. All centers use Color C.
Center (Color C):
With 3.5 mm hook, ch 2.
Rnd 1: 6 sc in second ch from hook. Join with sl st to first sc. (6 sc)
Rnd 2: Ch 1, 2 sc in each st around. Join with sl st to first sc. (12 sc)
Fasten off Color C.
Petals (Color A or B):
Join petal color with a standing sc in any stitch of Rnd 2.
Rnd 3: *Ch 3, (dc, tr, dc) in same st, ch 3, sl st in same st, sl st in next st; rep from * around. (12 petals)
Join with sl st to the base of the first petal. Fasten off, leaving a 10-inch tail for sewing.
The (dc, tr, dc) cluster creates a softly pointed petal that reads as a classic daisy while still feeling full.
Special Techniques / Additional Elements
Optional Layered Centers
For a fuller look, make six extra small centers (work only Rnd 1 of the center instructions) and sew them on top of the existing centers after the petals are attached. This adds a little extra dimension without much extra work.
Wire Support (Optional)
If you want the petals to hold a more upright curve, cut 2-inch lengths of thin floral wire. Insert one piece into the back of each petal before sewing the motif onto the band, bending the ends so they stay hidden.
Assembly and Finishing
Weave in all center and petal ends on the wrong side of each motif.
Arrange the twelve daisies along the headband in a staggered line, alternating Color A and Color B petals. Overlap the petals slightly so no large gaps appear between flowers. Pin in place first to check the spacing.
Using the long tails left on each motif, sew the centers firmly to the headband with small, neat stitches. Catch only the back of the motif so the stitches do not show on the front. Secure each flower in at least three places around the center.
If using ribbon ties, sew a 9–10 inch length of ribbon to each end of the headband. If you prefer a continuous band, overlap the ends by 1 inch and sew them together securely on the inside.
Blocking and Care
Lightly wet-block the finished crown. Pin the petals open so they curve gently upward and outward. Allow to dry completely. A quick pass with a steam iron held several inches above the work can help set the shape without flattening the texture.
Care: Hand wash in cool water with mild soap if needed. Press gently between towels and re-block. Do not wring or machine dry. Store flat or hanging so the petals do not become crushed.
Fit and Troubleshooting Tips
If the headband feels too tight, add a few extra rows before finishing. If it feels loose, remove a few rows or use the ribbon ties to adjust.
Petals curling too tightly usually mean the tension is high on the petal round—try relaxing your grip or moving up half a hook size for the petals only.
If the flowers look sparse, make two or three extra motifs and fill any gaps. The design is flexible; more flowers only make it prettier.
Centers that look uneven can be gently tugged into place while the piece is still damp from blocking.
Final Thoughts
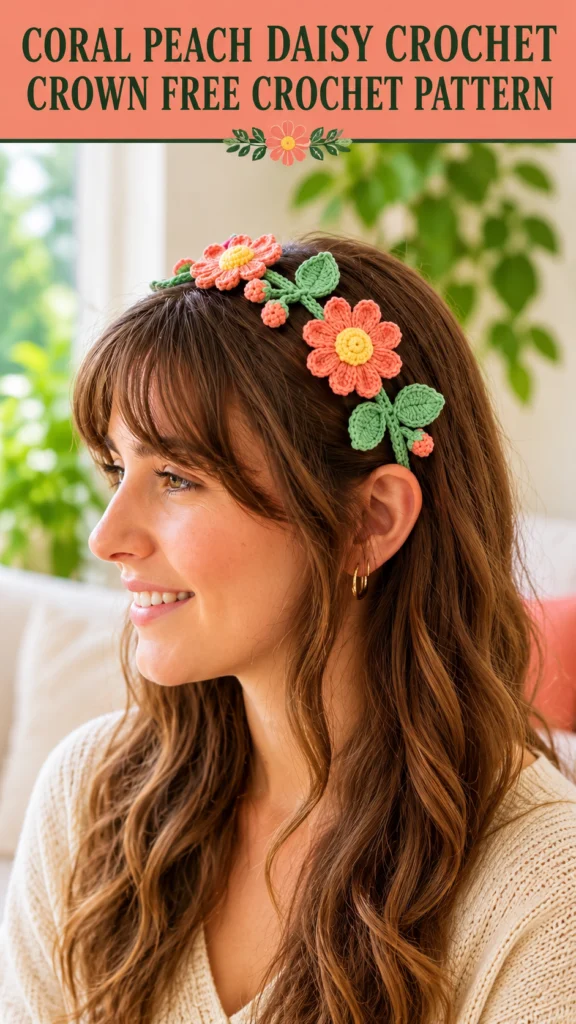
There is something quietly joyful about finishing a piece that began with a single daisy in a fading garden. The Coral Peach Daisy Crochet Crown is light enough to wear for hours, pretty enough to photograph, and soft enough to feel like a small celebration every time you put it on.
I hope your version finds its way into sunny afternoons, garden gatherings, and moments when you simply want to feel a little more whimsical. If you make one, I would love to see how your coral and peach shades turned out. Wear it with a smile.




Leave a Reply
You must be logged in to post a comment.