

The first cool morning of the season always does something to me. I stepped outside with my coffee and the maple tree at the edge of the yard had just begun to turn—deep crimson at the tips, soft gold in the center, and that particular orange that only appears for a few short weeks. A single leaf drifted down and landed near my feet, and I thought, “I want to wear that feeling.”
I have always loved small jewelry that feels a little magical. Something light enough to forget you’re wearing it until it catches the light. Butterflies seemed the natural shape, but I wanted the wings to carry the memory of those maple leaves—the soft curves, the pointed tips, the way the color shifts across the surface.
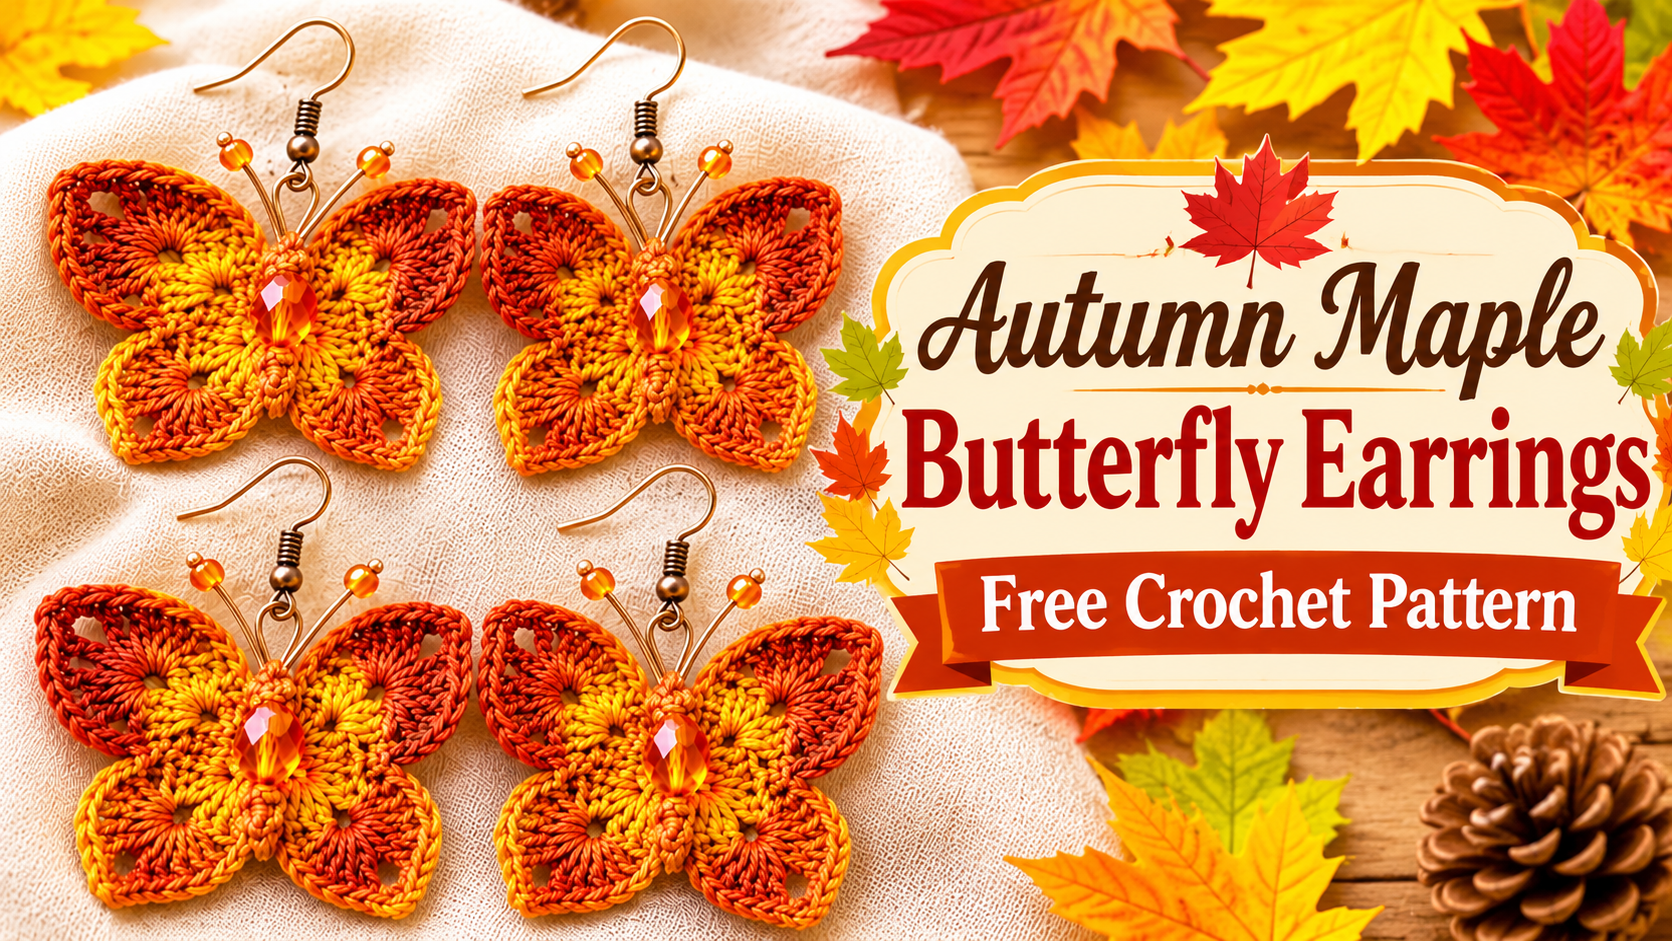
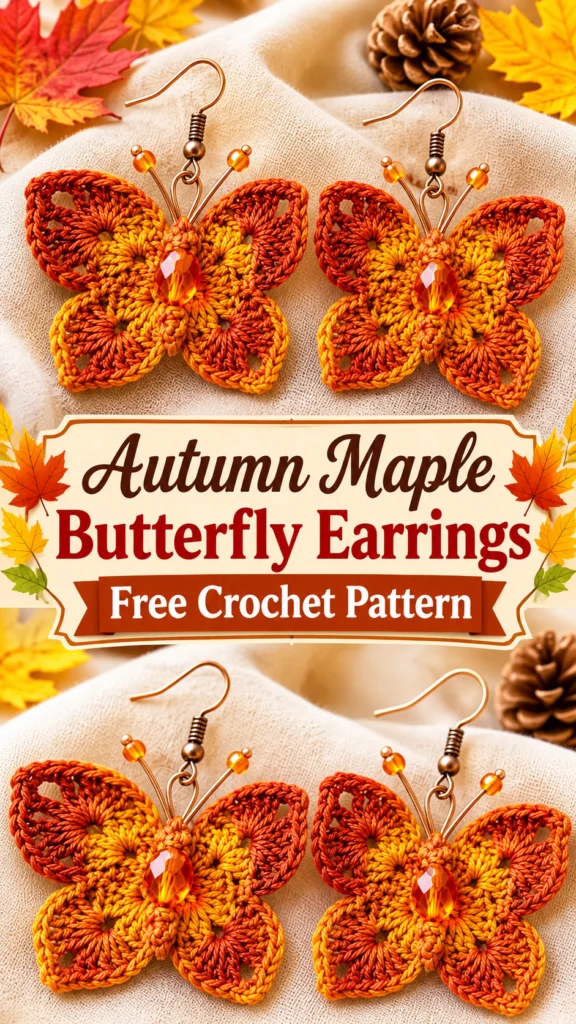
That quiet morning became these earrings: the Autumn Maple Butterfly Earrings. Each pair is worked in fine cotton thread with tiny maple-inspired wing shapes, a simple body, and a soft fringe of gold beads that moves when you turn your head. They are delicate, cheerful, and finished in an afternoon, yet they feel special enough for the first crisp days of fall.
About This Pattern
These earrings are made as two matching butterflies. Each butterfly is worked in continuous rounds starting from the center body, then the wings are shaped with short rows and strategic increases that create a gentle maple-leaf outline. The finished earrings measure approximately 1.75 inches wide by 1.5 inches tall (not including the earring findings).
Skill level is intermediate. You should be comfortable working with fine thread, reading short-row instructions, and placing beads as you crochet. The stitches themselves are simple—mostly single and double crochet—but the small scale and shaping require attention. I want to be upfront: this is not a project for absolute beginners, but it is very doable if you have made a few amigurumi or lace motifs before.
The fabric is light and airy. Once blocked, the wings hold a soft three-dimensional curve that looks natural rather than stiff.
Materials You’ll Need
Yarn / Thread (size 10 crochet cotton or equivalent fine weight)
- Color A (Warm Maple Orange): 25 yards / 23 meters
- Color B (Deep Crimson): 15 yards / 14 meters
- Color C (Soft Gold): 10 yards / 9 meters
You will have plenty left over for a second pair or for practice. Allow a little extra if you are new to fine thread.
Hooks
- 1.75 mm (or size needed to obtain gauge) for the main butterfly
- 1.5 mm for the final edging and bead work (optional, creates a slightly tighter finish)
Notions
- Tapestry needle (fine)
- Stitch markers (at least 4, very small)
- 20–24 size 6/0 or 8/0 gold or bronze seed beads
- Earring findings: fishhook or lever-back ear wires (2)
- Jump rings (2–4)
- Optional: clear jewelry glue for securing the final thread ends
- Blocking pins and a small foam board or towel
Abbreviations and Terminology
All instructions use US crochet terms.
- ch – chain
- sc – single crochet: insert hook, yarn over, pull up a loop, yarn over, pull through both loops on the hook
- hdc – half double crochet: yarn over, insert hook, yarn over, pull up a loop, yarn over, pull through all three loops on the hook
- dc – double crochet: yarn over, insert hook, yarn over, pull up a loop, yarn over, pull through two loops, yarn over, pull through remaining two loops
- sl st – slip stitch: insert hook, yarn over, pull through the stitch and the loop on the hook
- sc2tog – single crochet two together (decrease)
- sp – space
- st(s) – stitch(es)
- rnd – round
- rep – repeat
Turning chains do not count as a stitch unless a step explicitly says they do. When adding beads, slide the bead up the thread and work the stitch so the bead sits on the front of the work.
Gauge
Work the first three rounds of the butterfly body.
The circle should measure approximately 0.6 inches across after light blocking.
Exact gauge is less critical than even tension. If your stitches feel loose and the wings look floppy, move down a hook size. If the fabric feels stiff and the wings refuse to curve, try a slightly larger hook.
Main Pattern Instructions
Butterfly Body (Make 2)
With Color A and 1.75 mm hook, ch 2.
Rnd 1: 6 sc in second ch from hook. Do not join; work in continuous rounds. Place a marker in the first stitch of the round and move it up as you go. (6 sc)
Rnd 2: 2 sc in each st around. (12 sc)
Rnd 3: *Sc in next st, 2 sc in next st; rep from * around. (18 sc)
Rnd 4: Sc in each st around. (18 sc)
Rnd 5: *Sc in next 2 sts, 2 sc in next st; rep from * around. (24 sc)
Rnd 6: Sc in each st around. (24 sc)
Fasten off Color A, leaving a 6-inch tail. Weave the starting tail to the inside of the body.
Upper Wings (Make 2 per earring – 4 total)
Join Color B with a standing sc in any stitch of Rnd 6.
Row 1 (RS): Sc in next 5 sts, turn. (6 sc)
Row 2: Ch 1, sc in first st, hdc in next, dc in next 2 sts, hdc in next, sc in last st, turn. (6 sts)
Row 3: Ch 1, sc in first st, hdc in next, (dc, ch 1, dc) in next st, dc in next st, hdc in next, sc in last st, turn. (8 sts + ch-1 sp)
Row 4: Ch 1, sc in first 3 sts, (sc, ch 1, sc) in ch-1 sp, sc in last 3 sts, turn. (8 sc + ch-1)
Row 5: Ch 1, sc2tog, sc in next 2 sts, (sc, ch 1, sc) in ch-1 sp, sc in next 2 sts, sc2tog, turn. (8 sts + ch-1)
Row 6: Ch 1, sc2tog, sc in next st, (sc, ch 1, sc) in ch-1 sp, sc in next st, sc2tog. Fasten off. (6 sts + ch-1)
This creates a gently pointed maple-leaf shape. The ch-1 spaces form the natural “vein” lines of the leaf.
Lower Wings (Make 2 per earring – 4 total)
Join Color C with a standing sc three stitches away from the upper wing (leave two body stitches free between upper and lower wings).
Row 1: Sc in next 4 sts, turn. (5 sc)
Row 2: Ch 1, sc in first st, hdc in next, dc in next, hdc in next, sc in last st, turn. (5 sts)
Row 3: Ch 1, sc in first st, hdc in next, (dc, ch 1, dc) in next st, hdc in next, sc in last st, turn. (6 sts + ch-1)
Row 4: Ch 1, sc2tog, sc in next st, (sc, ch 1, sc) in ch-1 sp, sc in next st, sc2tog. Fasten off. (6 sts + ch-1)
Repeat the upper and lower wing sequence on the opposite side of the body so each butterfly has four wings total.
Special Techniques / Additional Elements
Beaded Antennae and Accent Fringe
Cut two 8-inch lengths of Color C. Thread three gold seed beads onto each length. Fold the beaded strand in half and use a lark’s-head knot to attach it to the top of the body (the starting chain end). The beads will sit at the tips of the antennae.
For the lower edge of each wing, you may optionally add one or two seed beads while working the final row: slide a bead up before the last sc of the row so it rests on the outer edge of the wing.
Assembly and Finishing
Weave in all ends carefully on the wrong side of the work. Because the pieces are small, take extra care that no tails show through to the front.
Block each butterfly: pin the wings open on a foam board so the maple-leaf points are clear and the wings curve slightly upward. Mist lightly with water and allow to dry completely. A gentle steam from a distance can help set the shape without flattening the texture.
Attach a small jump ring through the top of the body (through the antennae knot or through a body stitch). Then attach the ear wire to the jump ring. Repeat for the second earring, making sure both butterflies face the same direction when worn.
Blocking and Care
These earrings respond best to a light wet block. Pin them in the desired wing shape and let them dry flat. Avoid heavy steam or ironing, as the fine cotton can lose its delicate texture.
Care: Spot clean only. If needed, swish gently in cool water with a drop of mild soap, press between towels, and re-block. Do not machine wash or tumble dry. Store flat or hanging so the wings do not crease.
Fit and Troubleshooting Tips
If the wings cup inward, your tension is likely a bit tight on the later rows—try relaxing your grip or moving up half a hook size for the wing sections only.
If the body looks larger than the wings, you may have added an extra increase round. The body should remain small and oval so the wings dominate the silhouette.
Beads sliding around: a tiny drop of clear jewelry glue on the final knot of the antennae will keep everything secure without stiffness.
The two earrings should be mirror images. Work the second butterfly the same way, but reverse the order of the wing colors if you want a subtle left/right variation.
Final Thoughts
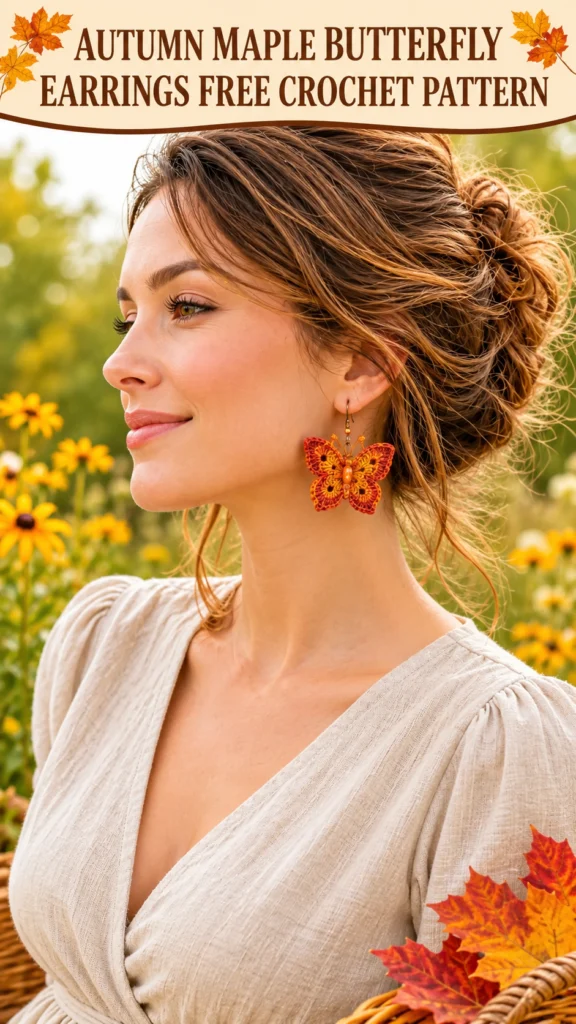
There is a quiet satisfaction in finishing a pair of earrings that started as a single maple leaf on a cool morning. These Autumn Maple Butterfly Earrings are small enough to make in an evening, yet they carry the whole feeling of early fall—warm color, light movement, and a little bit of magic at your ears.
I hope your pair finds its way into sunny autumn walks, sweater weather, and quiet moments when you catch them in the mirror and smile. If you make them, I would love to see how your color choices turned out. Wear them with joy.




Leave a Reply
You must be logged in to post a comment.