

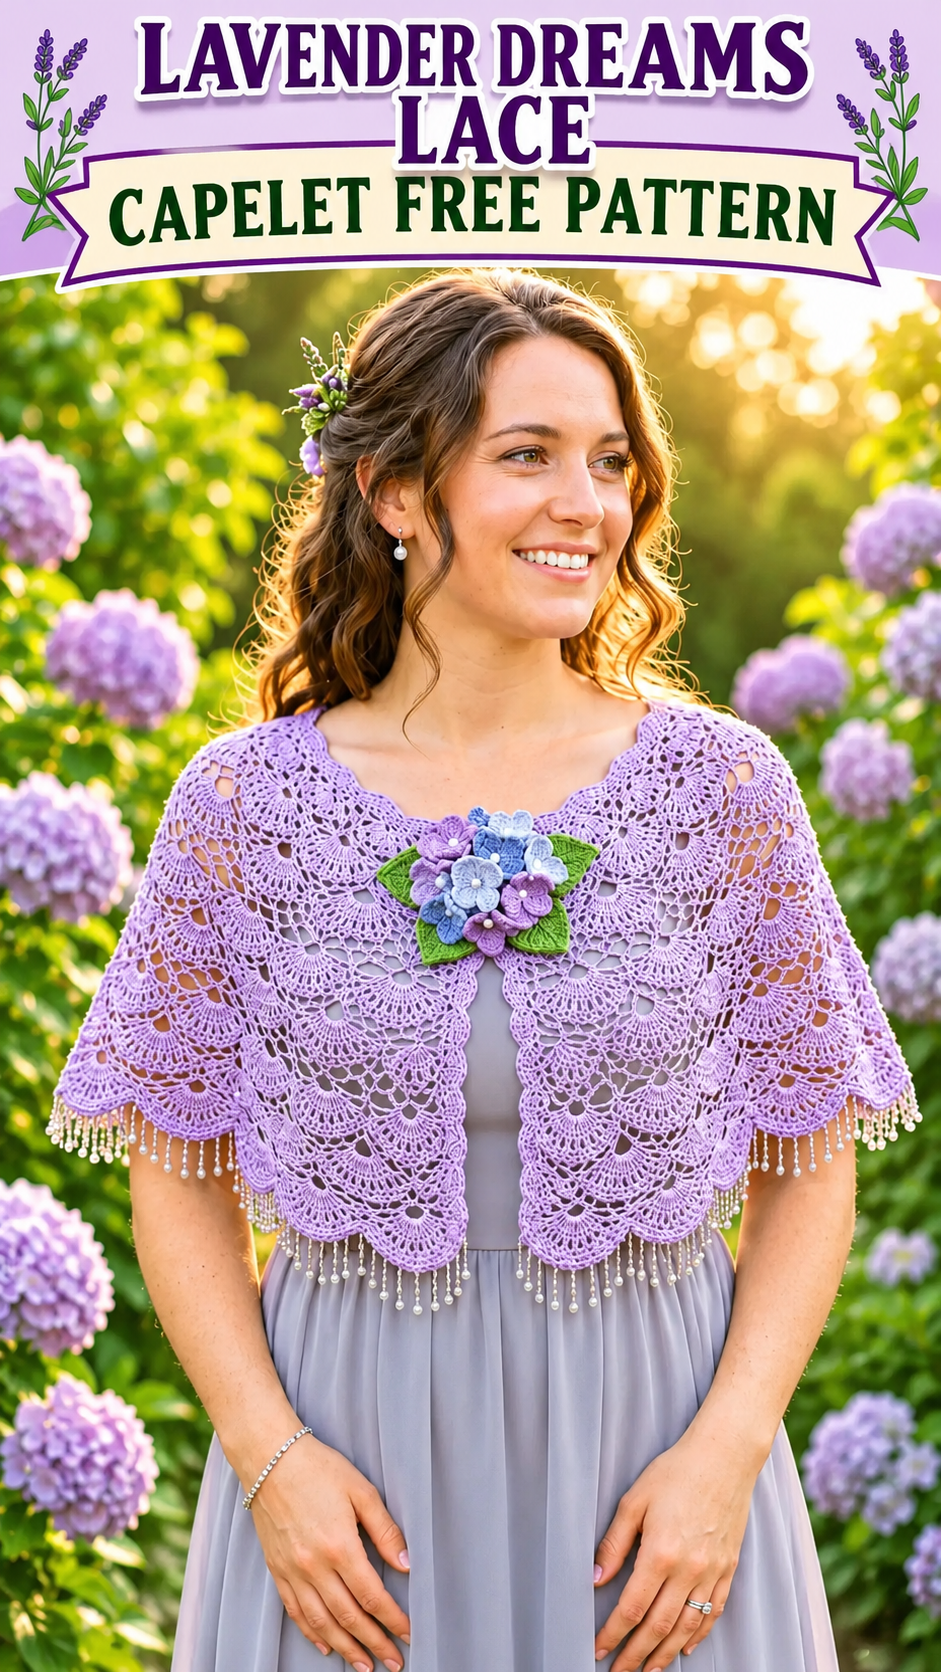
I have always been drawn to the quiet moments just before dusk, when the light turns soft and everything seems to hold its breath. One evening last spring I was sitting outside with a cup of tea, watching the lavender in the garden shift from bright purple to something quieter, almost silvery. The idea of a light lace capelet settled into my mind right then — something that would rest on the shoulders like a soft dream, open enough to let the air through, and gentle enough to feel like a second skin.
I wanted fabric that looked intricate but worked up in a calm, repeating rhythm. No heavy borders, no stiff structure, just enough texture to catch the light and move with the body. That is how the Lavender Dreams Lace Capelet came to be. It is a simple rectangular-style capelet with gentle shaping at the neck and a soft picot edge that finishes the whole piece like a quiet sigh.
This is the Lavender Dreams Lace Capelet free crochet pattern. I hope it becomes one of those projects you reach for when you want something beautiful that still feels peaceful to make.
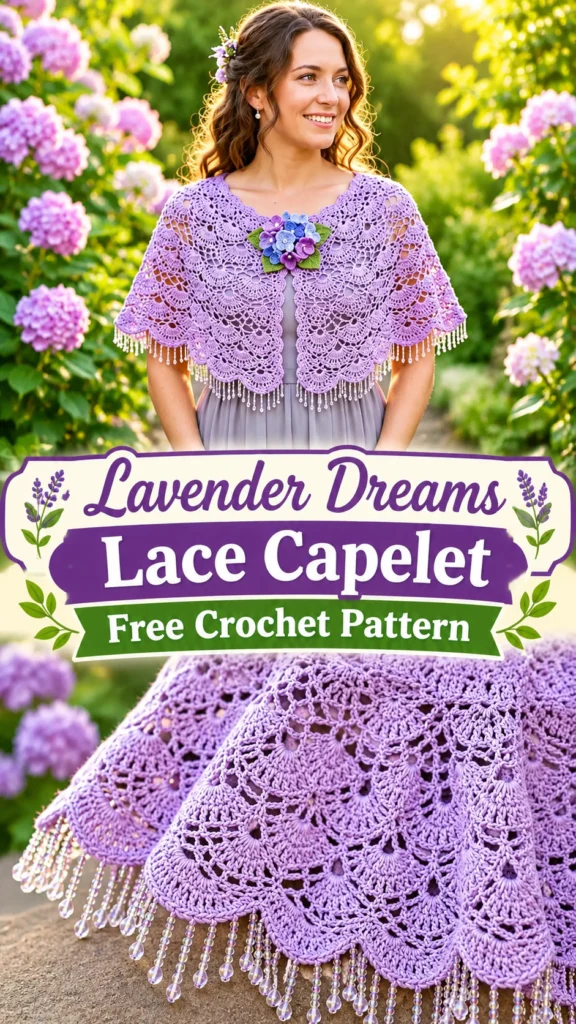
About This Pattern
The capelet is worked sideways in one piece, starting at one front edge and moving across the back to the other front edge. Short rows create a gentle curve that helps the fabric settle naturally around the neck and shoulders. The main stitch pattern is an open shell lace that grows from a simple foundation and repeats easily once the first few rows are established.
Skill level is intermediate. You should be comfortable with chains, double crochet, working into chain spaces, and following short-row shaping. The lace is forgiving, but consistent tension and careful counting in the setup rows will make the rest of the project much smoother.
Finished size is one size that fits most adults. After blocking it measures approximately 120 cm / 47 in wide across the lower edge and 40 cm / 16 in deep at the center back. The fabric has excellent drape and a soft hand, so it sits lightly without feeling bulky.
Materials You’ll Need
Yarn
Light fingering or heavy lace-weight yarn with good drape (merino, merino-silk, or a soft cotton blend work beautifully).
- Color A (soft lavender): 650 m / 710 yd
Allow 15% extra for gauge variation and swatching.
Hooks
- 3.5 mm (E/4) for the main body
- 3.25 mm (D/3) for the neckline and picot edge if you prefer a slightly firmer finish
Notions
- Tapestry needle
- Stitch markers (at least 4)
- Blocking mats and rust-proof pins
- Scissors
Abbreviations and Terminology
All terms are US crochet terminology.
- ch – chain
- sc – single crochet (insert hook, yarn over, pull up a loop, yarn over, pull through both loops)
- dc – double crochet (yarn over, insert hook, yarn over, pull up a loop, yarn over, pull through two loops, yarn over, pull through remaining two loops)
- sl st – slip stitch
- st(s) – stitch(es)
- sp – space
- sk – skip
- rep – repeat
- RS – right side
- WS – wrong side
Shell: (2 dc, ch 2, 2 dc) worked in the same stitch or space.
Picot: ch 3, sl st in the first of those 3 chains.
Turning chains do not count as a stitch unless a step explicitly says they do.
Gauge
Work a gauge swatch in the lace pattern:
Chain 32.
Row 1: Dc in 4th ch from hook (counts as first dc), sk 2 ch, *shell in next ch, sk 3 ch; rep from * across, ending with dc in last ch.
Row 2: Ch 3 (does not count as st), turn. Dc in first dc, *shell in next ch-2 sp; rep from * across, ending with dc in top of turning ch.
Repeat Row 2 until the swatch measures at least 12 cm / 5 in tall.
Blocked gauge: 3 full shells and 6 rows = 10 cm / 4 in.
If your swatch is smaller than the target, move up a hook size. If it is larger, move down a hook size. The finished drape depends heavily on matching this open gauge.
Main Pattern Instructions
Capelet Body
With Color A and 3.5 mm hook, ch 68.
Row 1 (RS): Dc in 4th ch from hook (the skipped chains count as the first dc), sk 2 ch, *shell in next ch, sk 3 ch; rep from * across, ending with dc in last ch. Turn.
Count: 16 shells + 2 dc
Row 2: Ch 3 (does not count as st), turn. Dc in first dc, *shell in next ch-2 sp; rep from * across, ending with dc in top of turning ch. Turn.
Count: 16 shells + 2 dc
Rows 3–8: Repeat Row 2.
Begin Short-Row Shaping (Neck Curve)
Row 9 (short row): Ch 3, turn. Dc in first dc, shell in each of the next 12 ch-2 spaces, dc in next dc. Leave remaining stitches unworked. Turn.
Row 10: Ch 3, turn. Dc in first dc, shell in each ch-2 sp across, dc in top of turning ch. Turn.
Row 11 (short row): Ch 3, turn. Dc in first dc, shell in each of the next 10 ch-2 spaces, dc in next dc. Leave remaining stitches unworked. Turn.
Row 12: Ch 3, turn. Dc in first dc, shell in each ch-2 sp across, dc in top of turning ch. Turn.
Row 13 (short row): Ch 3, turn. Dc in first dc, shell in each of the next 8 ch-2 spaces, dc in next dc. Leave remaining stitches unworked. Turn.
Row 14: Ch 3, turn. Dc in first dc, shell in each ch-2 sp across, dc in top of turning ch. Turn.
Rows 15–28: Work even across all stitches (return to the full 16 shells) by working Row 2. At the end of each even-numbered row you will gradually reincorporate the previously unworked shells until you are working the full width again.
Rows 29–36: Work even in the established lace pattern (Row 2) across all 16 shells.
Second Side Short-Row Shaping
Mirror the first set of short rows so the second front edge matches the first:
Row 37 (short row): Ch 3, turn. Dc in first dc, shell in each of the next 12 ch-2 spaces, dc in next dc. Leave remaining stitches unworked. Turn.
Continue decreasing the number of shells worked by 2 on each short row (10, then 8) exactly as on the first side, with a full even row between each short row.
After the final short-row sequence, work 8 more even rows in the full lace pattern to match the beginning edge.
Final Row: Ch 1, turn. Sc evenly across the entire edge, working 1 sc in each dc and 2 sc in each ch-2 space. Fasten off.
Neckline Edge
With RS facing and 3.25 mm hook (optional), join yarn at one front neck edge.
Work 1 row of sc evenly along the entire neck edge, placing stitches carefully so the edge lies flat. At the center back, you may work a few extra sc if needed to keep the curve smooth. Fasten off.
Picot Edging
With RS facing, join yarn at the lower front corner.
Edging Round: Ch 1, sc in first st, *sc in next 2 sts, picot, sc in next st; rep from * evenly around the entire outer edge of the capelet (both fronts and the lower edge). At the corners, work 3 sc in the same stitch to keep the edge smooth. Join with sl st to the first sc. Fasten off.
Special Techniques / Additional Elements
Short-Row Notes
When you leave stitches unworked on a short row, simply turn and continue. On the following full-width row, work into those previously skipped shells as normal. The short rows create a gentle crescent shape that helps the capelet hug the neck without needing extra seaming or ties.
Optional Ties
If you prefer a closable front, chain 40–50 at each front neck edge after finishing the neckline sc row, then fasten off. These soft ties can be left plain or finished with a small tassel.
Assembly and Finishing
There is no seaming required. Weave in all ends carefully on the wrong side, following the path of the stitches so the lace remains open and clean.
If you added ties, make sure the ends are secure and the chains are even in length.
Blocking and Care
Wet-block the finished capelet. Soak in lukewarm water with a mild wool wash for 15–20 minutes. Gently press out excess water (never wring). Lay flat on blocking mats and pin the lower edge to the full 120 cm / 47 in width, gently shaping the neck curve and evening out the picots. Allow to dry completely.
Care: Hand wash in cool water, roll in a towel to remove moisture, and dry flat. Store folded or rolled rather than hanging to preserve the lace shape. The fabric becomes even softer after the first wash and keeps its open drape beautifully.
Fit and Troubleshooting Tips
If the capelet feels too narrow across the shoulders, add 2–4 extra even rows before beginning the second set of short rows.
If the lace looks tight or the shells are closing up, your tension may be firm — try a larger hook for the body only.
Picots that look uneven usually even out after blocking. If they still feel crowded, space them slightly farther apart on the next project.
The short-row section can look a little uneven while you are working it. Trust the process; blocking transforms the shape.
Final Thoughts
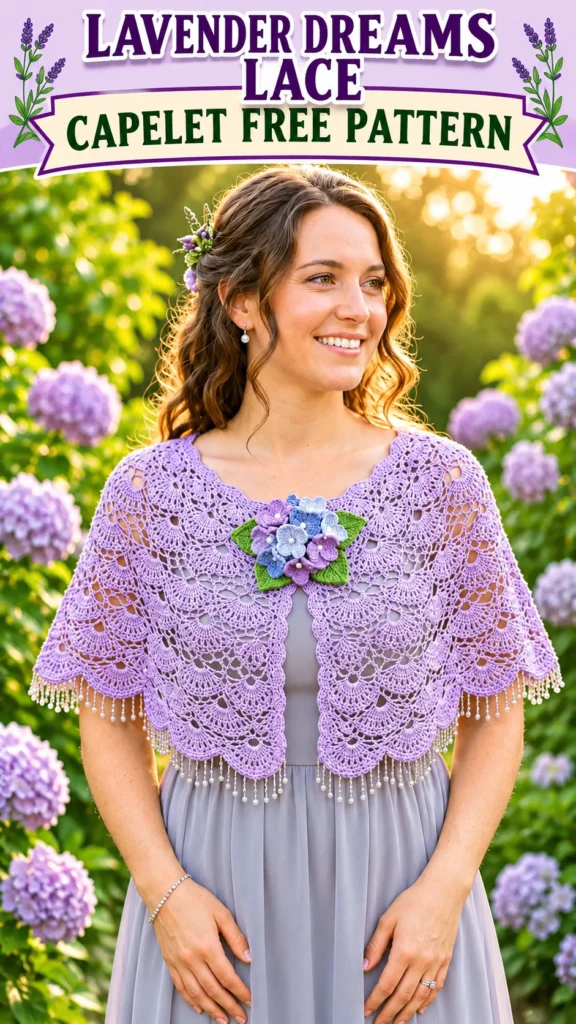
There is a particular kind of quiet joy in finishing a piece of lace. The fabric looks delicate, yet it holds its shape with a soft strength, and the lavender color shifts with every change of light. I hope your Lavender Dreams Lace Capelet becomes one of those projects you reach for when you want something lovely to wear and something calming to make.
If you create this capelet, I would love to see how it turns out. Leave a comment, share a photo, or pin it so other makers can find the pattern too. Happy stitching — may your yarn glide easily and your lace open like a quiet dream.


Leave a Reply
You must be logged in to post a comment.