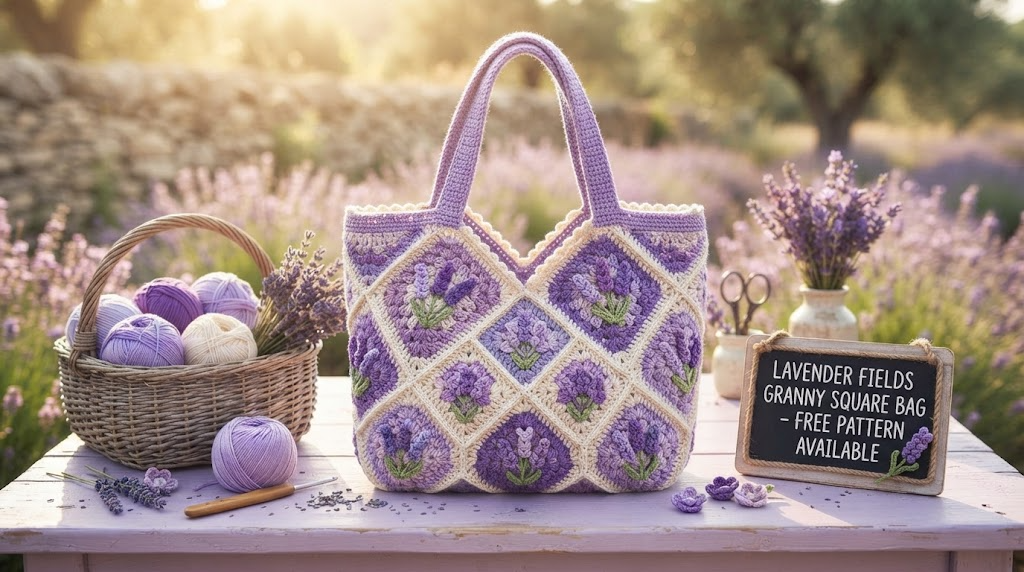
Lavender Fields Granny Square Bag Free Crochet Pattern
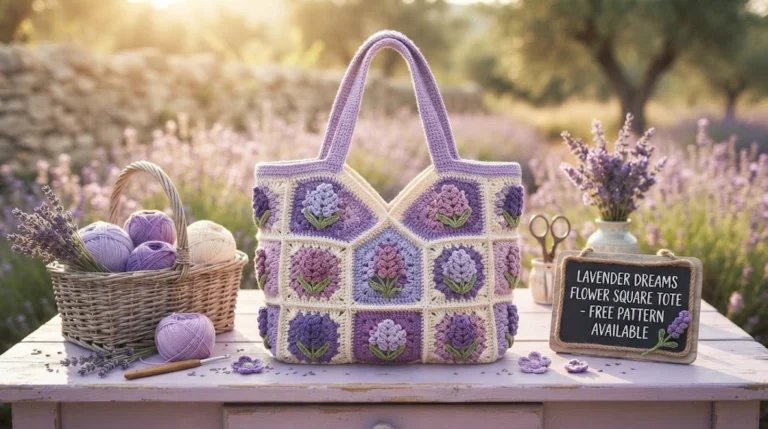
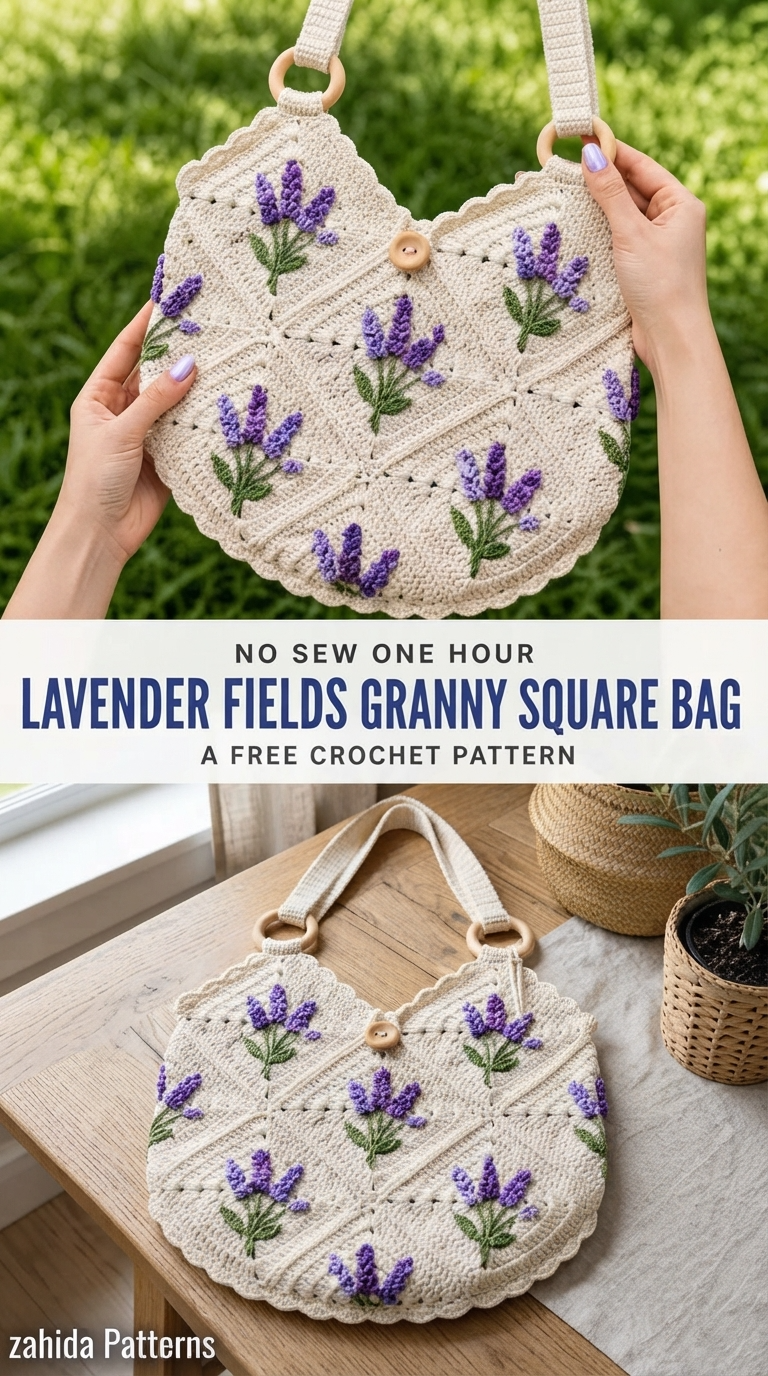
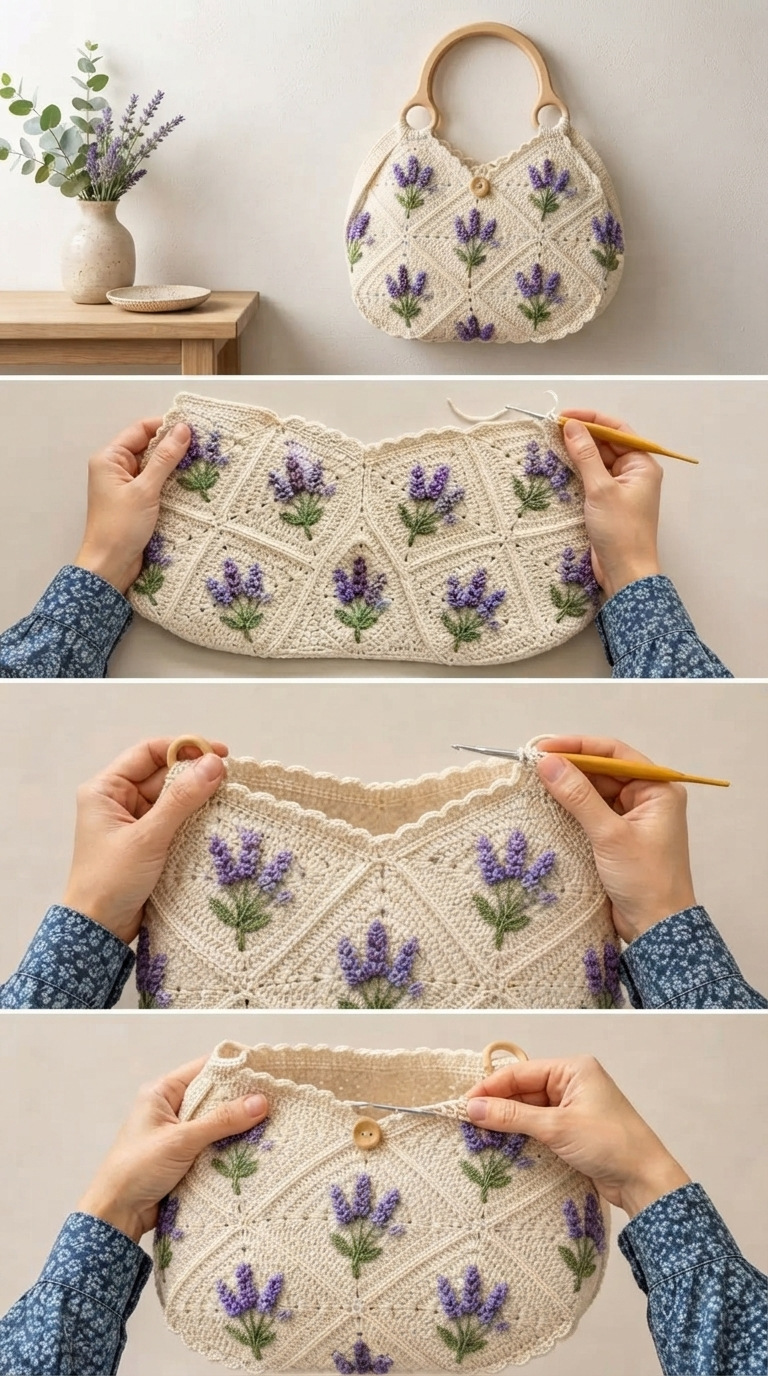
You know that moment when a crochet project looks fancy but still feels doable? This bag delivers exactly that. The Lavender Fields Granny Square Bag mixes classic granny squares with sweet little lavender sprigs that pop right off the fabric. Grab your cotton yarn and a weekend, and you will walk away with a cottage-core bag that turns heads.
I designed this one under the Sumara Patterns name because I wanted something pretty that still respects your time. You already know granny squares. The rest is simple joining, a bit of shaping, and some easy surface work for those lavender details. Ready to dive in?
Why This Bag Feels So Special
This project hits the sweet spot. It looks impressive when finished, yet every step stays manageable. You crochet 18 granny squares. You join them into two panels. You shape the panels a little. You add the lavender sprigs. You sew the panels together, attach handles, and finish with a button.
See? Chunk by chunk, it stays friendly.
The rounded bottom comes from a clever trick. On three of the four corners during the shaping rounds, you simply skip the increases. The fabric pulls inward on its own and creates that soft curve. No complicated math needed.
You add the lavender after blocking the panels. Working on a flat surface makes placement way easier. You decorate first, then join everything. Smart, right?
Finished Size, Gauge, and What You Need
Your finished bag measures about 13 inches wide by 11 inches tall without the handles. Depth sits around 2.5 inches at the widest point. In metric that equals roughly 33 cm wide by 28 cm tall and 6.5 cm deep.
The handle drop from the top of the bag to the wooden ring runs about 8 inches or 20 cm.
Gauge matters here. One finished granny square should measure 4 inches by 4 inches (10 cm by 10 cm) after blocking. In single crochet rows, aim for 16 stitches and 18 rows in 4 inches.
Cotton yarn has almost no stretch. If your square runs bigger than 4 inches, drop one hook size. If it runs smaller, go up one size. Always swatch first.
Yarn and Materials List
- Yarn A (main cream color): about 650 yards or 595 meters of worsted weight 100% cotton
- Yarn B (lavender/purple): about 80 yards or 73 meters of the same weight cotton
- Yarn C (green): about 60 yards or 55 meters of the same weight cotton
Suggested options include Lion Brand 24/7 Cotton in Cream, Lavender, and Sage. Paintbox Yarns Simply DK Cotton also works if you bump the hook to 4.5 mm. WeCrochet Dishie gives nice texture for the sprigs.
Stick with smooth worsted or DK cotton that hits gauge. Skip fluffy or highly textured yarns. They hide the granny structure and make the embellishments harder to place.
Hook: US G-6 or 4.0 mm
Notions:
- 2 wooden rings, about 1.5 inches (3.8 cm) across
- 1 wooden button, about 0.75 inch (2 cm) across
- Tapestry needle
- Stitch markers
- Scissors
- Blocking mat and pins (highly recommended)
- Optional thin cotton fabric for lining: half a yard
Skill Level, Time, and Abbreviations
Call this intermediate. You should feel comfortable with granny squares, join-as-you-go, working in the round, seaming, surface crochet, and simple dimensional embellishments. Nothing super advanced appears, but careful joining and neat embellishment work make the difference.
Expect 18 to 24 hours for an experienced intermediate crocheter. Add extra time if join-as-you-go or surface crochet still feels new.
Here are the abbreviations you will see:
- ch: chain
- sl st: slip stitch
- sc: single crochet
- hdc: half double crochet
- dc: double crochet
- tr: treble crochet
- sp: space
- ch-sp: chain space
- sk: skip
- st(s): stitch(es)
- rep: repeat
- pm: place marker
- rm: remove marker
- BLO: back loop only
- FLO: front loop only
- RS: right side
- WS: wrong side
- JAYG: join as you go
- tog: together
- yo: yarn over
- rnd(s): round(s)
Special Stitches You Will Use
Granny Cluster (gr-cl): Yarn over, insert hook into the indicated chain space, yarn over and pull up a loop, yarn over and pull through two loops. Repeat that two more times in the same space. You now have four loops on the hook. Yarn over and pull through all four. That makes a neat three-double-crochet cluster.
Scallop Stitch: Work (sc, hdc, dc, hdc, sc) all into the same stitch or space. Each scallop sits separated by a slip stitch into the next stitch.
Surface Slip Stitch (for stems): With the right side facing and yarn held behind the fabric, insert the hook from front to back through a stitch. Draw up a loop of the working yarn, then pull it through the loop on the hook. Move to the next stitch and repeat. This lays a clean chain of stitches on the surface.
Lavender Sprig Cluster: Thread Yarn B on a tapestry needle. Come up from the wrong side at the base of the blossom spot. Work 5 to 7 small straight stitches of varying heights (0.25 to 0.5 inch or 6 to 12 mm). Fan them slightly. Three of these clusters side by side create one full lavender flower head.
Pattern Notes Before You Start
You build two identical panels. Each panel uses nine granny squares in a 3 by 3 grid joined as you go. Then you join the panels at the sides and bottom.
Each panel gets a shaping round in single crochet. That round curves the bottom and keeps the top edge straight for the opening.
Add the lavender after both panels are blocked and before you join them. Placement stays much easier that way.
The strap works in single crochet rows, folds around a wooden ring, and sews to the top edge.
Throughout the pattern, every granny square corner uses (gr-cl, ch 2, gr-cl) in a ch-2 space. Each side gets one gr-cl in a ch-1 space.
When you join with JAYG, replace the ch 2 at a joining corner or the ch 1 at a joining side with: ch 1, sl st into the matching space on the finished square, ch 1. That creates a flat, almost invisible join.
Chain 3 at the start of a round counts as the first dc of a cluster only when the pattern says so. Otherwise it is just a turning chain.
Block each panel before joining. Cotton loves wet blocking. Pin it to size and let it dry fully.
Step-by-Step Instructions
Section 1: Granny Square (Make 18 Total)
Start every square with Yarn A.
Round 1: Make a magic ring. Ch 3 (counts as first dc). Work 2 dc into the ring, ch 2, (3 dc into the ring, ch 2) 3 times. Sl st into the top of the beginning ch-3. Pull the ring closed. (4 clusters of 3 dc, 4 ch-2 corner spaces)
Round 2: Sl st into each of the next 2 dc, sl st into the ch-2 corner space. Ch 3 (counts as first dc of the first cluster). Work 2 dc into the same corner space, ch 2, 3 dc into the same corner space. Ch 1, (3 dc, ch 2, 3 dc) into the next ch-2 corner space, ch 1. Repeat from the parenthesis two more times. Sl st into the top of the beginning ch-3.
Stitch check after Round 2: 8 groups of 3 dc, 4 ch-2 corner spaces, 4 ch-1 side spaces.
Round 3: Sl st into each of the next 2 dc, sl st into the ch-2 corner space. Ch 3, 2 dc into the same corner space, ch 2, 3 dc into the same corner space. Ch 1, 3 dc into the next ch-1 space, ch 1, (3 dc, ch 2, 3 dc) into the next ch-2 corner space, ch 1, 3 dc into the next ch-1 space, ch 1. Repeat the corner instruction two more times. Sl st into the top of the beginning ch-3.
Stitch check after Round 3: 12 groups of 3 dc, 4 ch-2 corner spaces, 8 ch-1 side spaces.
Fasten off and weave in the ends. Each square should measure 4 inches square.
Section 2: Joining Squares into Panels (Make 2)
Lay nine squares in a 3-column by 3-row grid, right sides up. Join them with JAYG on the final round of each new square. The first square (top left) is already finished. Work each new square through Round 2 on its own, then work Round 3 as a JAYG round.
For any JAYG Round 3: On the side that touches a finished square, replace the ch 1 with ch 1, sl st into the matching ch-1 space on the finished square, ch 1. At a joining corner, replace the ch 2 with ch 1, sl st into the matching ch-2 corner space, ch 1.
Work the squares in this order for each panel:
- Position 1 (top left): complete through Round 3 on its own
- Position 2 (top center): JAYG Round 3, join to the right side of Position 1
- Position 3 (top right): JAYG Round 3, join to the right side of Position 2
- Position 4 (middle left): JAYG Round 3, join to the bottom of Position 1
- Position 5 (middle center): JAYG Round 3, join to the bottom of Position 2 and the right side of Position 4
- Position 6 (middle right): JAYG Round 3, join to the bottom of Position 3 and the right side of Position 5
- Position 7 (bottom left): JAYG Round 3, join to the bottom of Position 4
- Position 8 (bottom center): JAYG Round 3, join to the bottom of Position 5 and the right side of Position 7
- Position 9 (bottom right): JAYG Round 3, join to the bottom of Position 6 and the right side of Position 8
A finished panel should measure about 12 inches by 12 inches. Check that all joins lie flat. If anything puckers, loosen the JAYG slip stitches a little.
Section 3: Shaping Round for Each Panel
Join Yarn A with a slip stitch to the ch-2 corner space at the top right corner of the panel.
Round 1 (Edging Round in sc): Ch 1 (does not count as a stitch). Work sc evenly around:
Along each straight outer side of each square: 3 sc into each ch-1 side space and 1 sc into each joining slip stitch between squares.
At each outer corner ch-2 space of a square: (sc, ch 1, sc).
At each inner corner where squares meet: 1 sc into the joint.
At the four outermost corners of the whole panel: (sc, ch 2, sc).
Aim for about 37 sc along each long side and each short side, plus the corner spaces. Adjust by one stitch per side section if needed. Total around 152 sc plus 4 ch-2 corner spaces. Slip stitch to the first sc. Do not turn.
Round 2 (Bottom Rounding Round): The top edge stays straight. The bottom corners round because you skip the corner increases.
Ch 1. Sc in each sc across the top edge (37 sts), sc in the ch-2 corner space (no increase), sc in each sc down the right side (37 sts), sc in the ch-2 corner space (no increase), sc in each sc across the bottom (37 sts), sc in the ch-2 corner space (no increase), sc in each sc up the left side (37 sts). Slip stitch to the first sc. (152 sc)
Round 3 (Reinforcement Round): Ch 1. Sc in each sc around. Slip stitch to the first sc. (152 sc)
Fasten off and weave in ends. Each shaped panel should now show a gently rounded bottom and a straight top. It measures about 13 inches wide at the widest point and 11.5 inches from top to the lowest bottom point.
Section 4: Lavender Embellishment
Block both panels first. Wet block them, pin to 13 inches wide by 11.5 inches tall, and let them dry completely.
Stems (Surface Slip Stitch with Yarn C): Each square gets one lavender sprig centered. The stem starts about 0.75 inch up from the center and runs upward about 1.25 inches.
For each of the nine squares: Join Yarn C with a slip stitch through the fabric at the stem base. Work about 6 surface slip stitches upward, angling them slightly for a natural curve. At the top, add 2 to 3 slip stitches branching left and 2 to 3 branching right. Fasten off on the wrong side.
Leaves: With Yarn C and a tapestry needle, work 2 to 3 small straight stitches at the base of each stem on both sides. Keep them about 0.375 inch long and angled outward at 45 degrees.
Lavender Blossoms: Thread Yarn B on a tapestry needle. At the top of each stem, work three Lavender Sprig Clusters side by side. Each cluster uses 5 to 7 straight stitches of graduating lengths. Shortest on the edges, longest in the middle. Cover about 0.75 inch of width and 0.5 inch of height.
Keep every sprig upright and centered. Weave in all ends on the wrong side when finished.
Section 5: Scallop Border on the Top Edge
Join Yarn A with a slip stitch to the first sc at the top left corner of the opening edge.
Scallop Round: Ch 1. Sc in the first sc. (Skip 1 sc, slip stitch in the next sc, skip 1 sc, work (sc, hdc, dc, hdc, sc) all into the next sc) across the top edge. Finish so the last scallop ends at the final sc. Sc in that last sc. Slip stitch to the first sc.
The 37 sc on the top edge fit 9 full scallops nicely. Adjust by one stitch at the start or end if needed to center them. Fasten off.
Section 6: Joining the Two Panels
Hold the panels with right sides facing out (wrong sides together). Join them along the sides and bottom with a single crochet join worked through both layers at once.
Join Yarn A with a slip stitch through both layers at the top right corner of the right side edge, just below the scallop border.
Join Round: Ch 1. Working through both layers, sc evenly down the right side, across the bottom curve, and up the left side. Aim for about 3 sc for every 4-row equivalent of edge. Follow the natural curve at the bottom. Stop at the top left corner just below the scallop border. Leave the top open.
Fasten off. The joined bag should stand on its own with a rounded bottom and about 2 to 2.5 inches of depth at the sides.
Section 7: Handle Straps (Make 2)
With Yarn A, chain 7.
Row 1: Sc in the second chain from the hook and in each chain across. Turn. (6 sc)
Row 2: Ch 1, sc in each sc across. Turn. (6 sc)
Repeat Row 2 until the strap measures 9 inches. Fasten off, leaving a 12-inch tail.
Fold the strap in half and thread the fold through one wooden ring so the ring sits at the midpoint. Align the two raw ends and place them against the inside top edge of the bag, centered on one side (about 3.5 inches in from each top corner). Sew the double thickness firmly with the long tail using whipstitch or mattress stitch. Sew at least 1.5 inches of the strap end to the bag.
Repeat for the second handle on the other side.
Section 8: Button Closure
Button loop: Join Yarn A with a slip stitch to the center top edge of the front panel. Chain 12. Slip stitch back into the same stitch to form a loop. Work sc back along the 12 chains. Slip stitch to the base. Fasten off. Check that the button slides through easily and adjust the chain count if needed.
Button: On the back panel at the matching center spot, sew the wooden button securely with doubled Yarn A. Pass through the holes at least eight times and tie off on the wrong side.
Section 9: Finishing Touches
Weave in every remaining end on the wrong side. Work each tail back through at least an inch of stitches in two directions.
Turn the bag inside out and press lightly with a damp cloth or low steam. Never put the iron directly on the yarn.
Optional lining: Cut two pieces of fabric 14 inches by 12.5 inches. Sew the side and bottom seams with a half-inch allowance, rounding the bottom corners. Fold the top edge down three-quarters of an inch and press. Insert the lining with wrong sides facing the bag and slip-stitch the folded edge just below the scallop border.
Blocking, Care, and Customization Ideas
Wet block the finished bag. Soak it in cool water for 10 to 15 minutes, squeeze gently, roll in a towel, and shape it over a form or stuffed bag. Pin the top straight and the bottom curve smooth. Let it dry fully, usually about 24 hours. Keep it out of direct sun.
For care, machine wash on gentle in cold water inside a mesh bag. Remove the wooden rings first if you can. Lay flat to dry. Never tumble dry. Store the bag stuffed with tissue paper so it keeps its shape.
Want it bigger? Add extra rounds to each square or switch to a 4 by 3 grid. Want it smaller? Drop to a 2 by 3 grid for a clutch. You can also add a separate gusset strip for more depth or switch to DK weight yarn with a smaller hook for a slightly scaled-down version.
A Few Friendly Tips Before You Finish
Take your time with the join-as-you-go steps. They feel a little fiddly at first, but the clean result is worth it.
Mark the sprig spots with pins before you start the surface work. Good light helps a lot.
Do not skip blocking. Cotton opens up beautifully once it gets wet and pinned.
If surface slip stitch is new for you, practice on a small swatch first. Tension is everything.
IMO this bag becomes a real favorite once you wear it a few times. The lavender details catch the light and people always ask about it.
Related Articles:
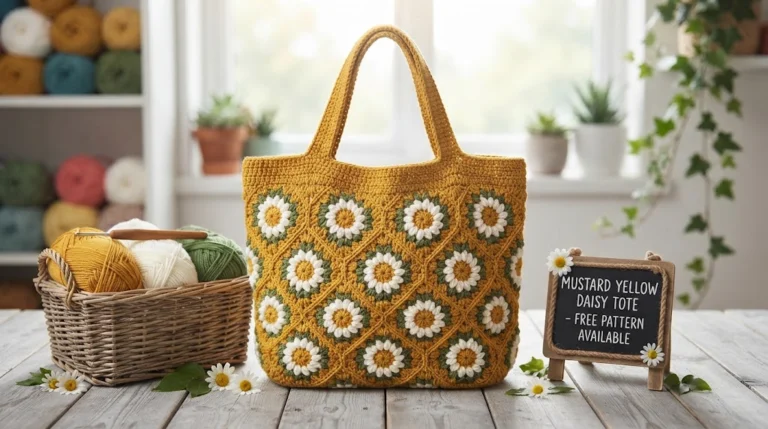
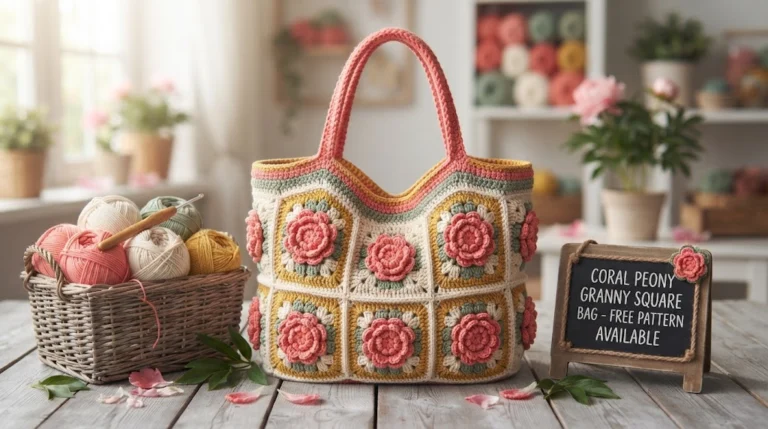
- Coral Peony Granny Square Bag Free Crochet Pattern
- Lavender Fields Purple Floral Tote Free Crochet Pattern
- Mustard Yellow Daisy Tote Free Crochet Pattern
You Did It!
Thanks for choosing this Sumara Patterns design. I hope you enjoy every stitch of the Lavender Fields Granny Square Bag. Watching those little sprigs appear on each square is pure joy.
If you make one, share a photo wherever you hang out online. I love seeing the color choices people pick. Save this pattern so you can find it again whenever the crochet mood strikes. Happy stitching!