

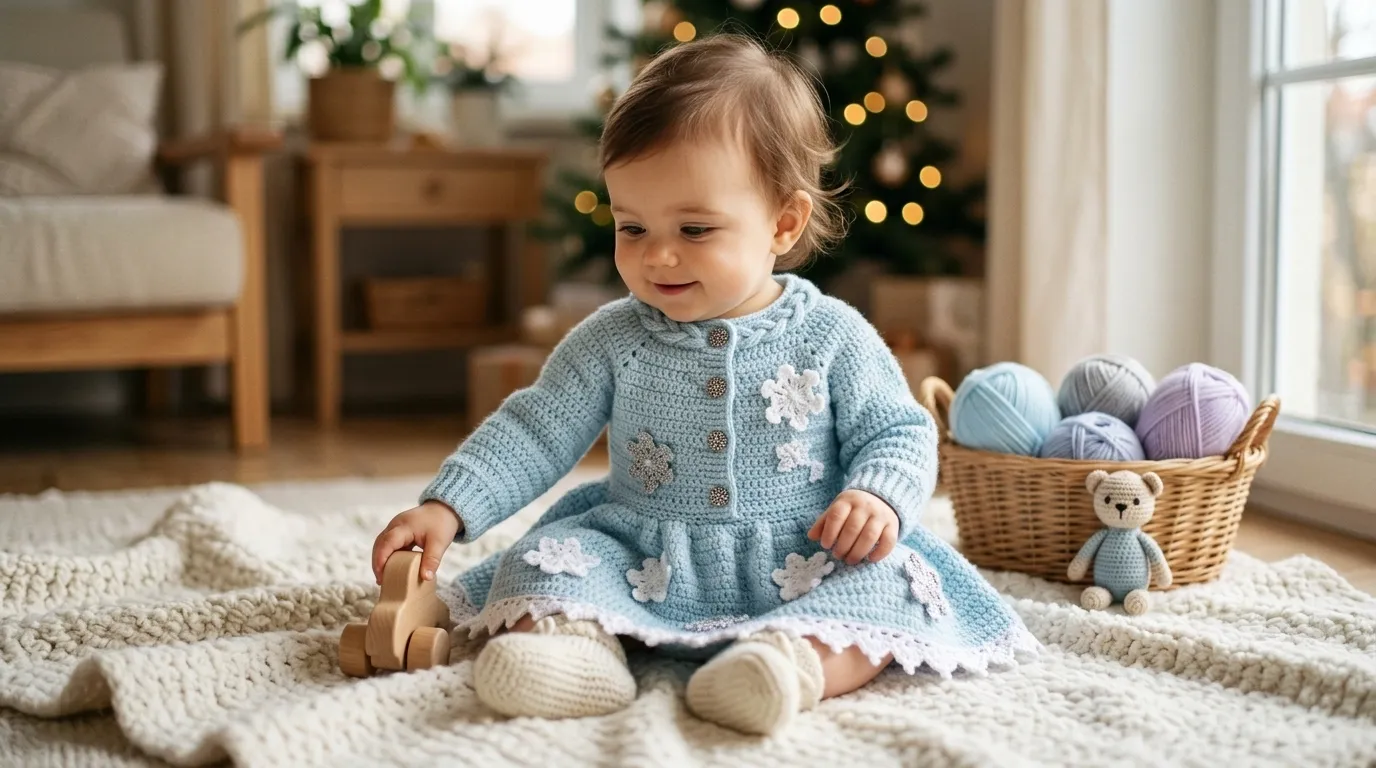
You want to make something adorable for a little one this winter, right? Something that screams “frosty fairy tale” without actually being freezing cold. Well, you’ve stumbled into the right place. This winter snowflake baby dress is a total showstopper, and the best part? It’s a free pattern you can whip up yourself. It uses simple stitches to create a fitted bodice and a twirly skirt that any baby will look precious in. Let’s break it all down so you can get crocheting ASAP.
What Exactly Are We Making Here?
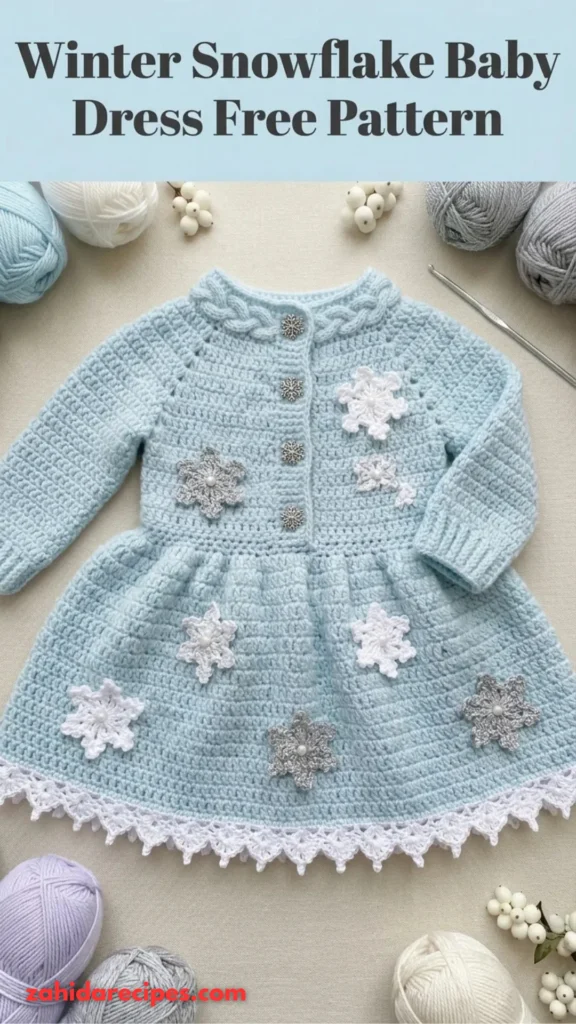
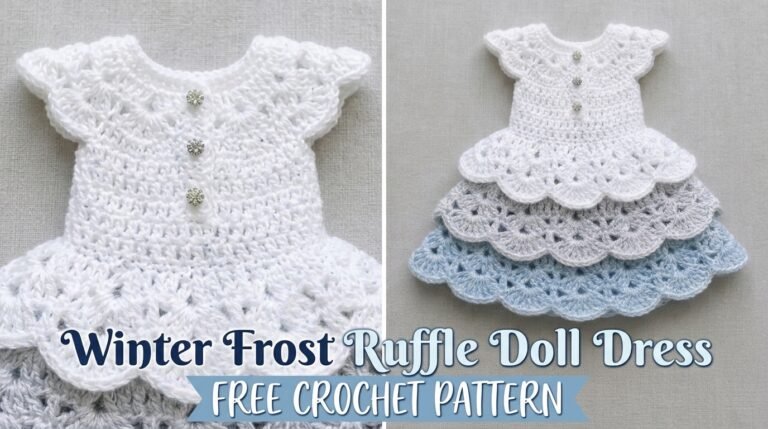
Picture this: a soft, ombre fade from pure snow white at the top down to a glacier blue at the hem. Delicate little snowflake appliques float on the skirt like they just drifted down from a frosty cloud.
The dress has a fitted bodice to keep those tiny shoulders cozy, and then it flares out into a skirt that’s practically begging for a twirl. It’s the kind of project that looks complicated but honestly? It’s just a bunch of single crochet stitches arranged in a smart way. IMO, that’s the best kind of pattern.
Gather Your Supplies (Don’t Skip This Part)
Nothing kills the crochet vibe faster than running out of yarn halfway through the bodice. Trust me, I’ve been there. Here’s what you’ll need to have on hand before you start.
Yarn:
You want a DK or sport weight cotton or cotton blend. Cotton gives you crisp stitch definition, which is key for those clean pleat lines. You’ll need about 900 yards total, broken down like this:
- Color A (snow white): 350 yards
- Color B (pale glacier): 275 yards
- Color C (frost blue): The rest
Add 10 to 15 percent extra if you want longer straps or more snowflakes. And yeah, you will want the extras.
Hooks:
- US E/4 (3.5 mm) for the main dress
- US D/3 (3.25 mm) for the snowflakes
Adjust if your gauge demands it. Your tension is your tension.
Notions:
- 12 locking stitch markers
- Yarn needle
- Removable fabric clips
- Tape measure
- Rustproof pins
- Blocking mat
- Optional: 8-10 mm white buttons or snaps for a back opening, plus clear or pearl beads for snowflake centers
Suggested Yarns That Actually Deliver:
Scheepjes Catona for sharp definition. Premier Cotton Fair for soft drape. Hobbii Rainbow Cotton 8/4 if you want icy color options. Firm cotton keeps those pleat lines clean. Springy acrylic can stretch the skirt more than you bargained for.
Gauge: The Boring Part That Actually Matters
Skip this step and your finished dress will either swim on the kid or feel like a sausage casing. Harsh? Maybe. True? Absolutely. Match these numbers after washing and blocking.
- Bodice: 22 single crochet stitches and 24 rounds = 4 inches in split single crochet
- Skirt: 24 single crochet stitches and 24 rows = 4 inches in regular single crochet
Too small? Go up a hook size. Too big? Drop down. Both stitch and row gauge matter here because this is a real garment, not a scarf you can fudge.
A Few Special Stitches to Practice First
A couple of techniques might feel new if you’re used to basic blankets. Practice them on a scrap first so the actual dress doesn’t turn into a learning curve.
Foundation Single Crochet (fsc):
Chain 2, insert hook in the second chain, pull up a loop, chain 1 for the base, then yarn over and pull through both loops. For the next one, work under both strands of that base chain. Stretchy and perfect for garment edges.
Split Single Crochet:
Insert your hook between the two vertical legs of the stitch below instead of under the top loops. Pull up a loop and finish the single crochet as usual. It creates a dense, almost knitted fabric. Keep tension relaxed or it gets stiff.
Surface Slip Stitch:
Hold yarn behind the fabric, insert the hook from front to back at your marked line, pull the loop through, and continue upward. Don’t yank it tight. These lines become the soft pleats on the skirt.
Picot:
Chain 3, slip stitch into the first chain. Tiny decorative points that finish the snowflake tips beautifully.
Invisible Join:
Cut the yarn, pull the tail through the last stitch, then thread a needle under both loops of the first stitch and back into the center of the last one. No visible jog. FYI, this little trick elevates the whole look.
Let’s Build the Bodice
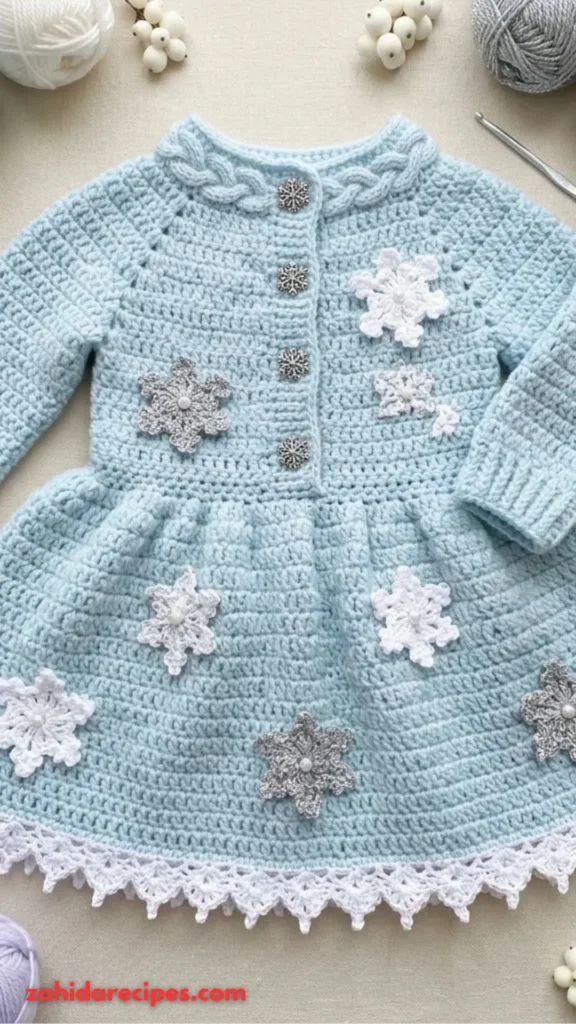
Work from the waist up using Color A and the larger hook.
Foundation: Fsc 120. Join without twisting—seam sits at center back.
Round 1: Ch 1, sc in each stitch around, join. You should have 120 sc.
Rounds 2–8: Ch 1, sc in the back loop only around. This gives the waistband a bit of texture.
Rounds 9–36: Ch 1, split single crochet in every stitch around. Keep joining at the end of each round.
Top edging: Switch to the smaller hook and slip stitch loosely around the top edge. Fasten off.
Checkpoint: After Round 36, the bodice should measure about 22 inches around and 6 inches tall. If you’re adding a back opening for easier dressing, turn Rounds 25–36 into rows instead of joining, edge both sides with single crochet, then add button loops and buttons.
Making the Straps
Make two identical straps in Color A.
Row 1: Chain 6, single crochet in the second chain and across. You’ll have 5 sc.
Rows 2 and beyond: Continue working single crochet rows until the strap reaches your desired length. Attach to the bodice front and back.
Time for the Skirt (The Fun Part)
Now you switch to the skirt section, working downward from the bodice waist. This is where the dress gets its twirl factor.
You’ll work in rounds using Color A, then transition through Color B and into Color C for that gorgeous ombre effect.
The skirt uses regular single crochet stitches, but you’ll incorporate those surface slip stitches you practiced earlier to create soft pleat lines. Space them evenly around the skirt every few rounds.
Continue working until the skirt reaches your desired length. For a baby dress, somewhere between 10 and 14 inches from the waist usually works, depending on the size you’re making.
Adding the Snowflake Appliques
Here’s where the magic happens. You’ll make several small snowflakes using the smaller hook and white yarn.
A basic crochet snowflake starts with a magic ring, then you work chains and slip stitches to create the six points. The picot stitch gives each tip that classic snowflake look. Keep them small—around 1.5 to 2 inches across works well for a baby dress.
Arrange your snowflakes on the skirt before sewing them down. Play with the placement. You might want them scattered randomly, or in a tidy row near the hem. Once you’re happy, sew them on securely with your yarn needle.
For an extra frosty touch, add a tiny bead or pearl to the center of each snowflake. Secure it well—babies are surprisingly good at pulling things off.
Finishing Touches and Blocking
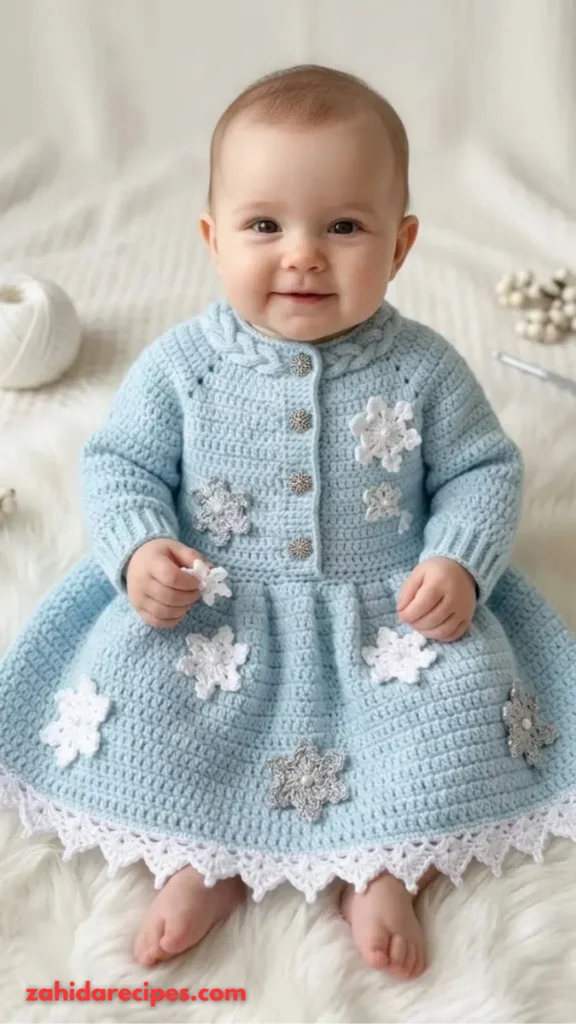
Block the dress before you call it done. This is not optional if you want those pleats to look crisp and the skirt to hang properly.
Pin the dress to your blocking mat, mist it with water, and let it dry completely. Cotton benefits hugely from blocking.
Add buttons or snaps to the back opening if you made one. Weave in all your ends. Step back and admire your work.
A Few Tips for Success
Don’t skip gauge. I know, I know. But a dress is a fitted garment. Gauge matters more here than on a dishcloth.
Practice the special stitches first. The split single crochet in particular takes a minute to get used to. Make a small swatch before diving into the bodice.
Use stitch markers religiously. Mark your round beginnings, your increase points, your pleat lines. Future you will be grateful.
Choose your yarn wisely. Firm cotton gives you the crispest stitch definition. Acrylic is softer but can stretch out over time. A cotton-acrylic blend might be the sweet spot.
Make extra snowflakes. You’ll inevitably lose one, or decide you want more coverage. Better to have extras than run short.
You Might Also Like:
- Powder Blue Tiered Baby Dress Free Crochet Pattern
- Sunshine Yellow Bow Baseball Cap Free Crochet Pattern
- Sky Blue Bobble Stitch Baby Coverall Free Crochet Pattern
Wrapping It Up
This winter snowflake dress looks like something you’d buy from a fancy boutique, but it’s just yarn, a hook, and some patience. The bodice keeps it practical. The skirt keeps it magical. And those snowflakes? They’re the cherry on top of an already adorable sundae.
Whether you’re making this for your own little one, a grandbaby, or a friend’s shower gift, this dress is a keepsake. People will ask where you bought it. You’ll get to say you made it. That feeling never gets old.
So grab your cotton yarn, pick your favorite icy color palette, and get stitching. Your tiny snow princess is waiting.


Leave a Reply
You must be logged in to post a comment.