

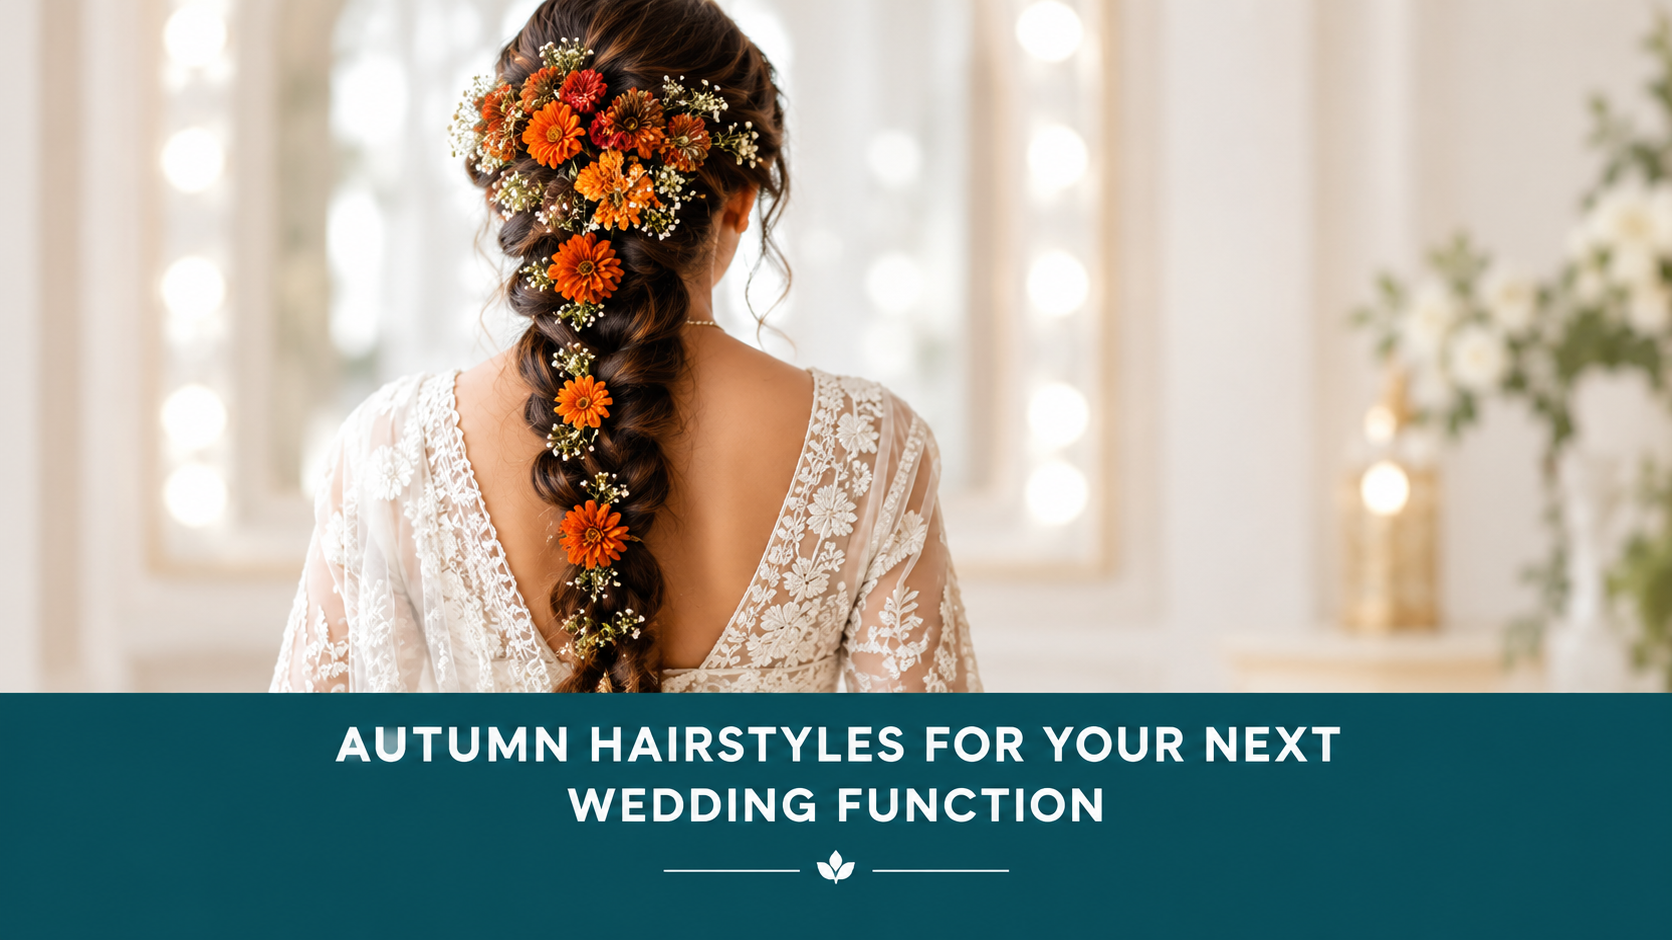
Hair vines turn a good hairstyle into a moment. The Autumn Dahlia Hair Vine wraps tiny crocheted blooms around braids, buns, and loose waves without weighing anything down. It’s the rare accessory that works for weddings, festivals, and Tuesday.
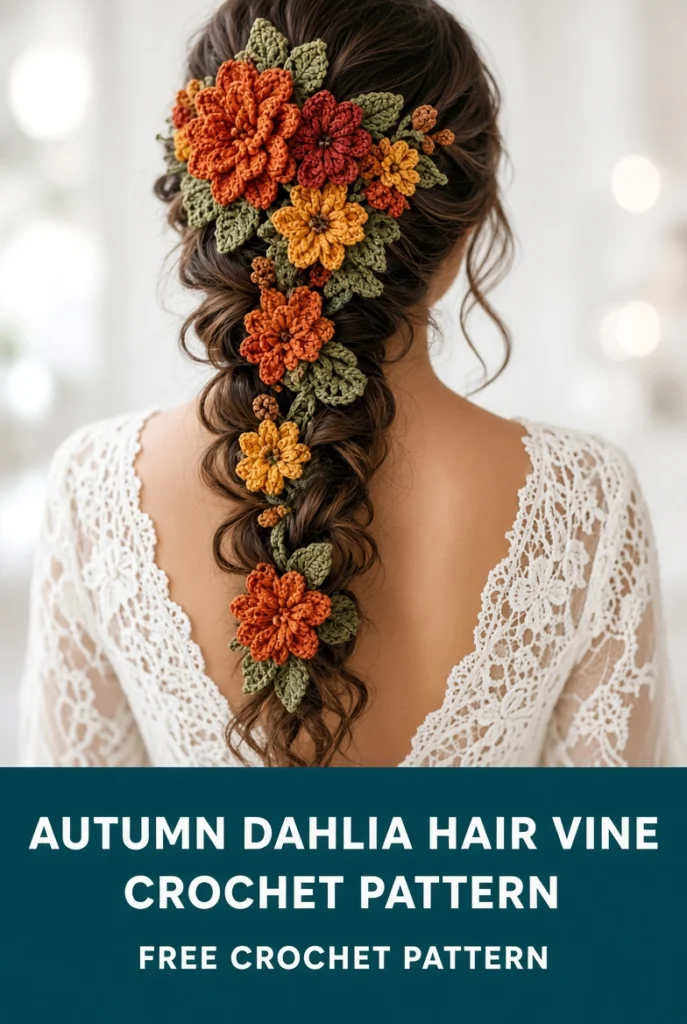
Why the Autumn Dahlia Hair Vine Wins Every Occasion
This project delivers maximum romance for minimum yardage. You need scraps, a small hook, and an evening — that’s genuinely it.
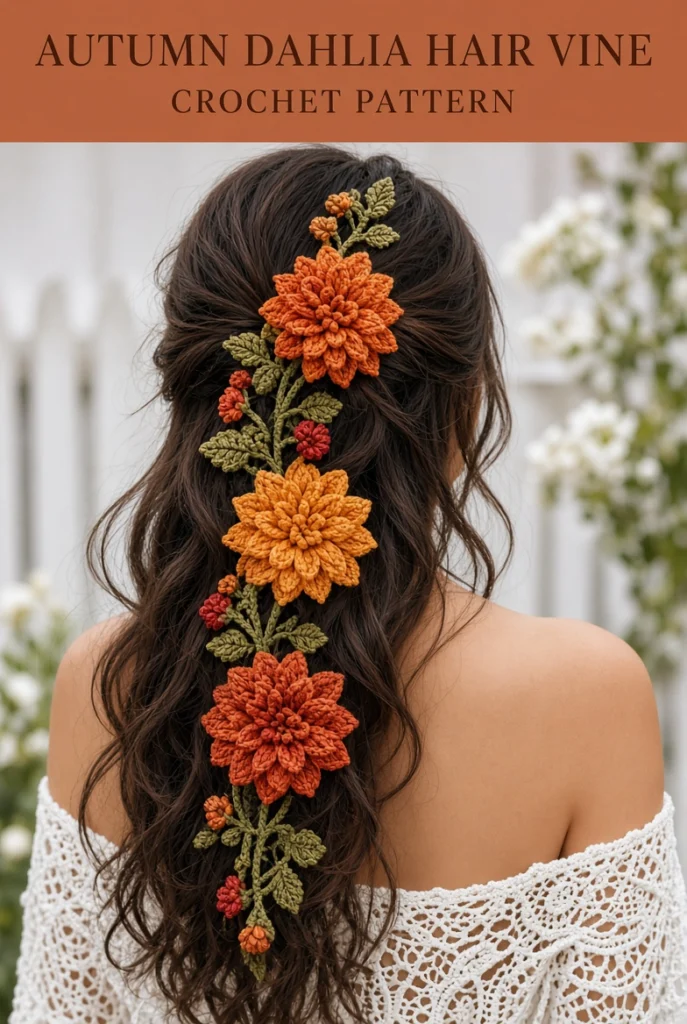
The dahlia motif sets it apart from standard flower crowns. Layered petals create real dimension, so the blooms look full and expensive rather than flat and crafty.
IMO, the autumn palette does the heavy lifting. Rust, burgundy, mustard, and deep plum feel warm and seasonal without veering into pumpkin-spice territory.
Want an accessory that photographs beautifully and costs almost nothing? This is the one.
Choosing Thread and Yarn for Delicate Blooms
Hair vines need to stay light. Heavy materials drag the style down and pull at your hair all day.
Best Fiber Options
- Size 10 crochet thread: Creates tiny, precise blooms with gorgeous detail.
- Size 3 cotton thread: Slightly larger flowers with faster results.
- Fingering weight cotton: Softer blooms that still hold shape.
- Embroidery floss: Delicate and shiny, though it splits like a nightmare.
Skip anything fuzzy. Mohair and brushed yarns blur the petal edges and turn your dahlias into mush.
Hook Size and Tension
Pair size 10 thread with a B or C hook for tight, defined petals. Size 3 thread works beautifully with a D hook.
Tension matters more than usual here. Loose stitches make floppy petals; tight stitches make your hands ache. Aim for firm but comfortable.
Autumn Color Palettes That Work
Dahlias bloom in nearly every warm shade, which gives you options:
- Rust + burgundy + gold: The classic autumn trio, rich and cozy.
- Plum + dusty rose + cream: Softer, more romantic, wedding-friendly.
- Mustard + burnt orange + brown: Earthy and slightly retro.
- Deep red + copper + bronze: Dramatic and jewel-toned.
Use one shade per bloom and alternate along the vine. Variety looks more natural than a row of identical flowers.
Stitches and Skills You’ll Need
Good news: dahlias use the same handful of stitches as every other crochet flower. No obscure techniques required.
- Magic ring: The starting point for every bloom.
- Chain (ch): Petal foundations and vine length.
- Slip stitch (sl st): Joining rounds and attaching blooms.
- Single crochet (sc): Dense centers and sturdy vine base.
- Double crochet (dc): The main petal stitch.
- Treble crochet (tr): Longer, sweeping outer petals.
- Picot: Optional, but it adds pointed petal tips.
If you can make a basic flower, you can make this hair vine. The only new skill is attaching blooms to the vine base.
Step-by-Step: Crocheting the Autumn Dahlia Hair Vine
Step 1 — Make the Dahlia Centers
Every bloom starts with a magic ring. Chain two, then work six to eight single crochets into the ring and join with a slip stitch.
Pull the ring tight. A loose center creates a visible hole that ruins the flower’s density.
Work one more round of single crochets, increasing evenly to double the stitch count. This creates the tight bud center that anchors the petals.
Step 2 — Build the First Petal Layer
Switch to double crochets for the inner petals. Work two double crochets into each stitch, then join with a slip stitch.
This round should create a small, cup-like layer. If the petals curl inward too much, your tension ran tight — loosen up slightly.
Count your petals. Inner layers typically need eight to twelve depending on your thread weight.
Step 3 — Add the Outer Petal Layer
Here’s where the dahlia gets its fullness. Work treble crochets into the previous round, spacing them with chain one between each petal.
Vary the height slightly across petals for organic texture. Uniform petals look manufactured; slight variation looks like a real flower.
Add a second outer layer if you want a fuller bloom. More layers mean more visual weight, so balance accordingly.
Step 4 — Crochet the Vine Base
The vine itself is simple. Chain a long strand in your base color, then work single crochet back along the chain for structure.
Length depends entirely on your hairstyle. Measure around your head and add several inches for tying or pinning.
For a more delicate look, skip the return row and use a plain chain. Just know that plain chains stretch with wear.
Step 5 — Attach the Blooms
Lay out your finished dahlias along the vine and arrange them before attaching anything. Symmetry matters less than rhythm — think natural vine growth, not military formation.
Sew each bloom to the vine using your yarn needle and matching thread. Anchor through the center and one petal so the flower doesn’t spin or flop.
Cluster blooms tightly near the center and space them out toward the ends. That distribution looks most natural.
Step 6 — Add Leaves and Finishing Touches
Small leaves fill the gaps and make the vine look alive. Work simple leaf shapes with chain and single crochet, then attach them between blooms.
Add ribbon ties at each end if you plan to fasten the vine around your head. Satin ribbon holds better than yarn and looks more polished.
Weave in every end and block the finished vine gently. Light steam blocking relaxes the petals without flattening them.
Styling and Wearing Your Hair Vine
Hairstyles That Showcase the Vine
Loose waves with the vine woven through create that effortless, romantic look. Braided crowns and low buns also work beautifully.
For updos, wrap the vine around the base and let the ends trail down. Placement matters more than technique — position the blooms where you want eyes to land.
Securing It All Day
Bobby pins hold the vine in place invisibly. Match the pins to your hair color so nothing distracts from the flowers.
If you have fine hair, attach the vine to a thin ribbon first, then tie the ribbon. This distributes weight and prevents slipping.
Occasions That Call for a Hair Vine
Weddings, festivals, photoshoots, and garden parties all suit this accessory. It also works for everyday wear if you style it casually.
Honestly? Wear it to brunch. Life is short and flowers are pretty.
Troubleshooting Common Problems
The blooms look floppy and shapeless. Your tension ran loose. Go down a hook size or work an extra petal layer for density.
The petals curl inward too much. You worked too many stitches per round. Reduce the increases and check the pattern repeat.
The vine slips out of your hair. Add ribbon ties or attach a hidden elastic band. Textured hair holds better than sleek styles, so rough up the section slightly.
The flowers feel too heavy. Your thread weight is too thick. Drop to size 10 thread for daintier blooms.
The vine stretches out of shape. Plain chains stretch with wear. Work a single crochet return row along the chain for stability.
You Might Also Like
- Mint Luna Moth Crochet Cape Pattern
- Rainbow Pastel Dragon Amigurumi Plush Free Crochet Pattern
- Peacock Feather Placemat Crochet Pattern
- Candy Stripe Snake Amigurumi Free Crochet Pattern
- Coral Citrus Lace Placemat Crochet Pattern
FAQ’s
How long does this project take?
Plan on four to eight hours depending on how many blooms you make. Each dahlia takes about 20 to 30 minutes once you learn the rhythm.
How many flowers do I need for a hair vine?
Six to ten blooms covers most styles. Short vines use five or six; longer, statement vines use twelve or more.
Can I make this with regular worsted weight yarn?
Yes, but size down your hook. Worsted weight creates chunky, bold blooms that suit rustic or boho styles better than delicate ones.
Will the vine damage my hair?
Not if you attach it properly. Use hair-safe pins and avoid tight tying — the vine should rest gently, not pull at your roots.
Can I make this for a wedding party?
Absolutely, and it makes a gorgeous bridesmaid gift. Match the blooms to the wedding palette and make each vine slightly different for a cohesive but varied look.
How do I store a crochet hair vine?
Lay it flat in a box lined with tissue paper. Never bundle it tightly — crushed petals take forever to reshape.
A Hair Vine Worth Every Petal
The Autumn Dahlia Hair Vine proves that small projects can deliver big impact. It uses basic stitches, scraps of thread, and a single evening to create something genuinely beautiful.
Pick your autumn palette, arrange your blooms with intention, and wear it somewhere worth remembering. FYI, once people see this in your hair, they will absolutely ask you to make them one.



Leave a Reply
You must be logged in to post a comment.